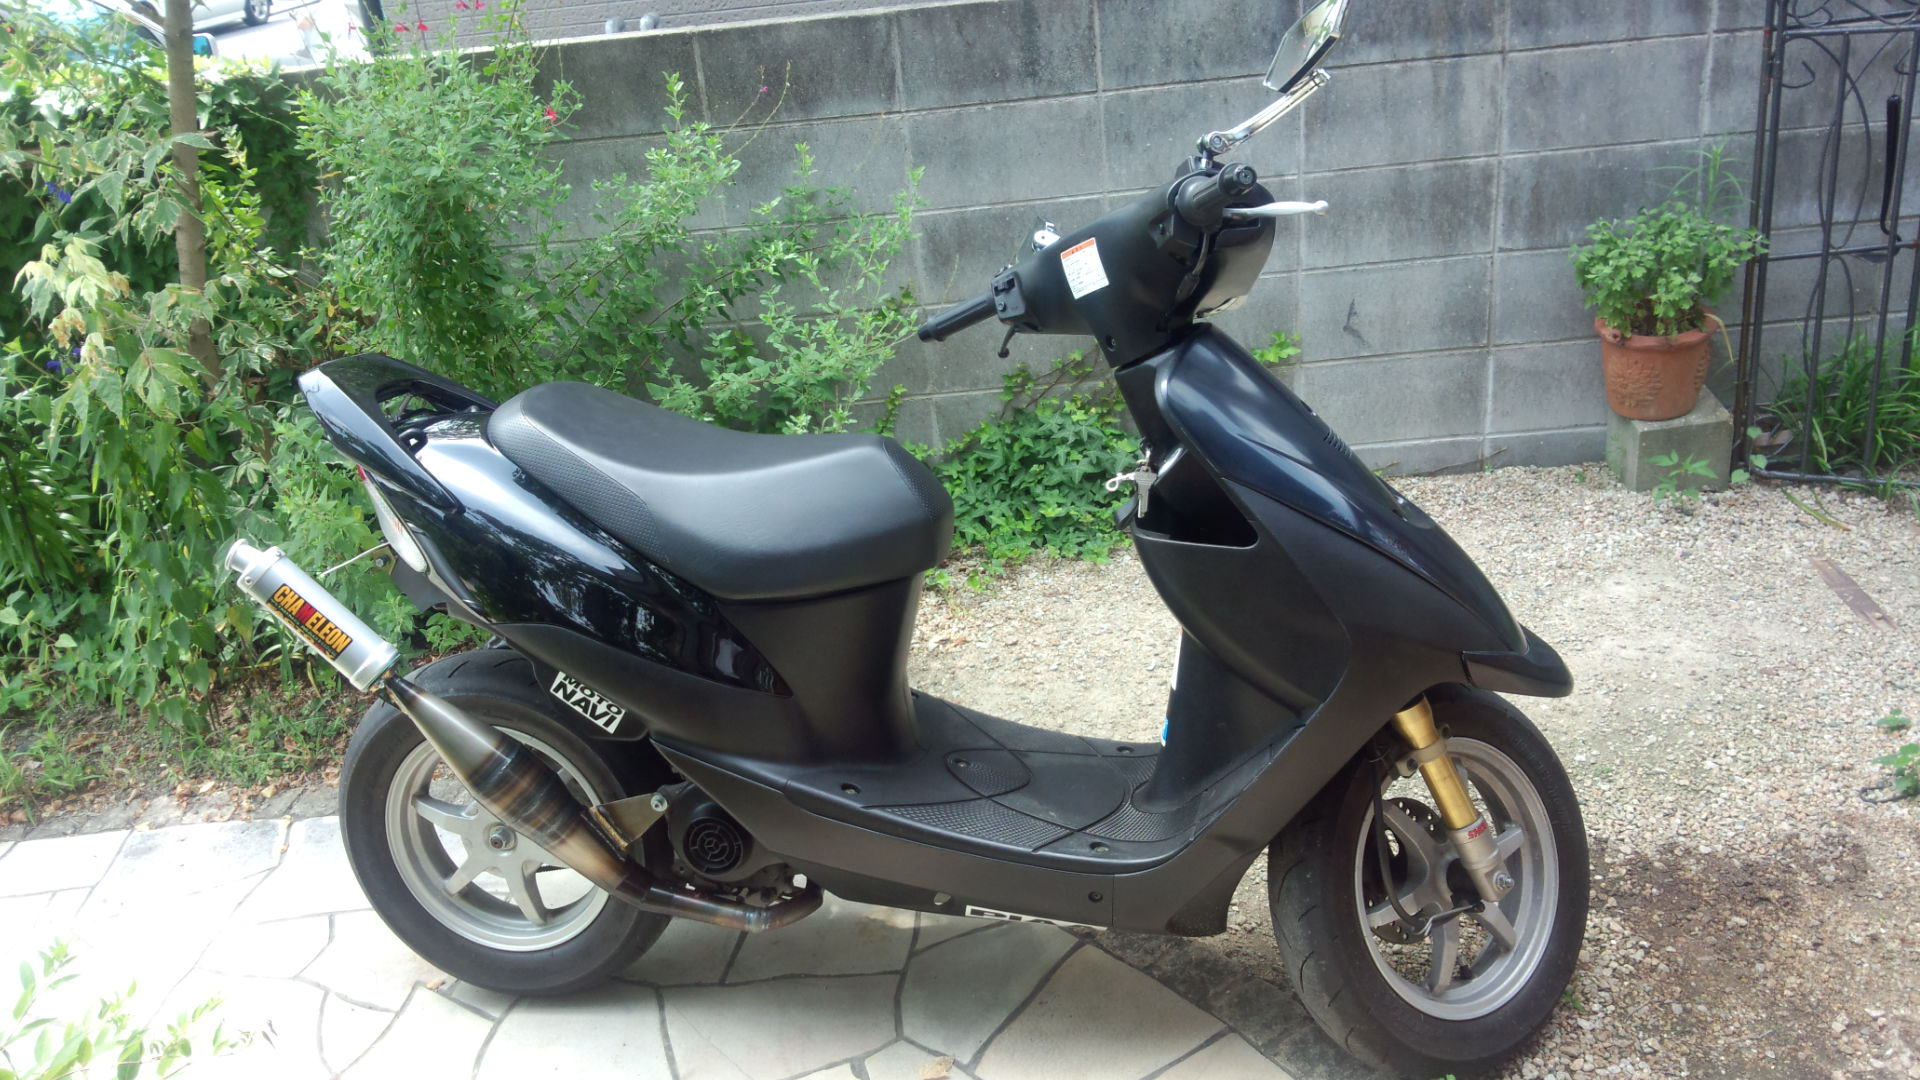
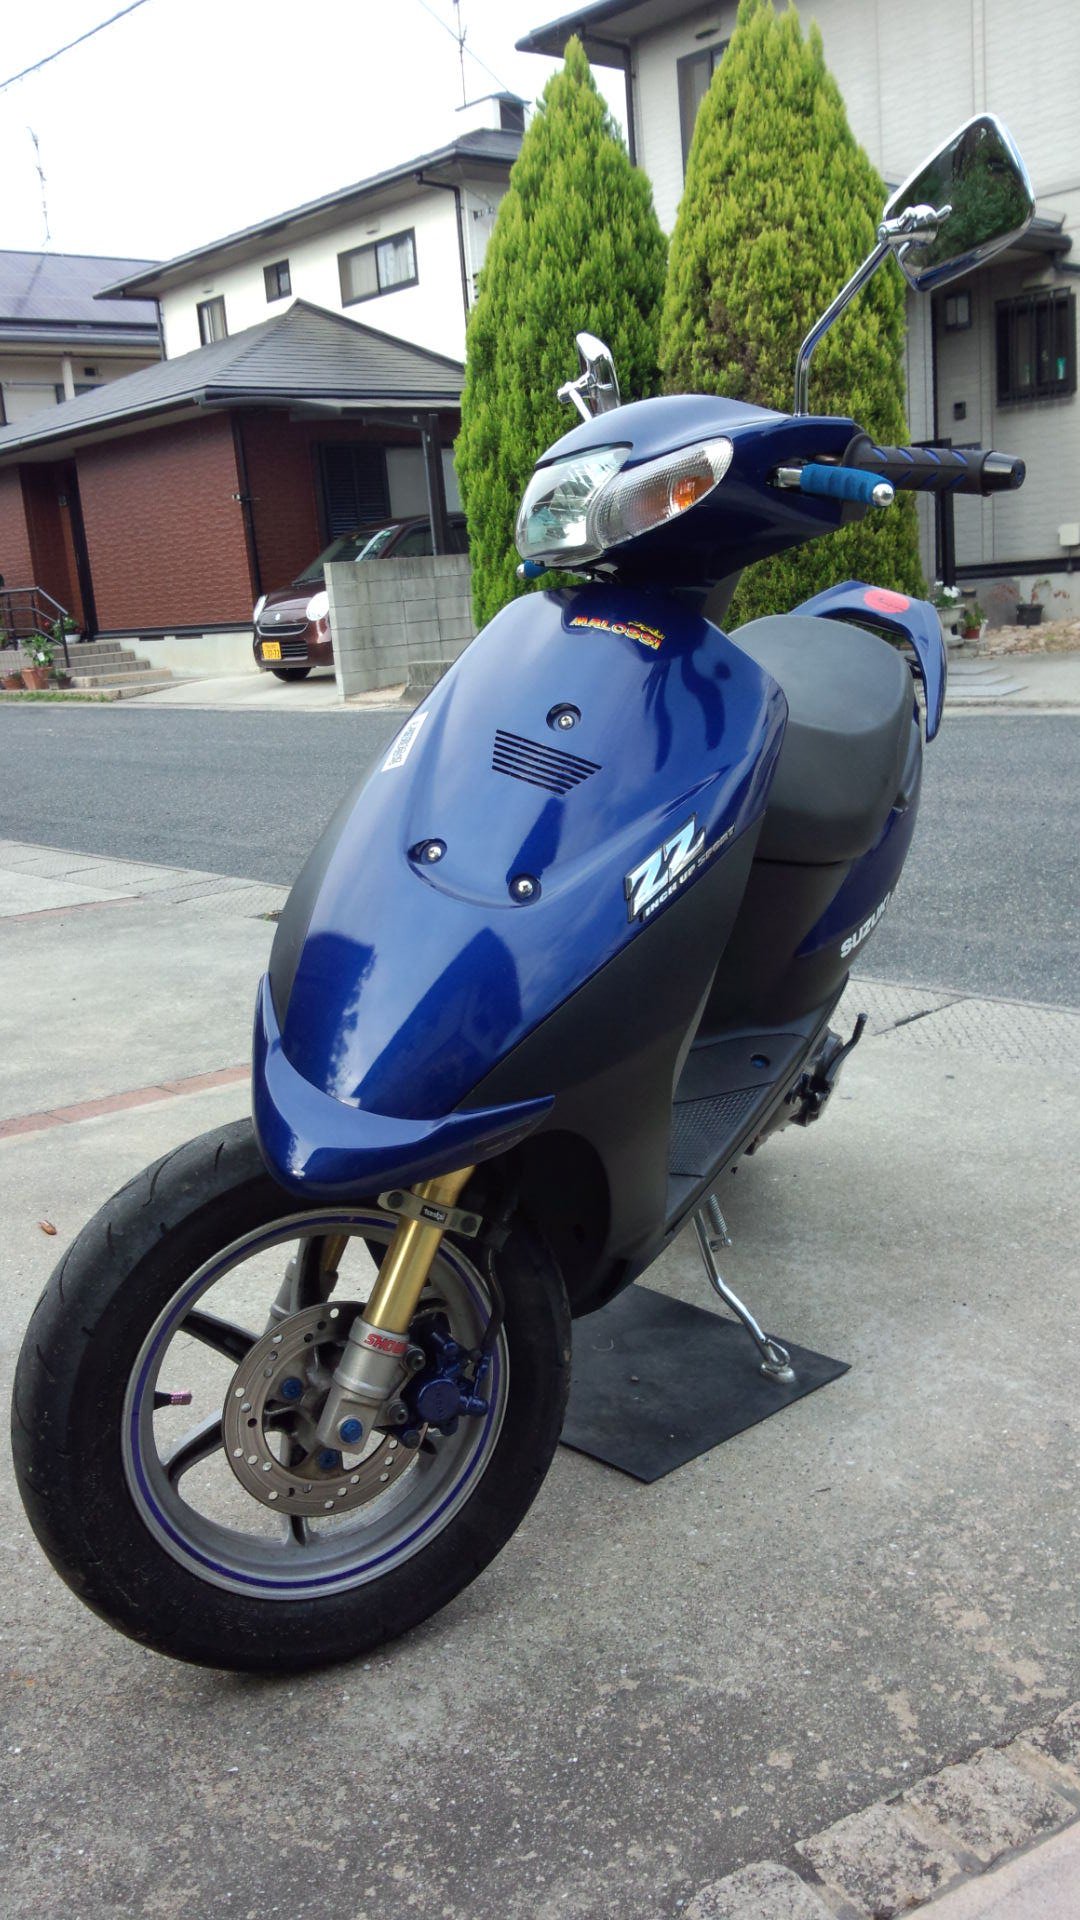
高校時代の初代愛車『悪魔のZZ』についてユルく紹介します。

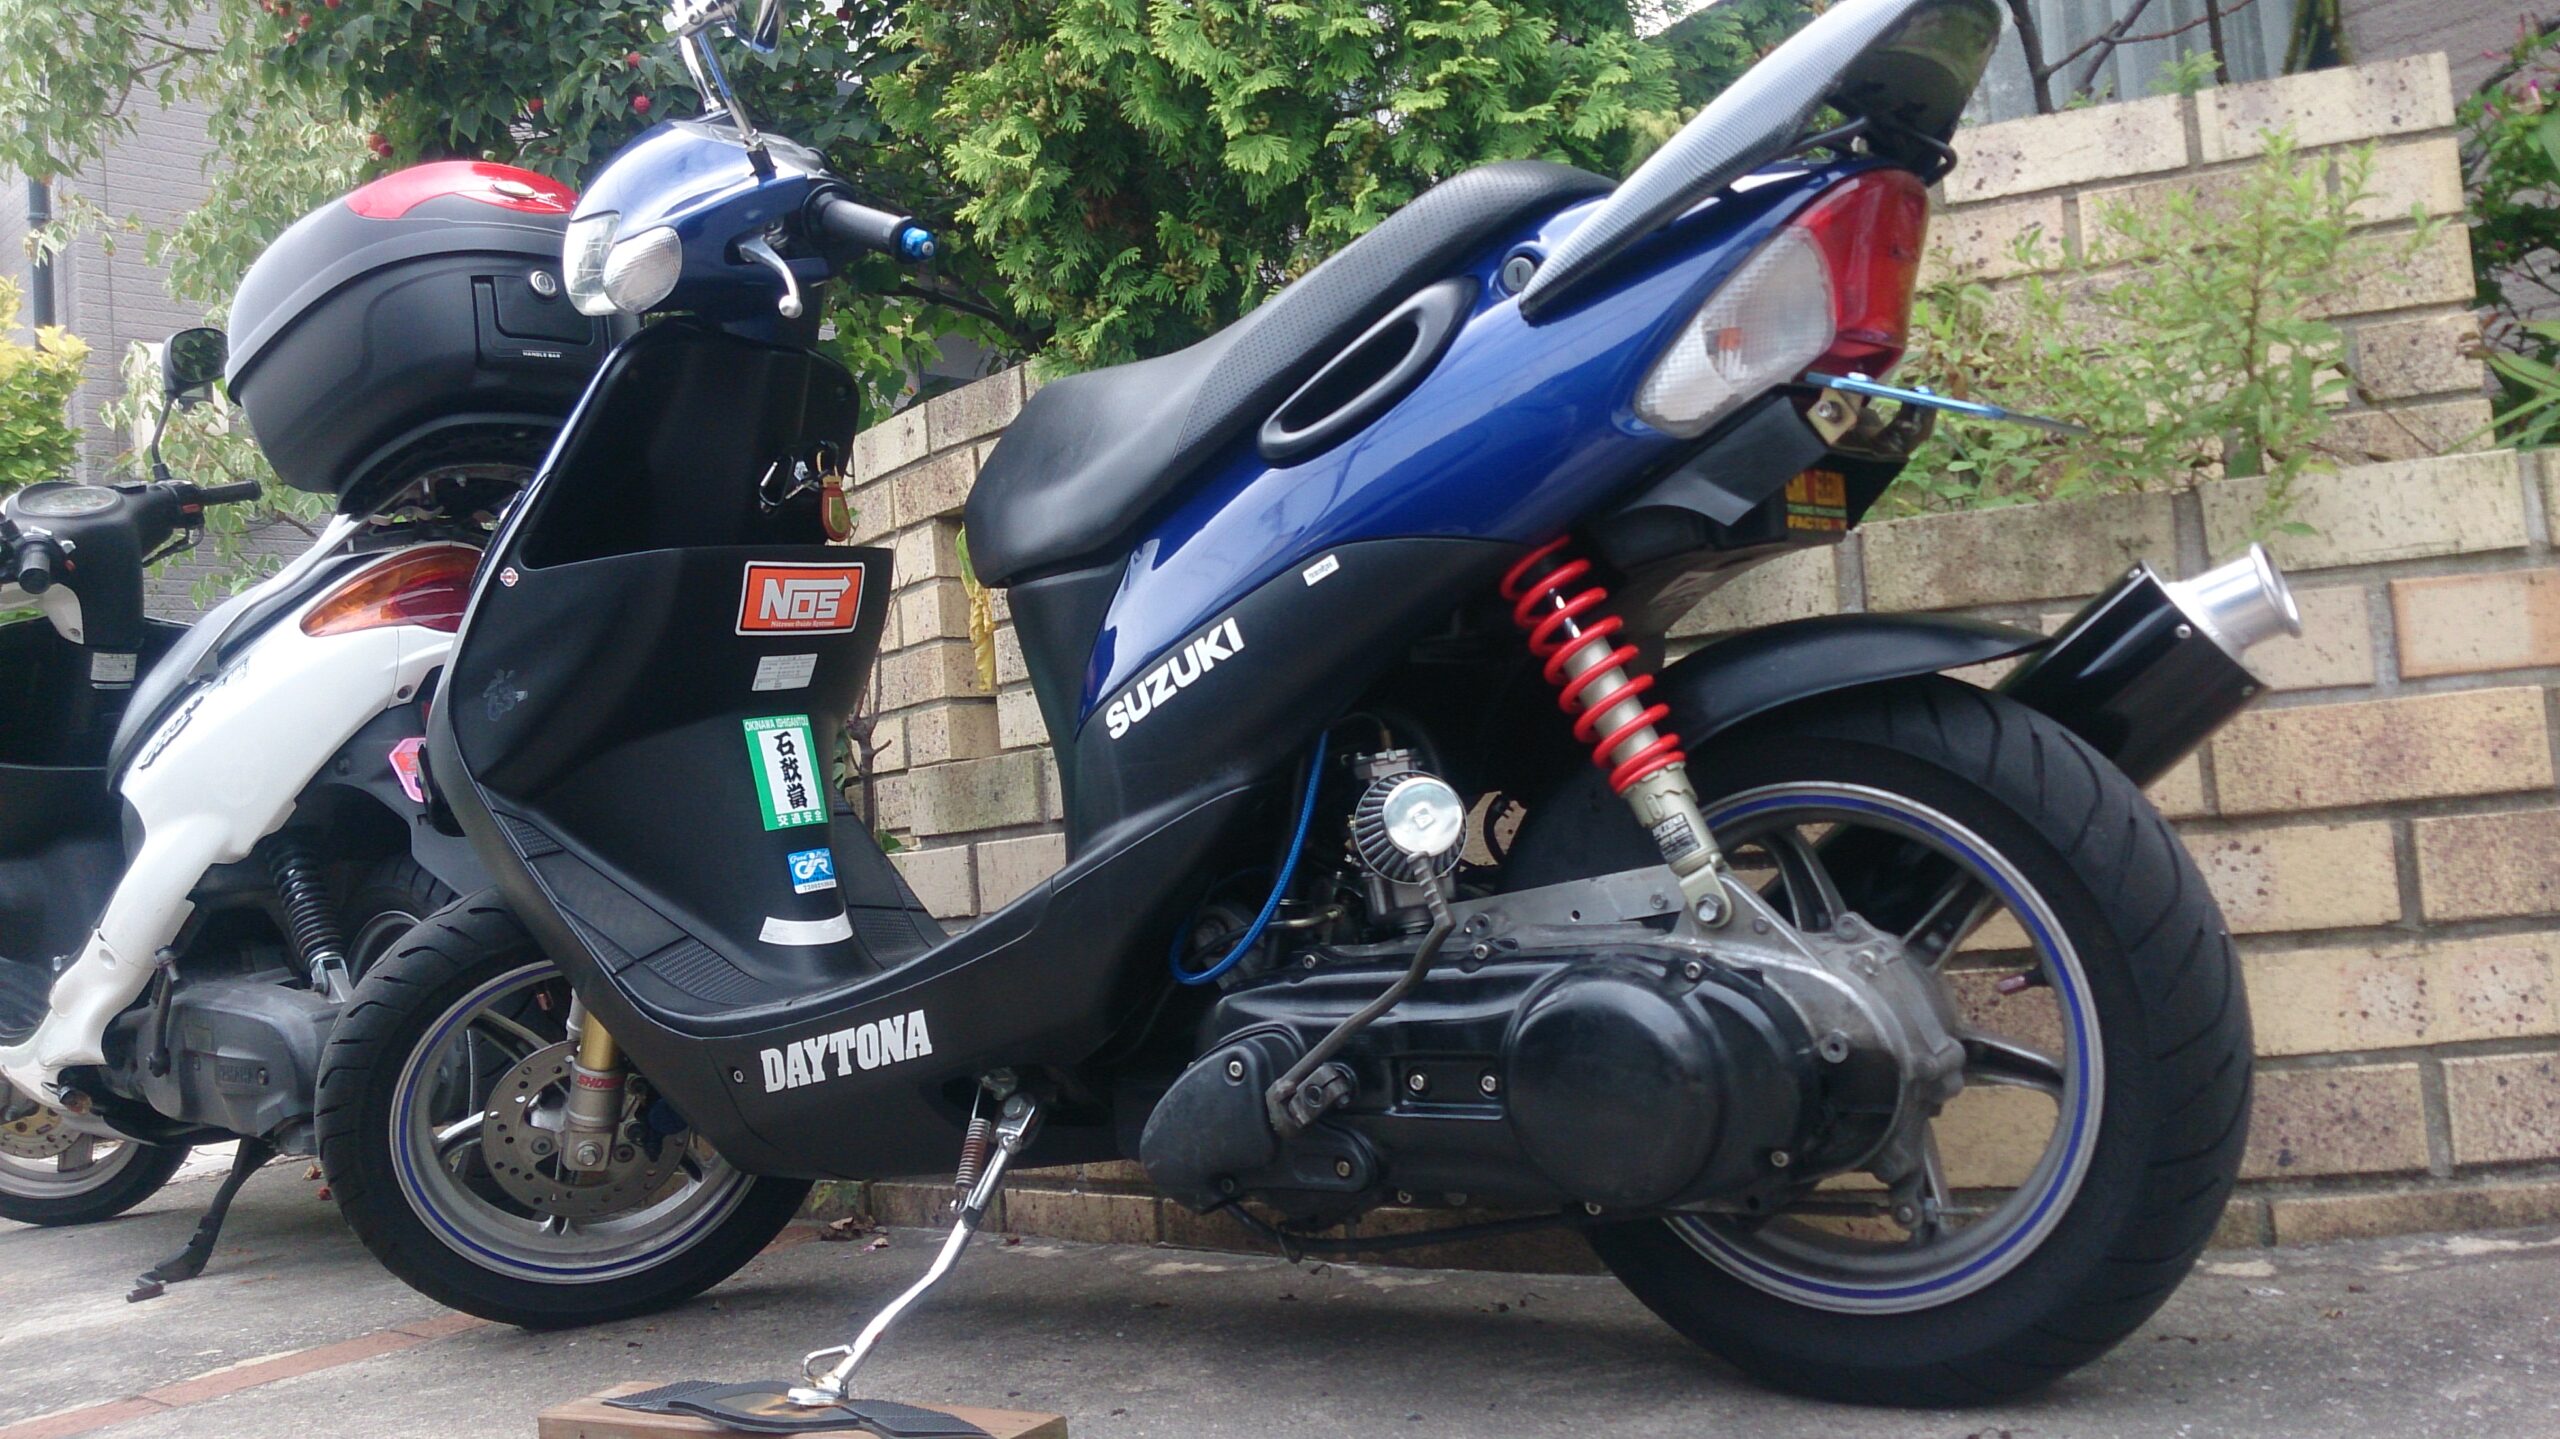
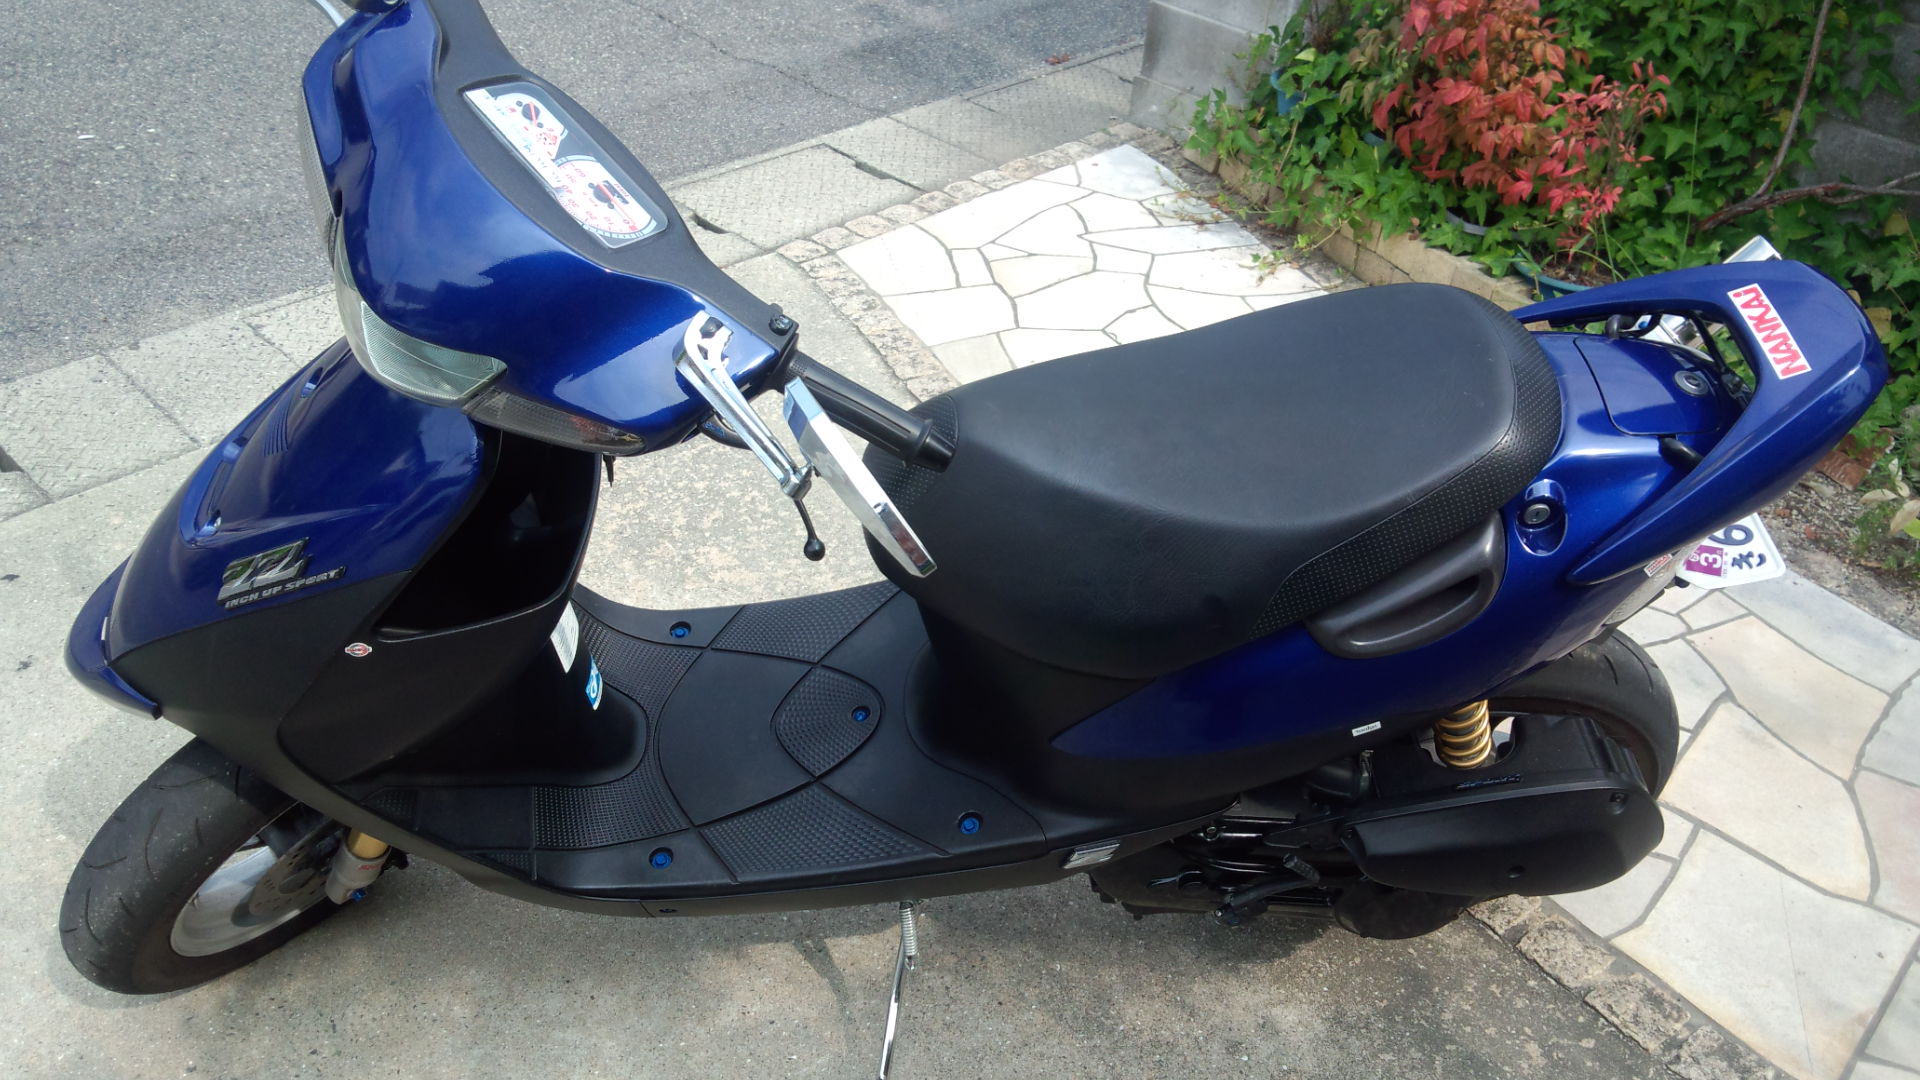
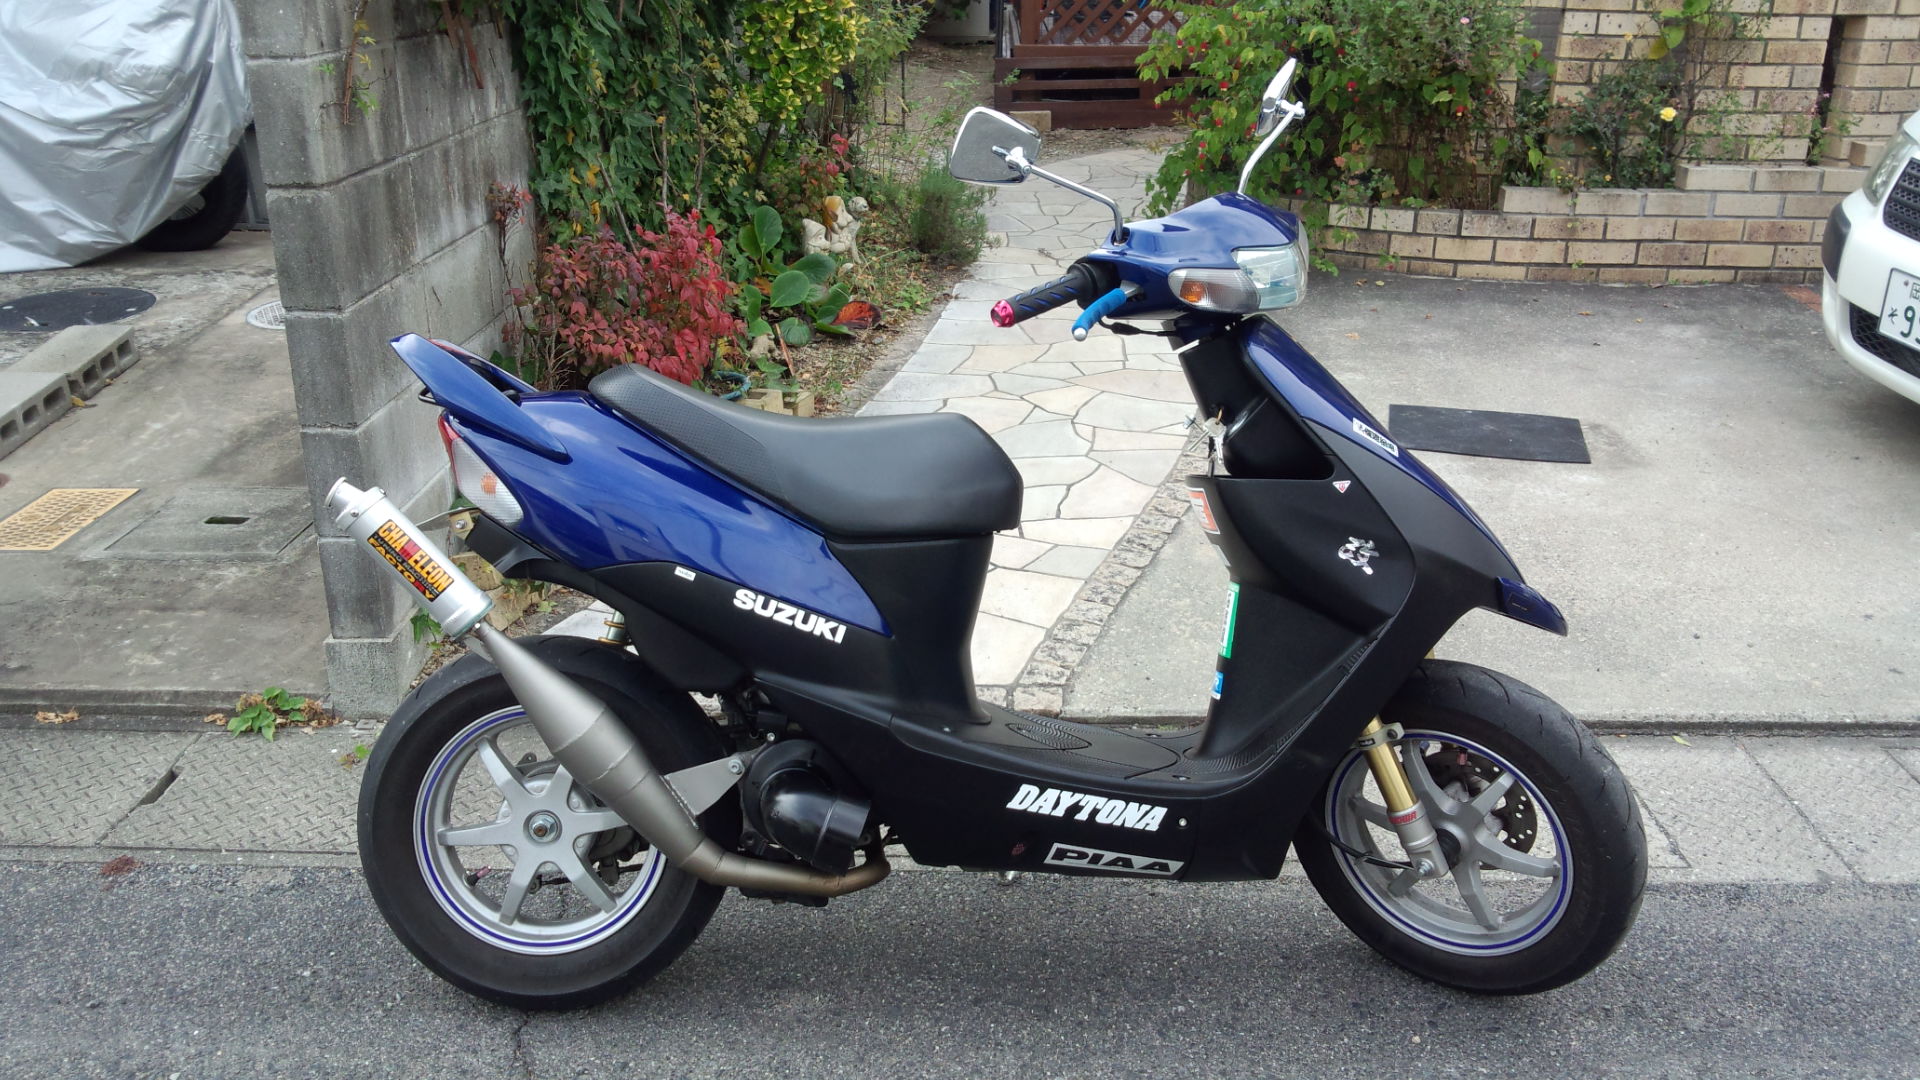
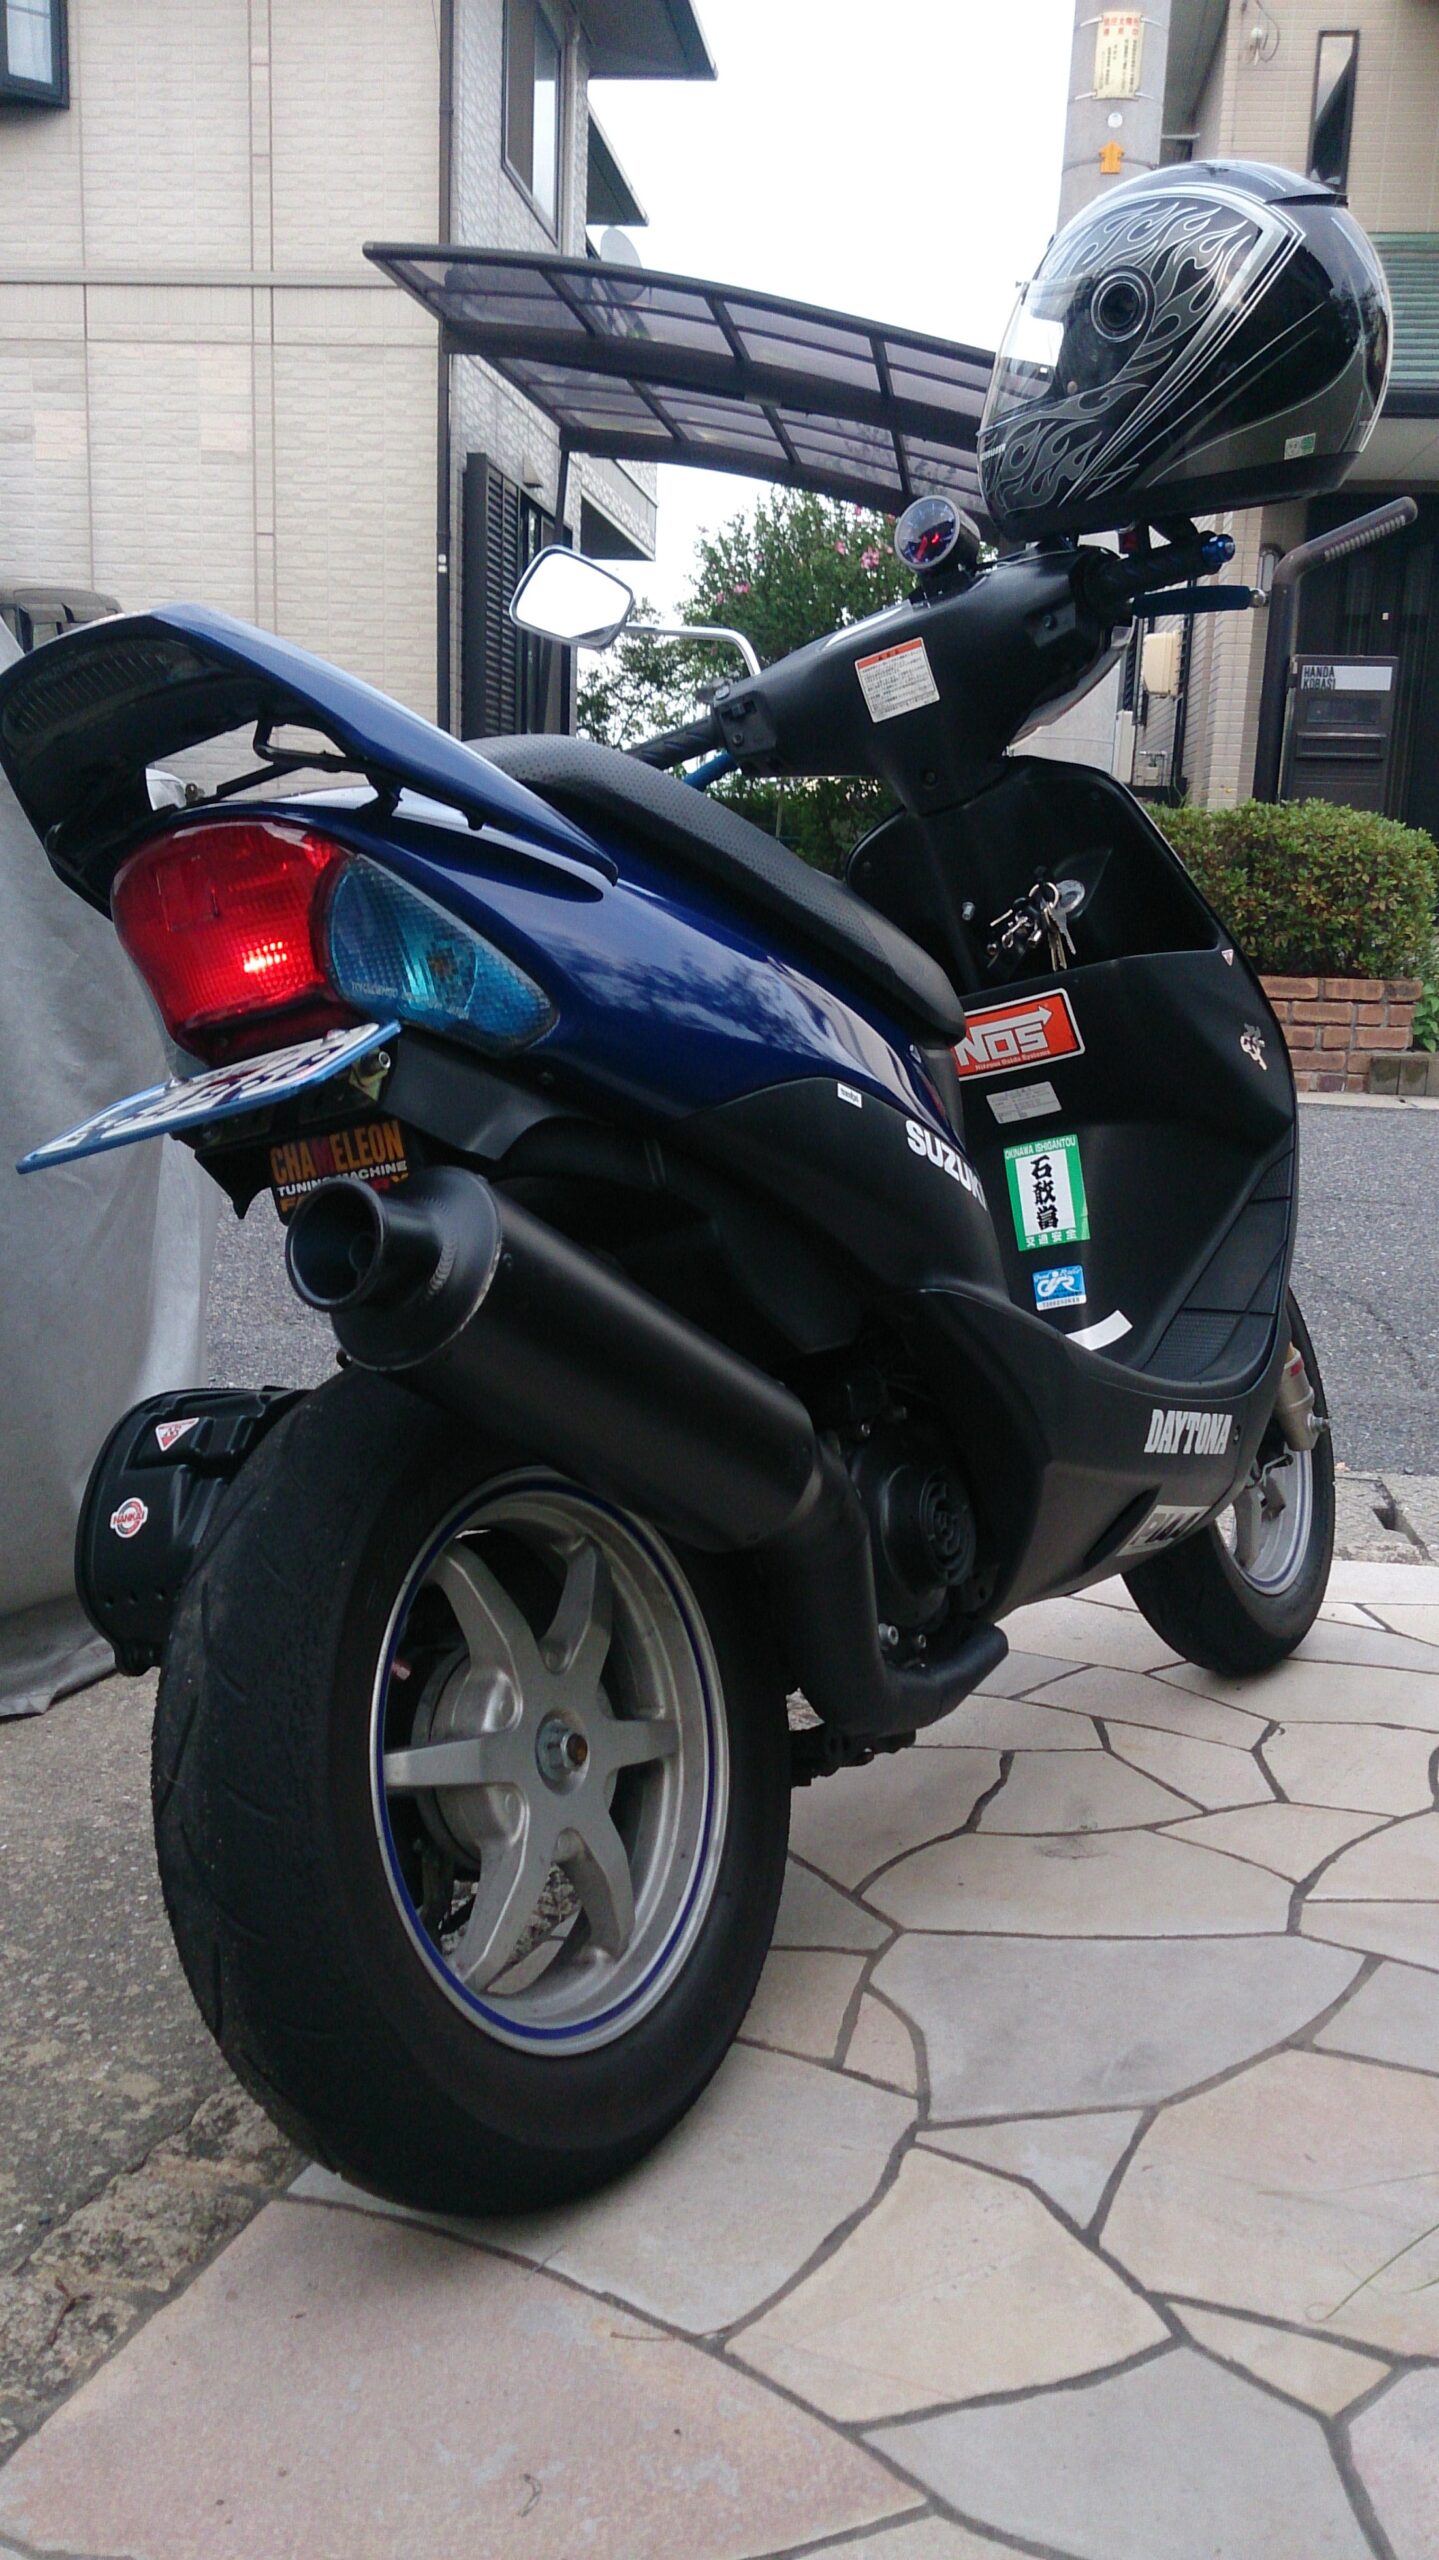
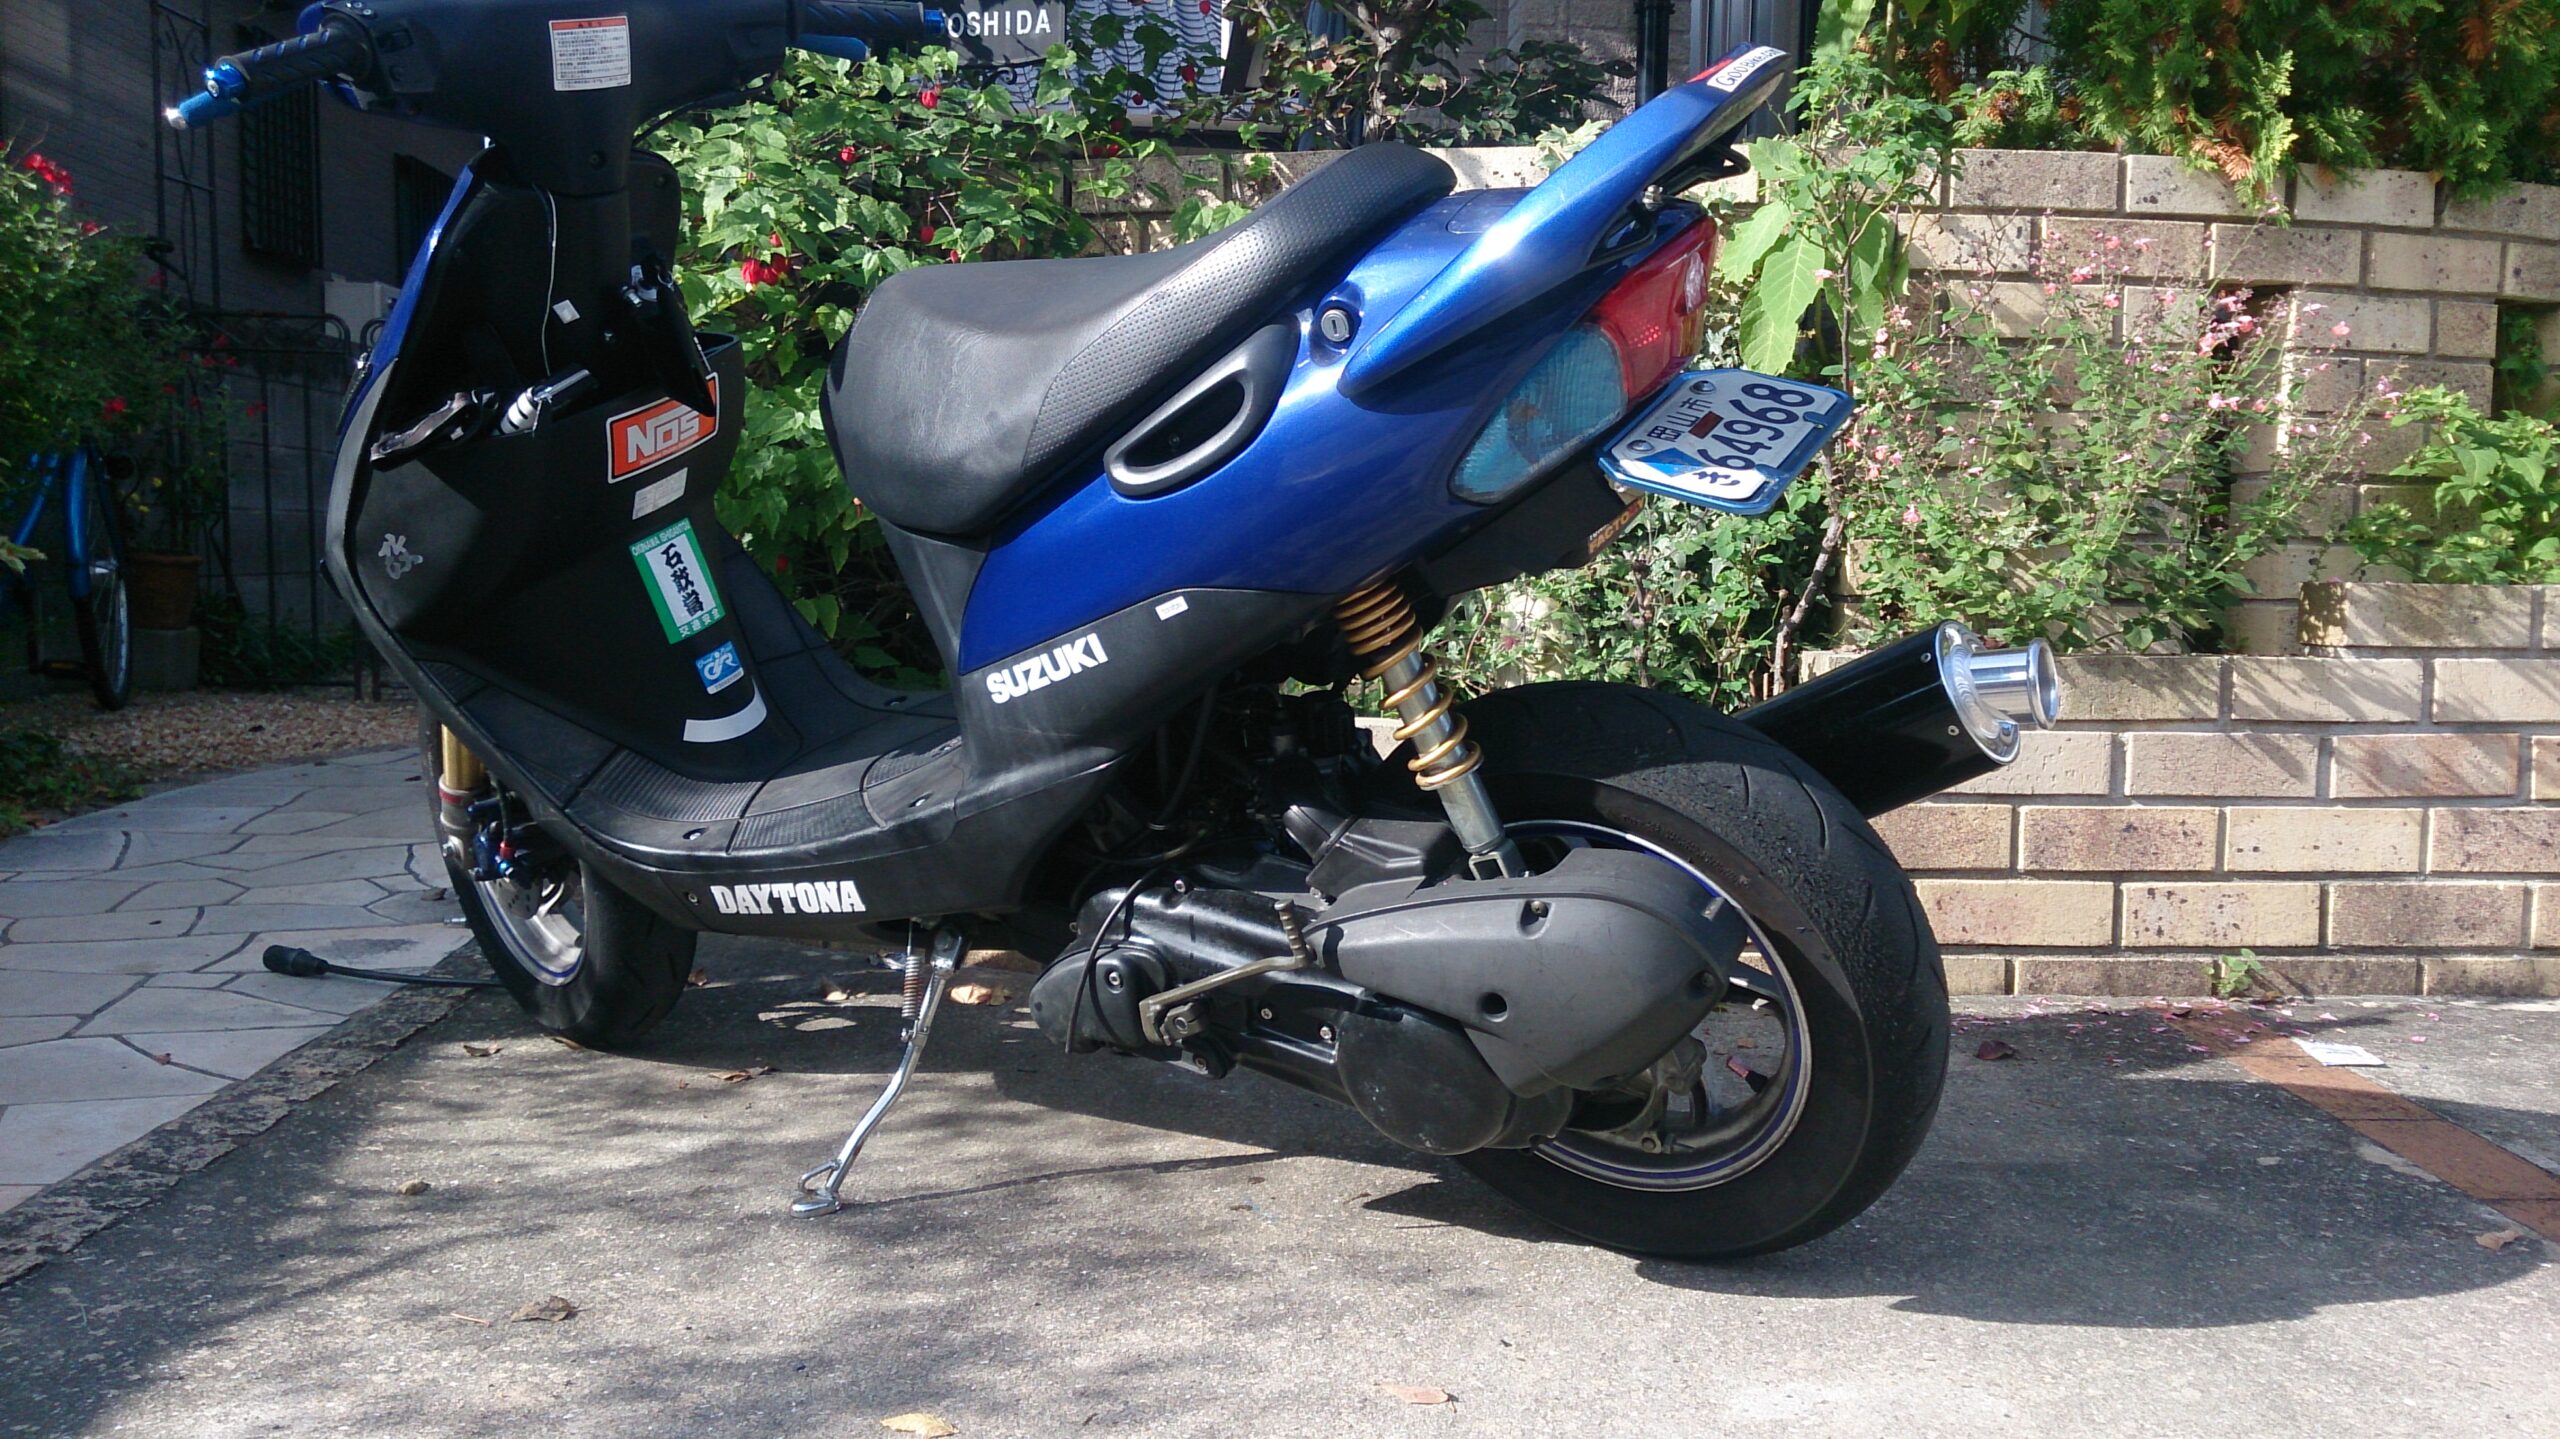
スズキ ZZ
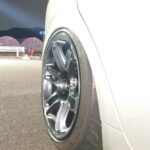
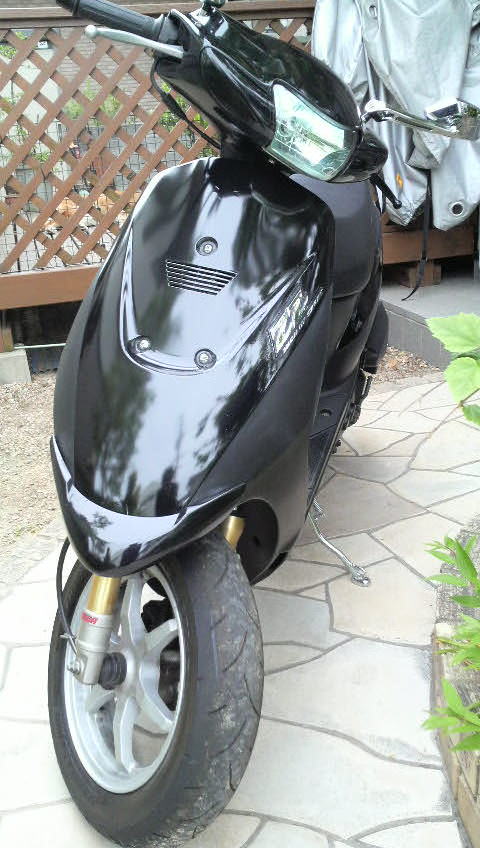
スズキが誇る原付スポーツスクーター、ZZ(ジーツー)。最高出力7.2PS/7,000rpm・最大トルク7.5N・m/6,500rpmの、このクラス最高のマキシマムパワーとトルクを誇り、そのパワーを受け止めるために車体各部にスポーツスクーターらしさを散りばめている。前後に履くアルミダイキャスト製スポークホイールは、12インチ。10インチのライバルが多いなか、この大径ホイールとワイドでロープロファイルのタイヤが見せる迫力あるルックスはかなりのもの。今回、精悍なメタリックフォルムとしたZZ(ジーツー)限定色が登場、ツートンカラーシート採用、1000台。
https://www.goobike.com/catalog/SUZUKI/ZZ/index.html
当時バイトして貯めたお金で買いました。
確か6万くらい。
DIYデビュー
こいつのお陰で、整備の基本を学ぶことができました。
当時実家には+のドライバー一本、-のドライバー一本、10mmのコンビネーションレンチしか無かったので、工具もバイト代で調達しました。
その頃から若干工具オタクにもなりました。
酷い出来です。
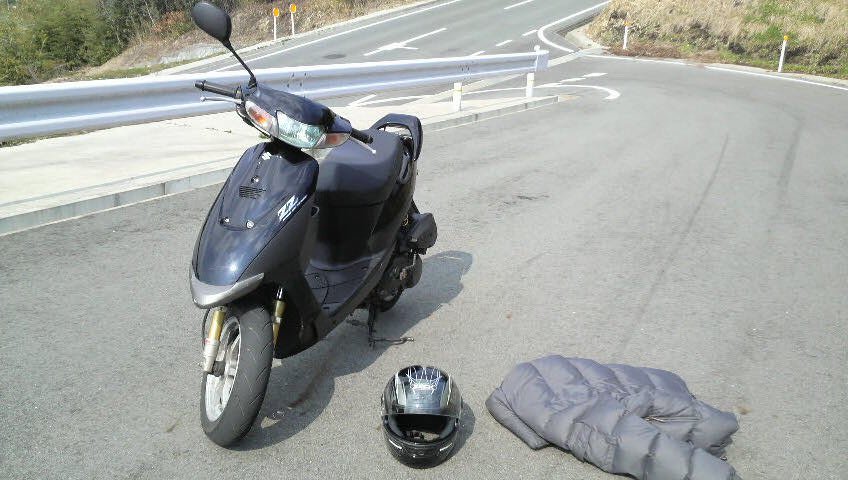
初オールペン


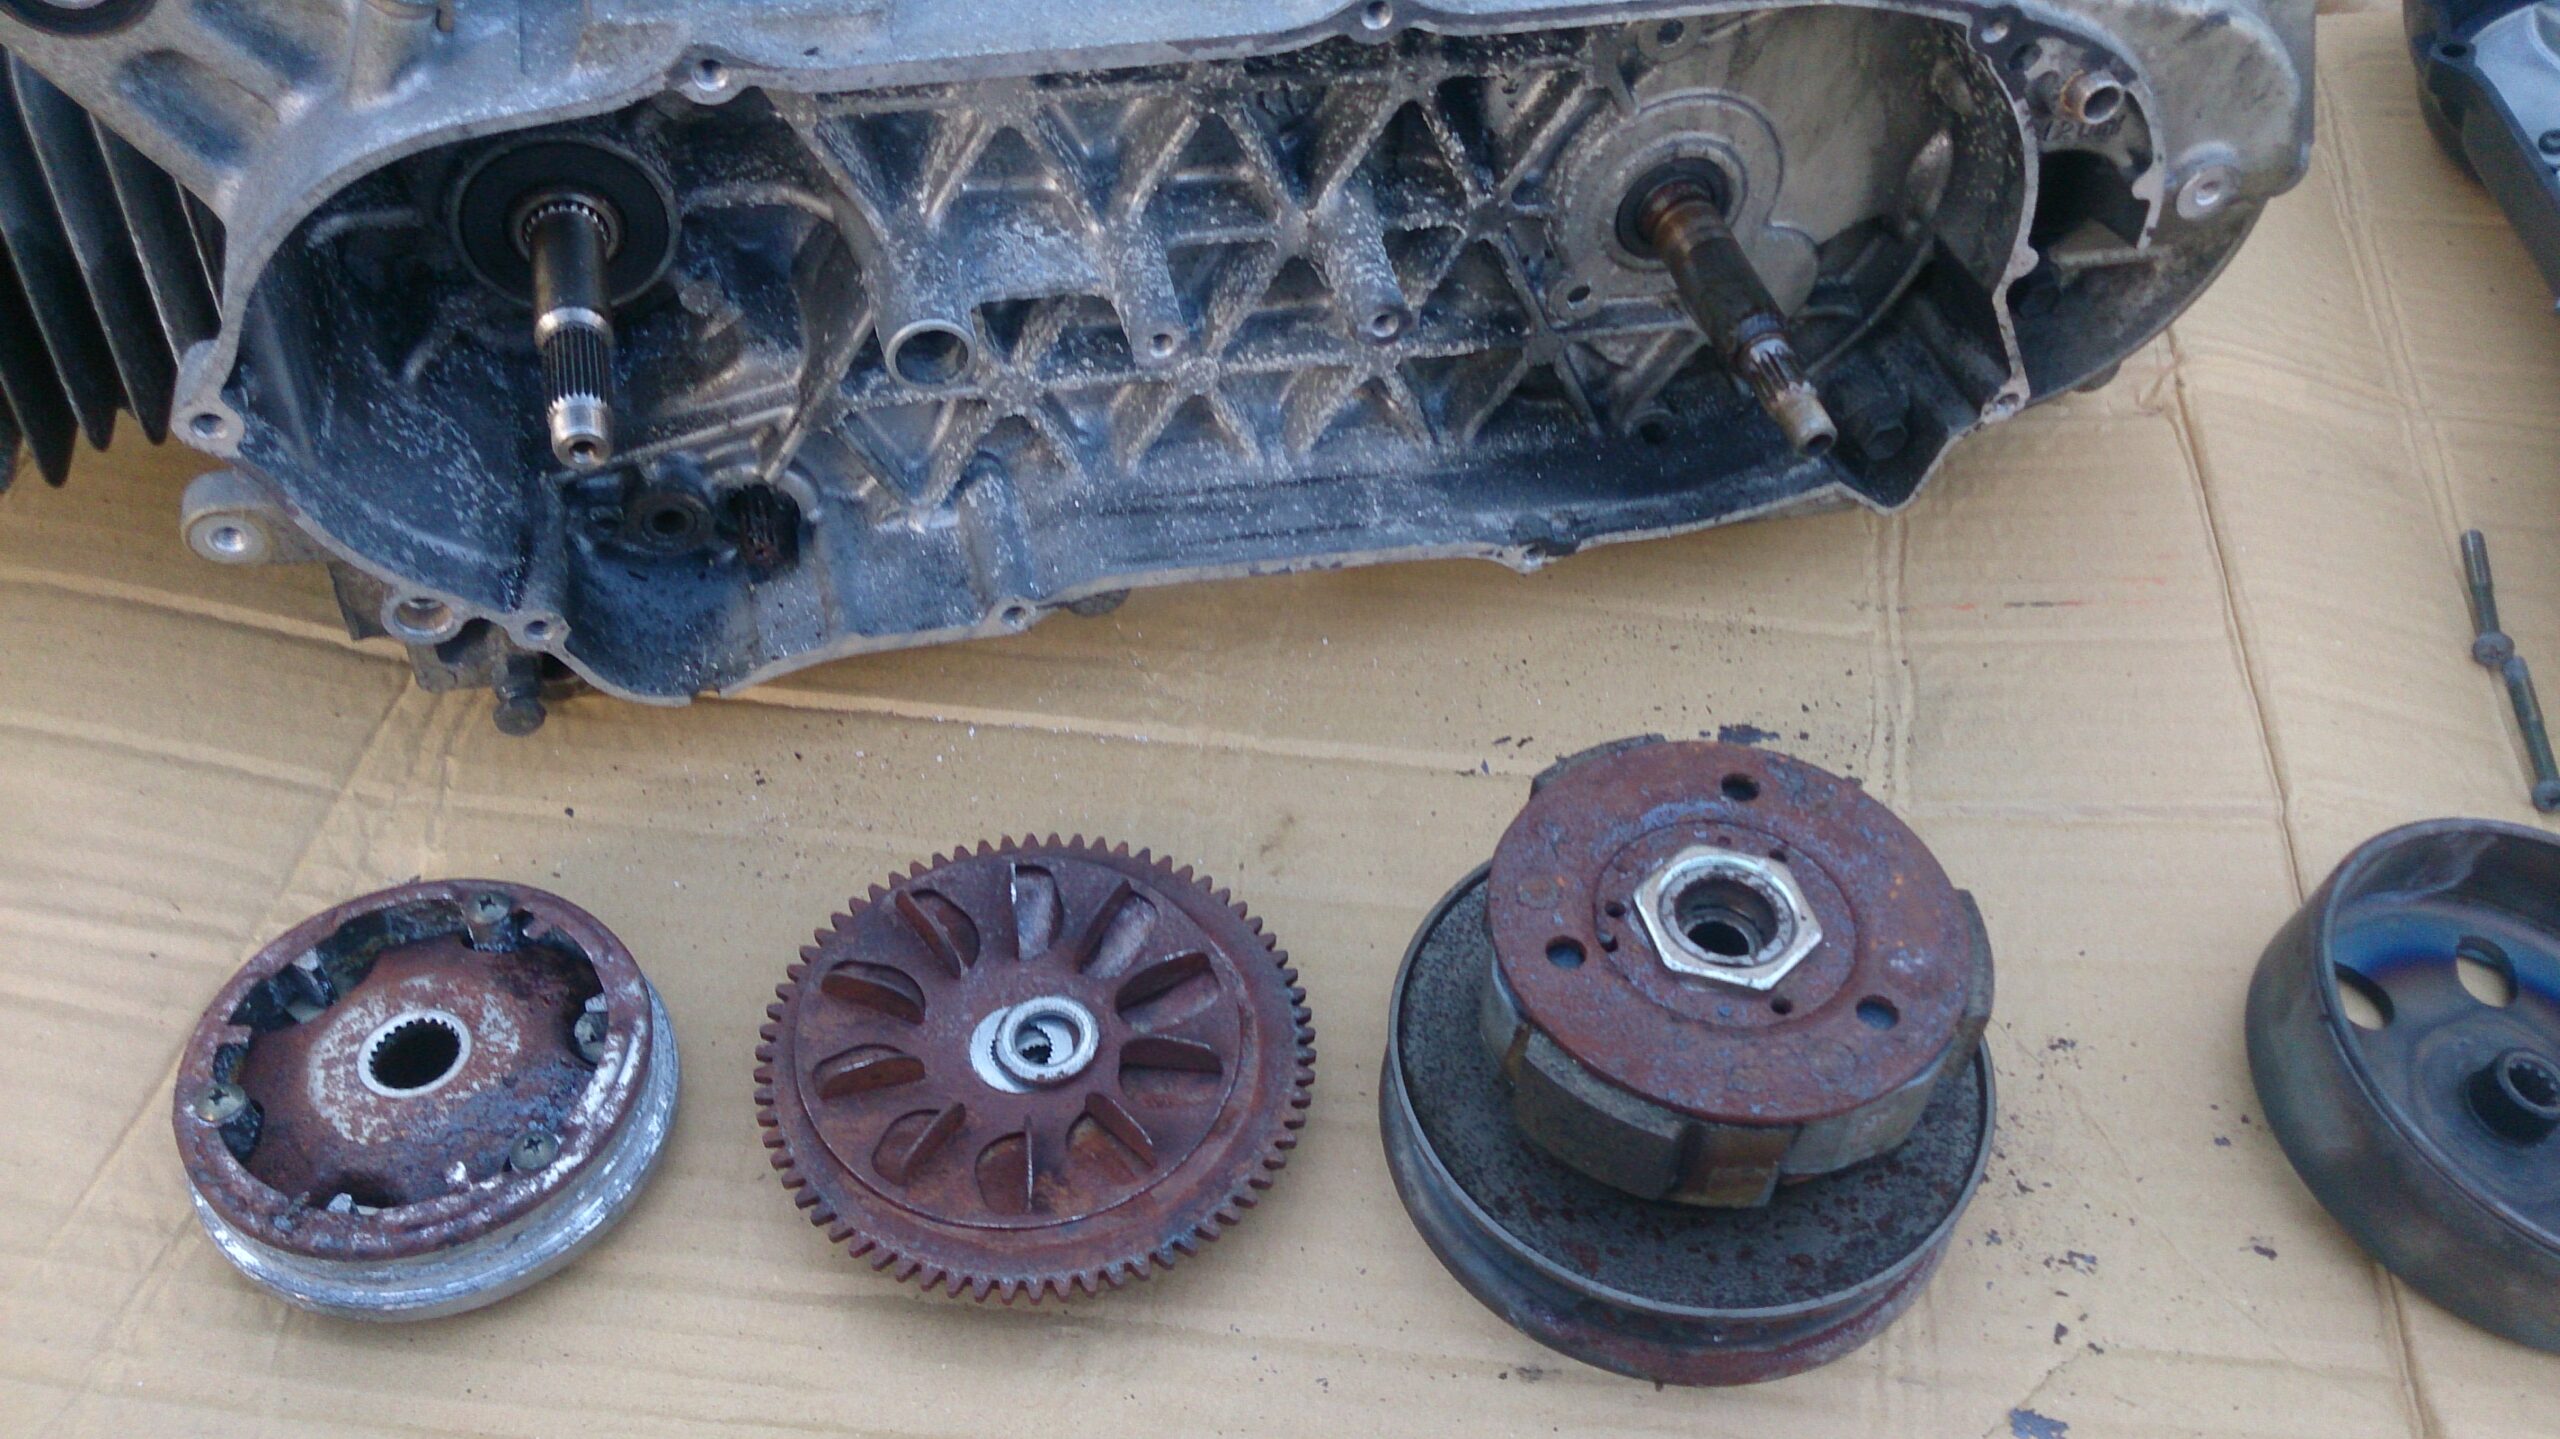
駆動系チューン
駆動系チューンにハマっていたこの頃。
ウェイトローラーとプーリーは何回換えたか分かりません。
右に付いてる冷却ダクト(ただの雨樋)は金甲山で右にバンクさせた時に引っ掛かってぶっ飛んでいきました。アーメン
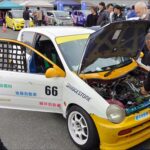
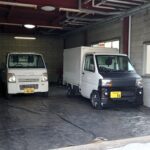
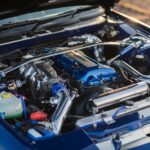
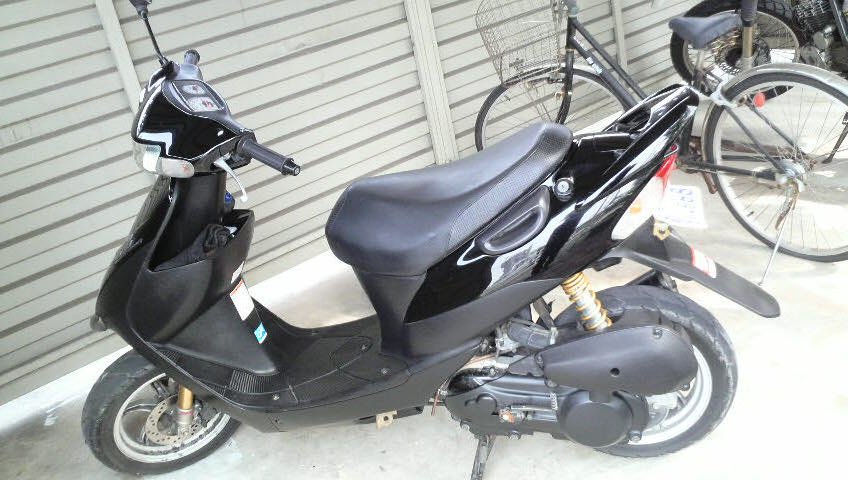
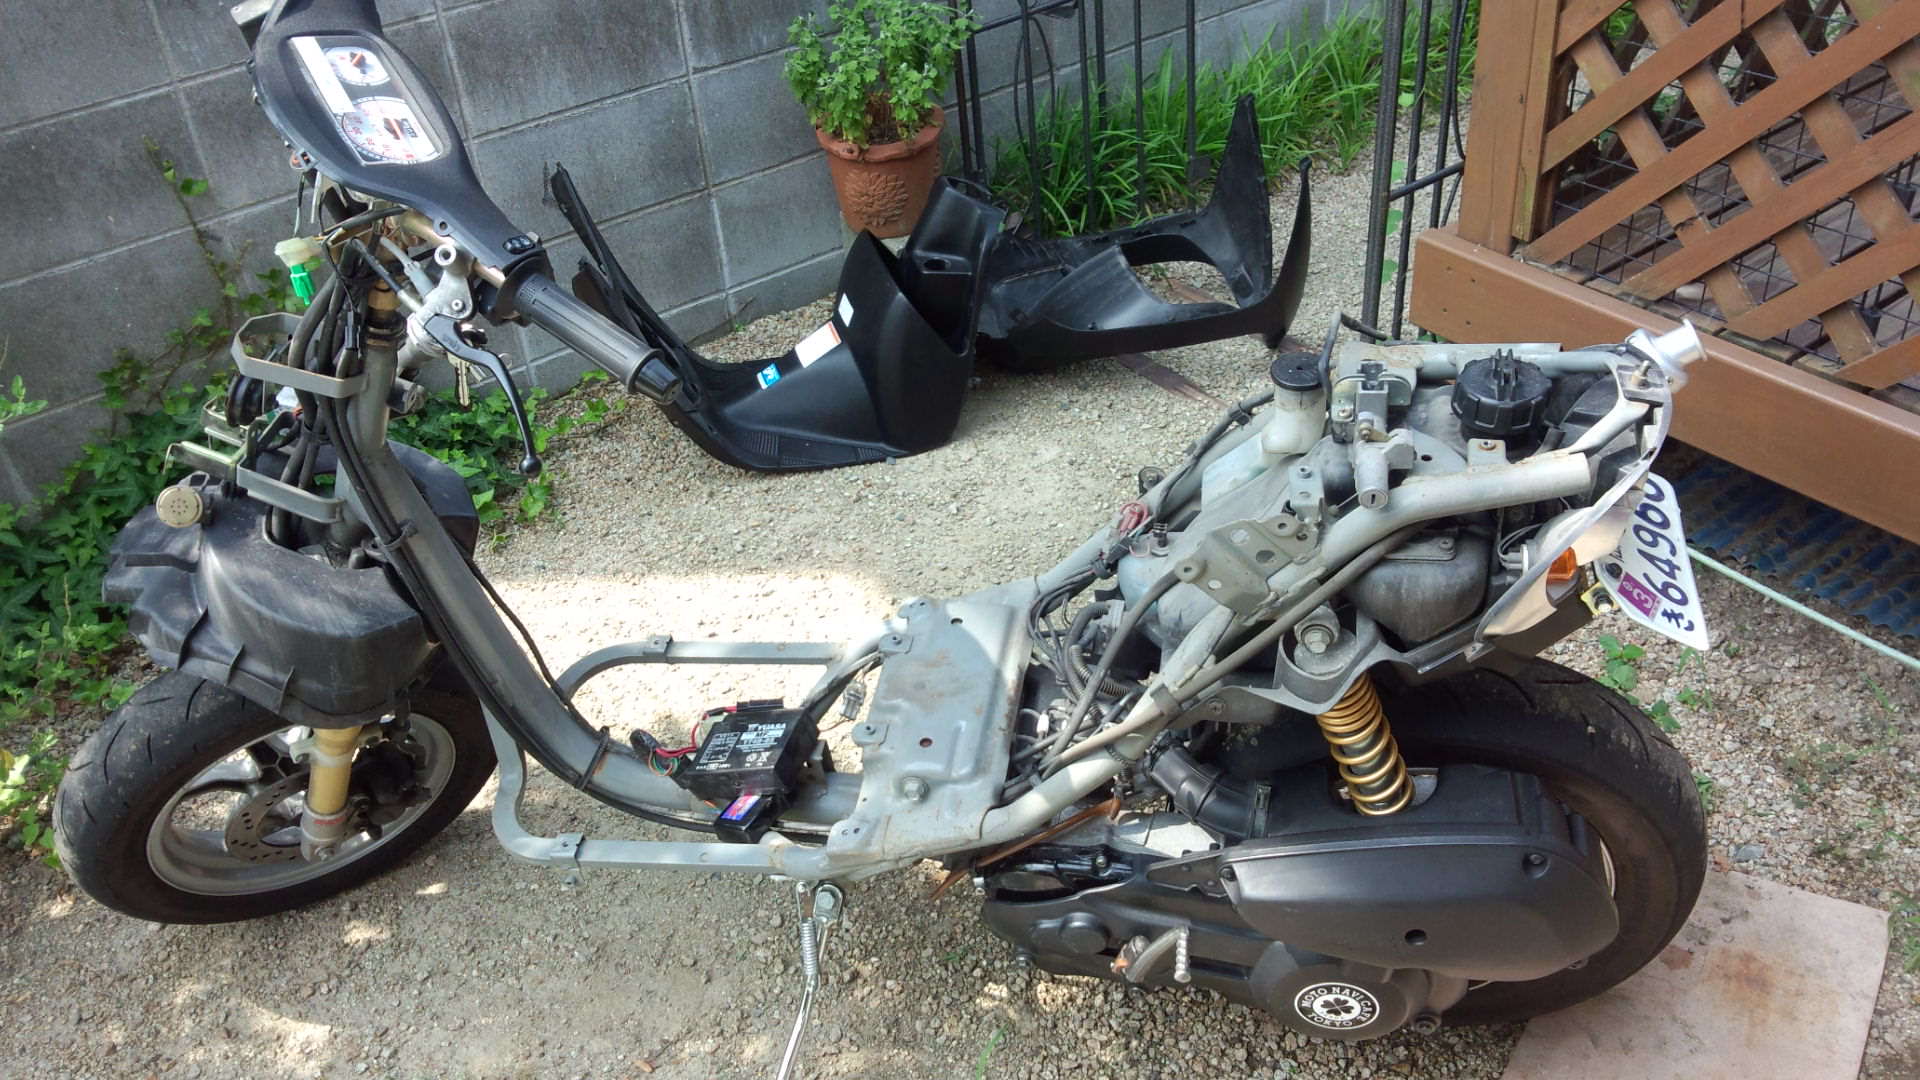
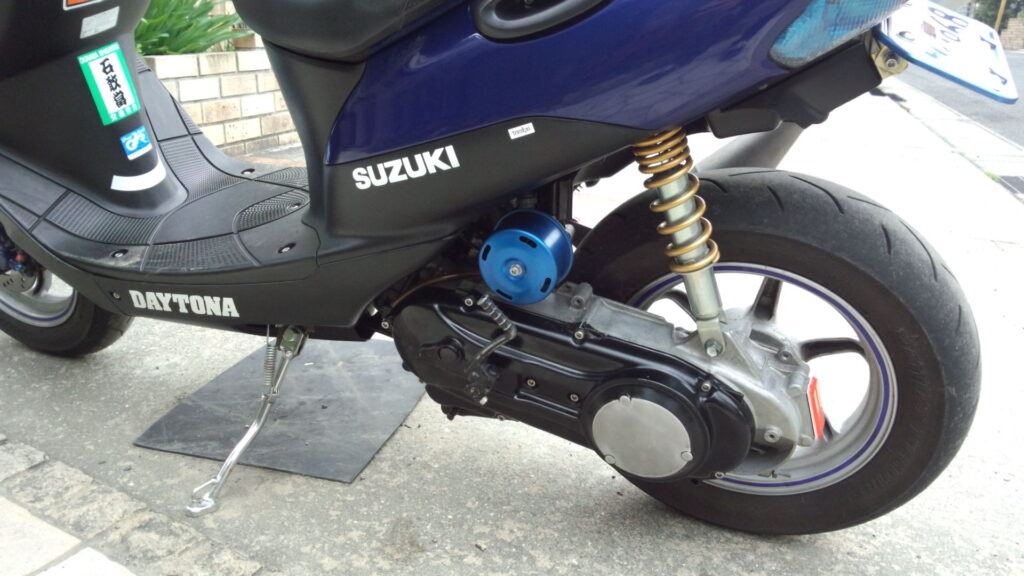
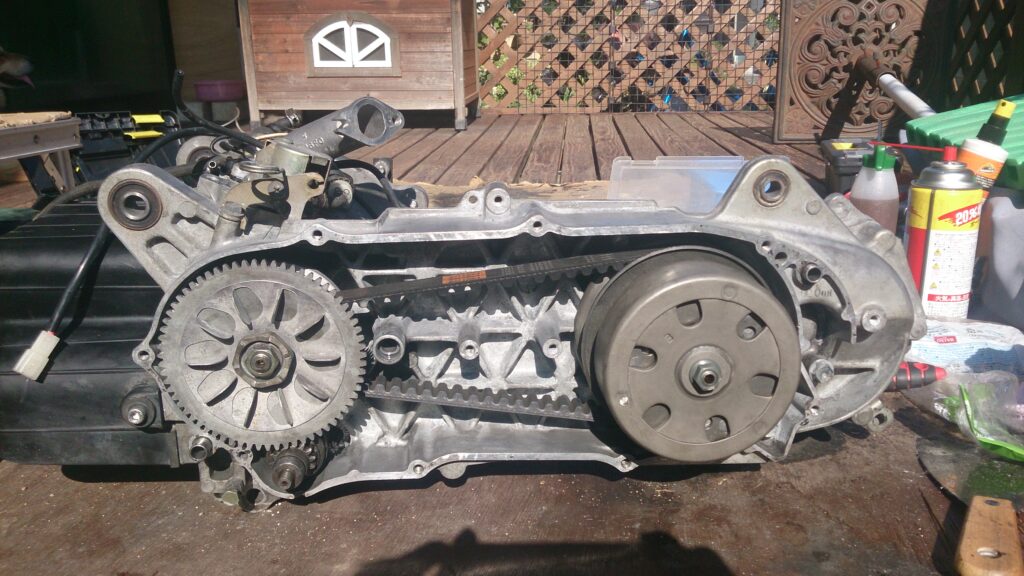
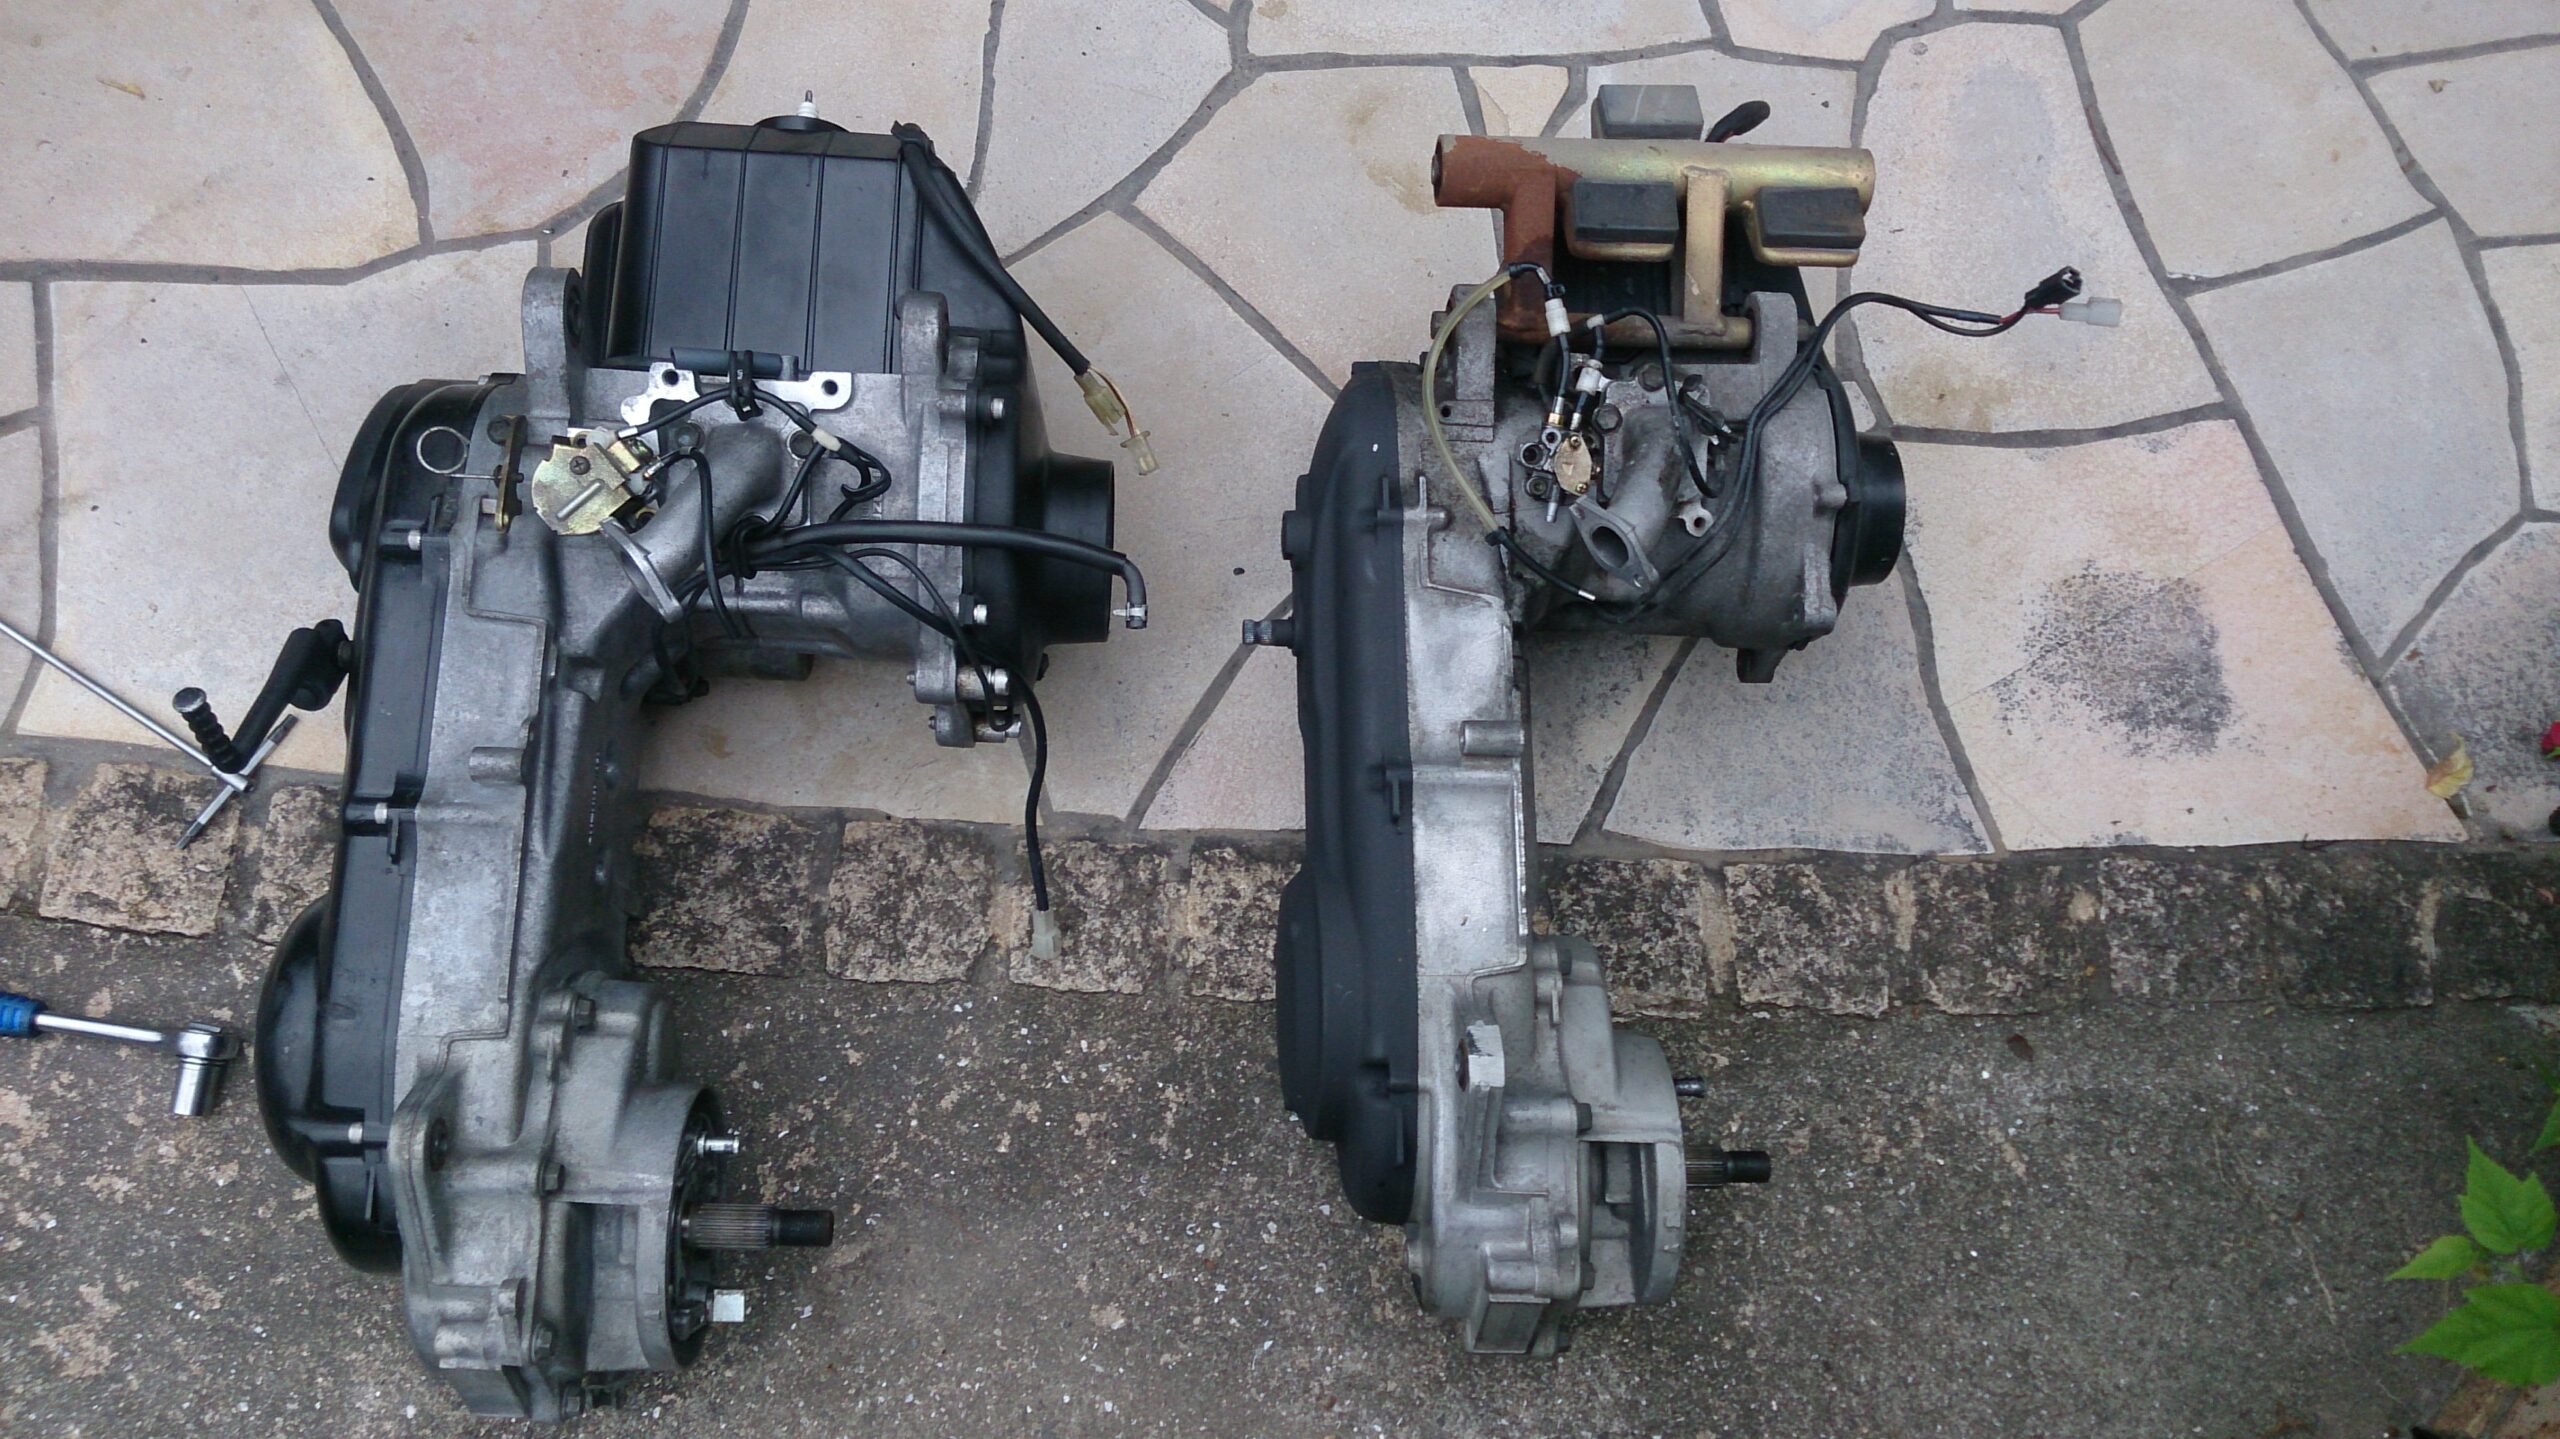
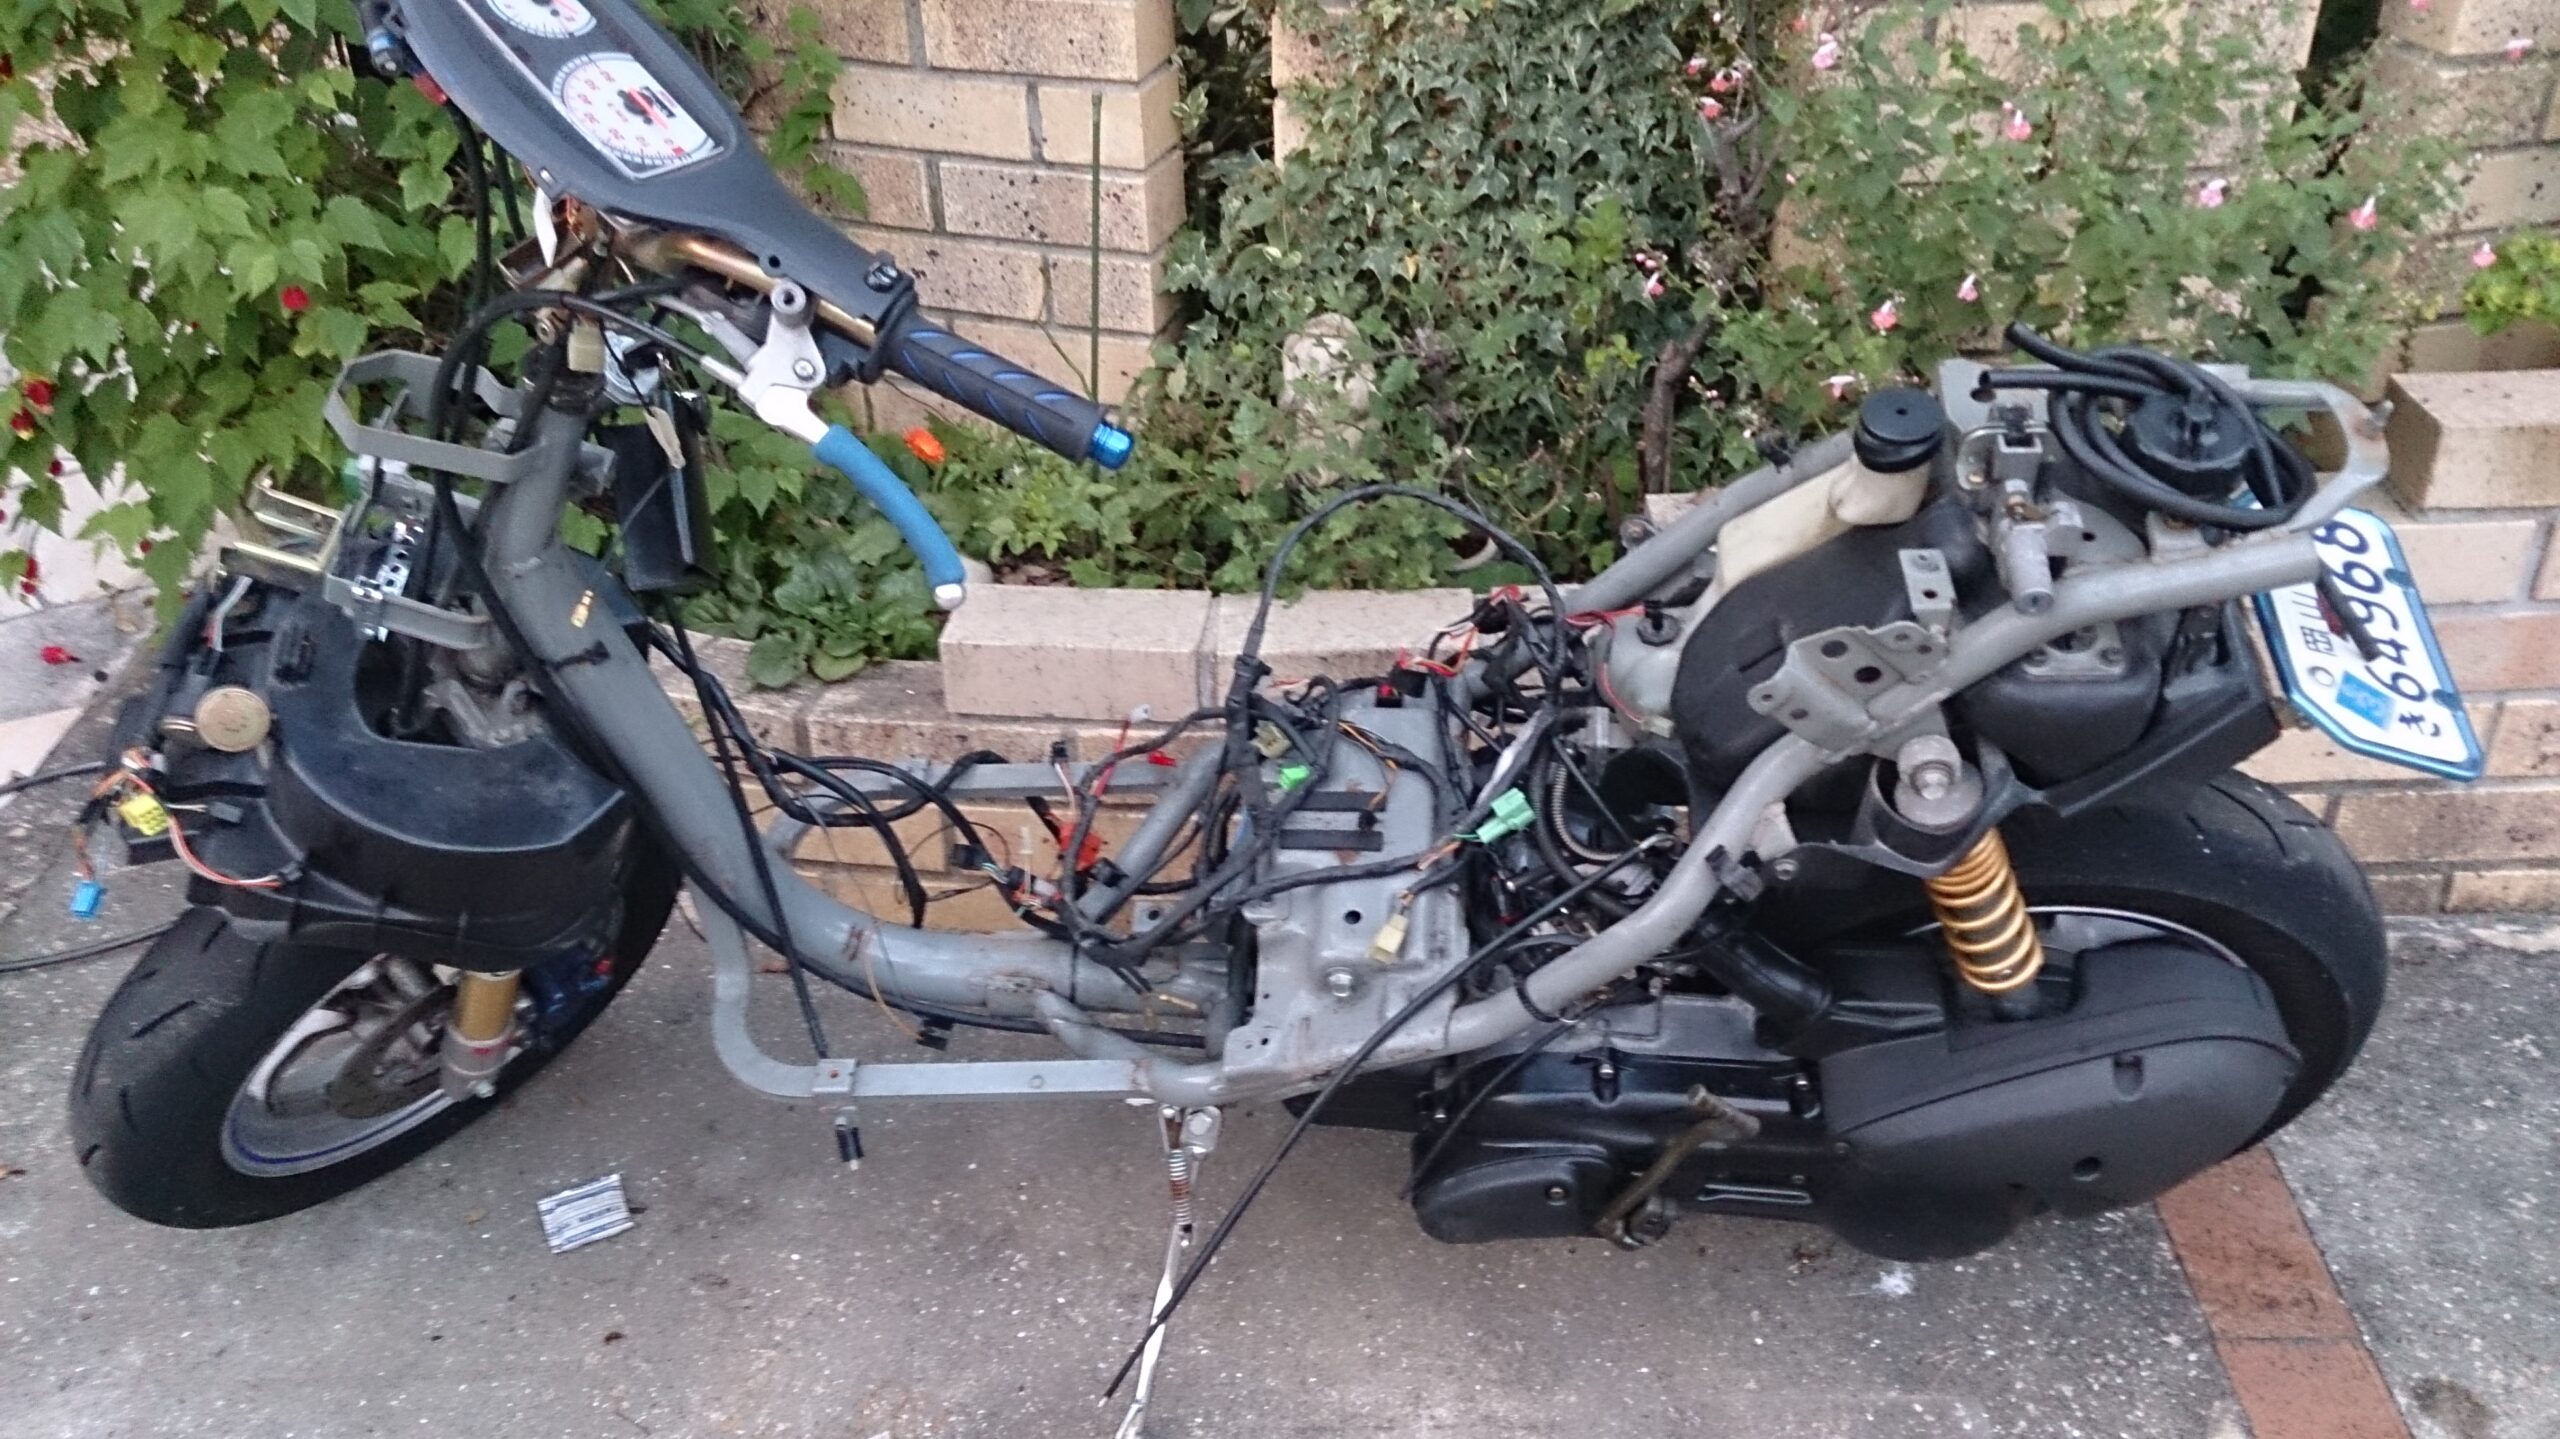
アドレス110エンジン換装
ポート加工、ボアアップを経てさらに大きなPowerを安定して得るために、禁断のエンジンスワップに踏み切りました。
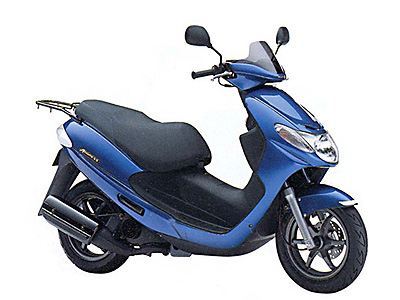
最高出力 10ps/6.000rpm
最大トルク 1.31kgm/5.500rpmを発生します。
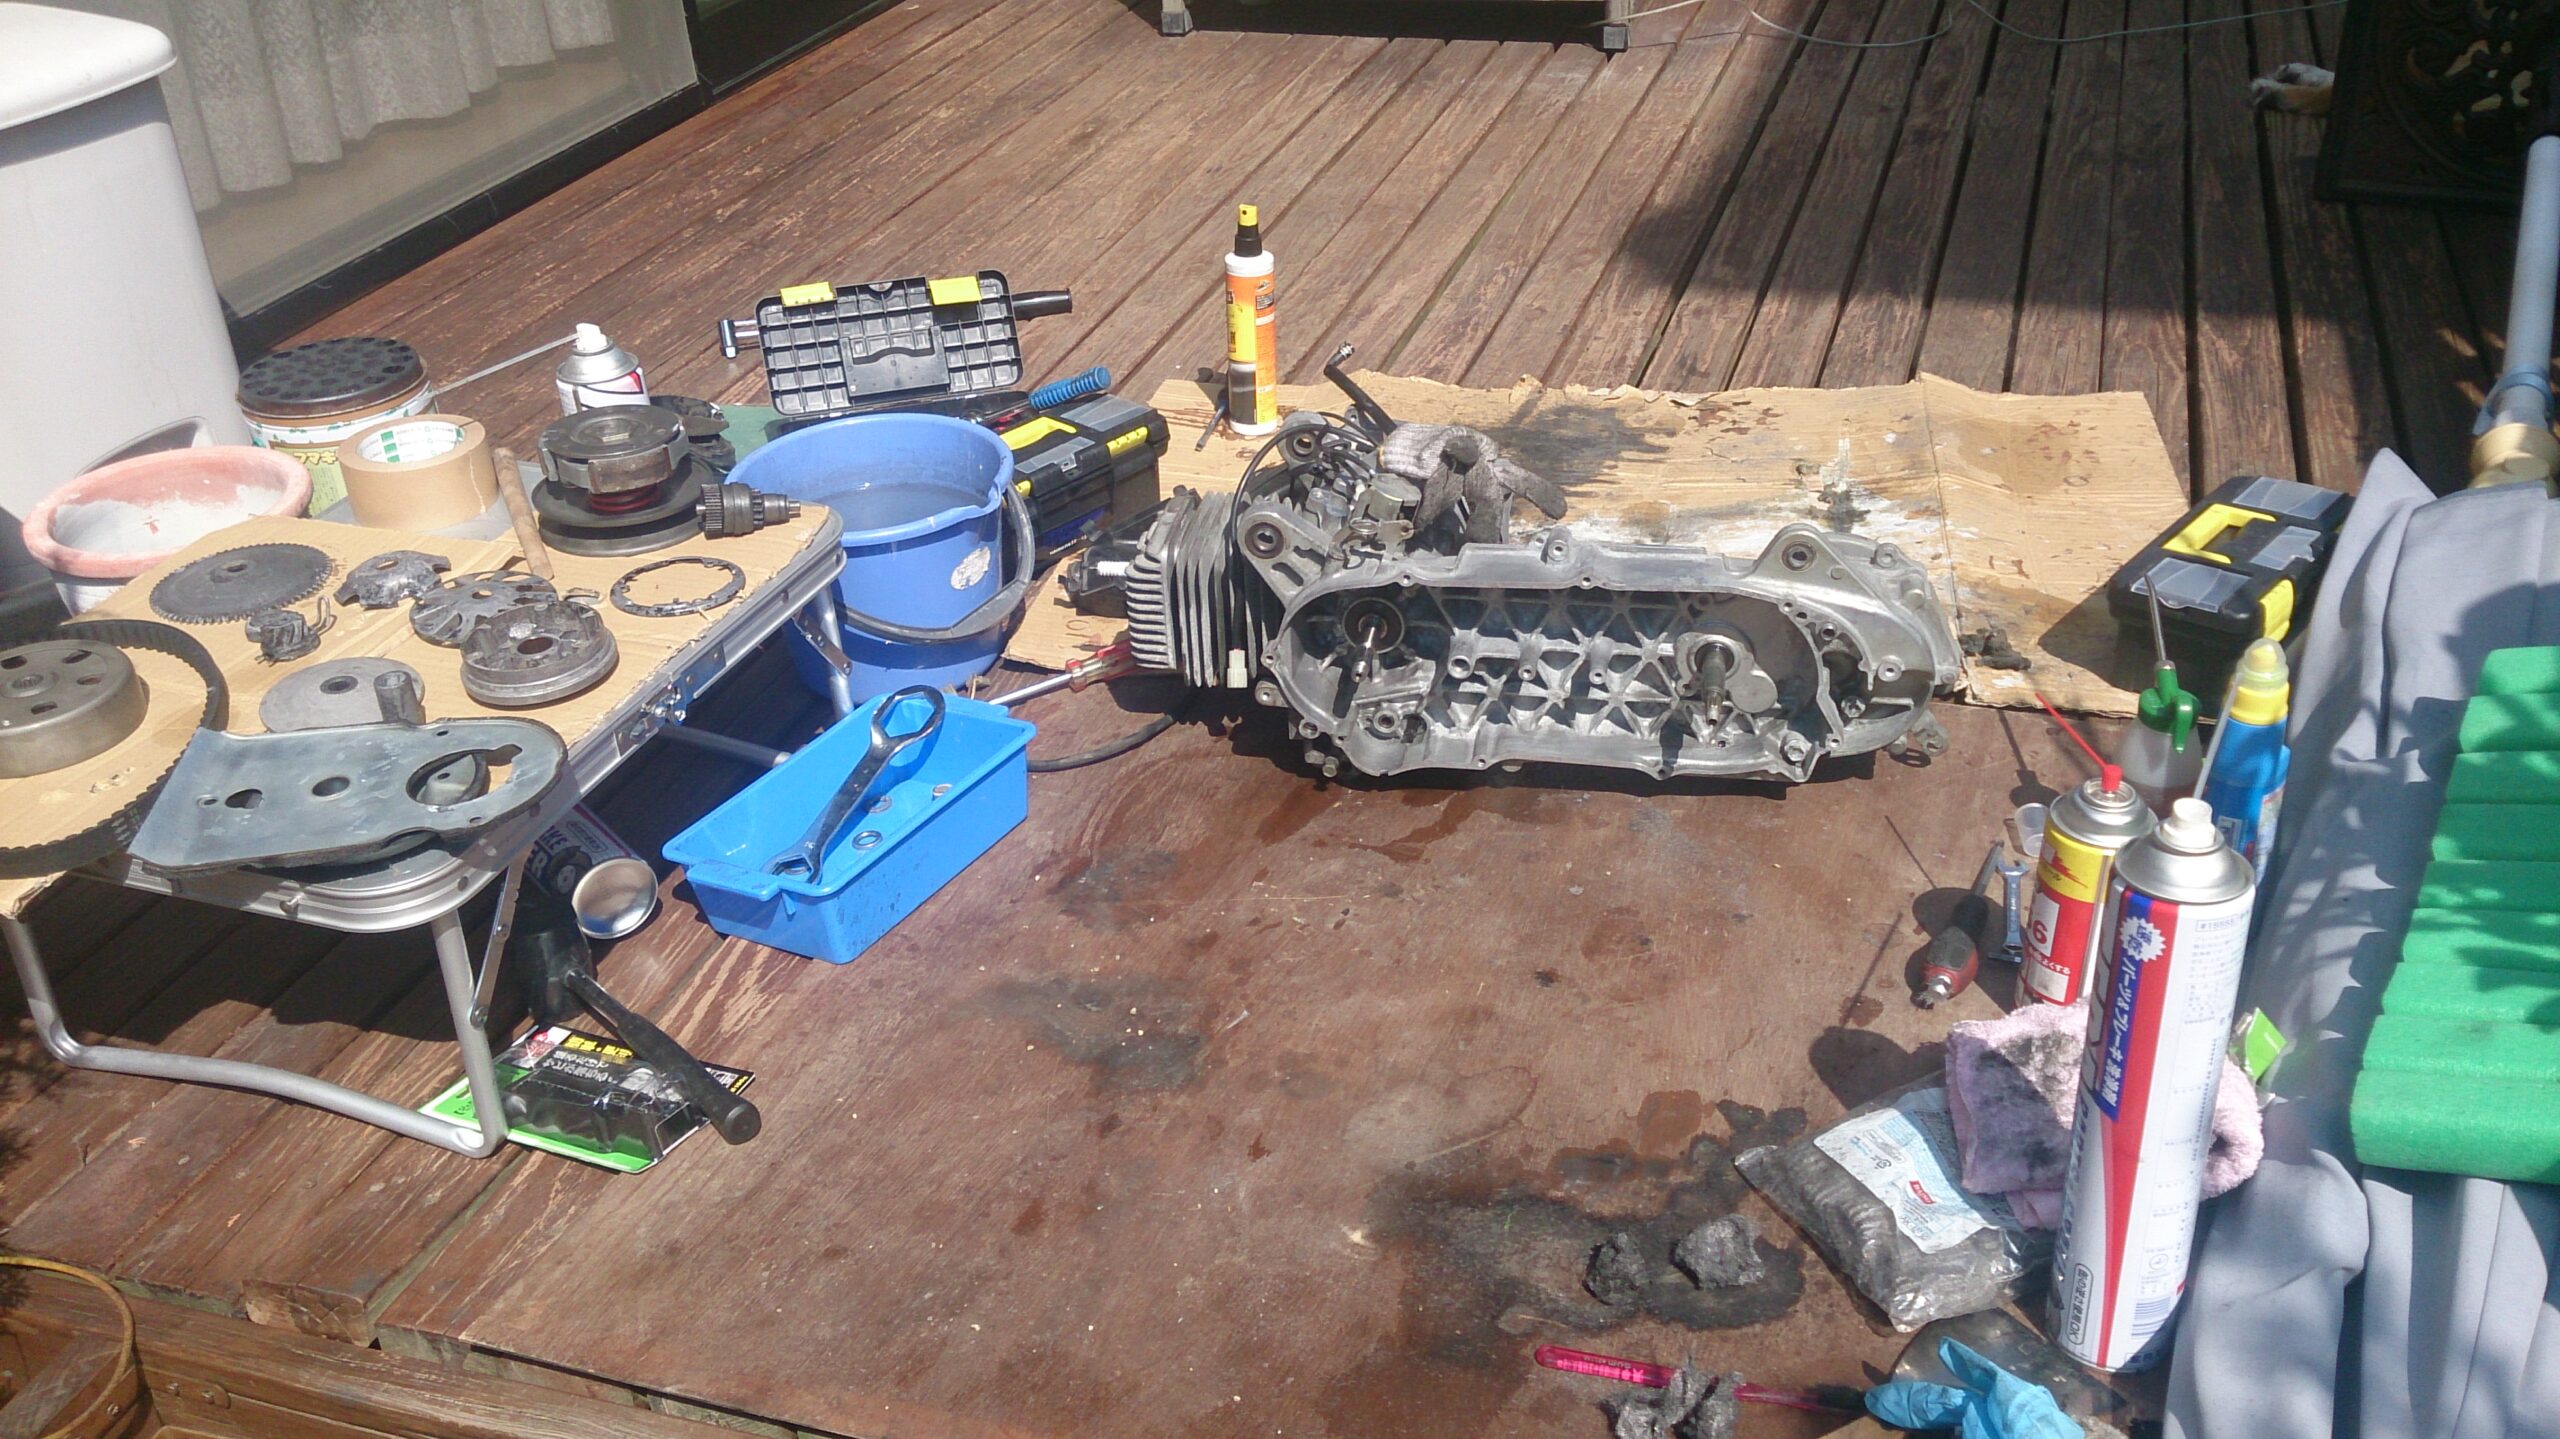
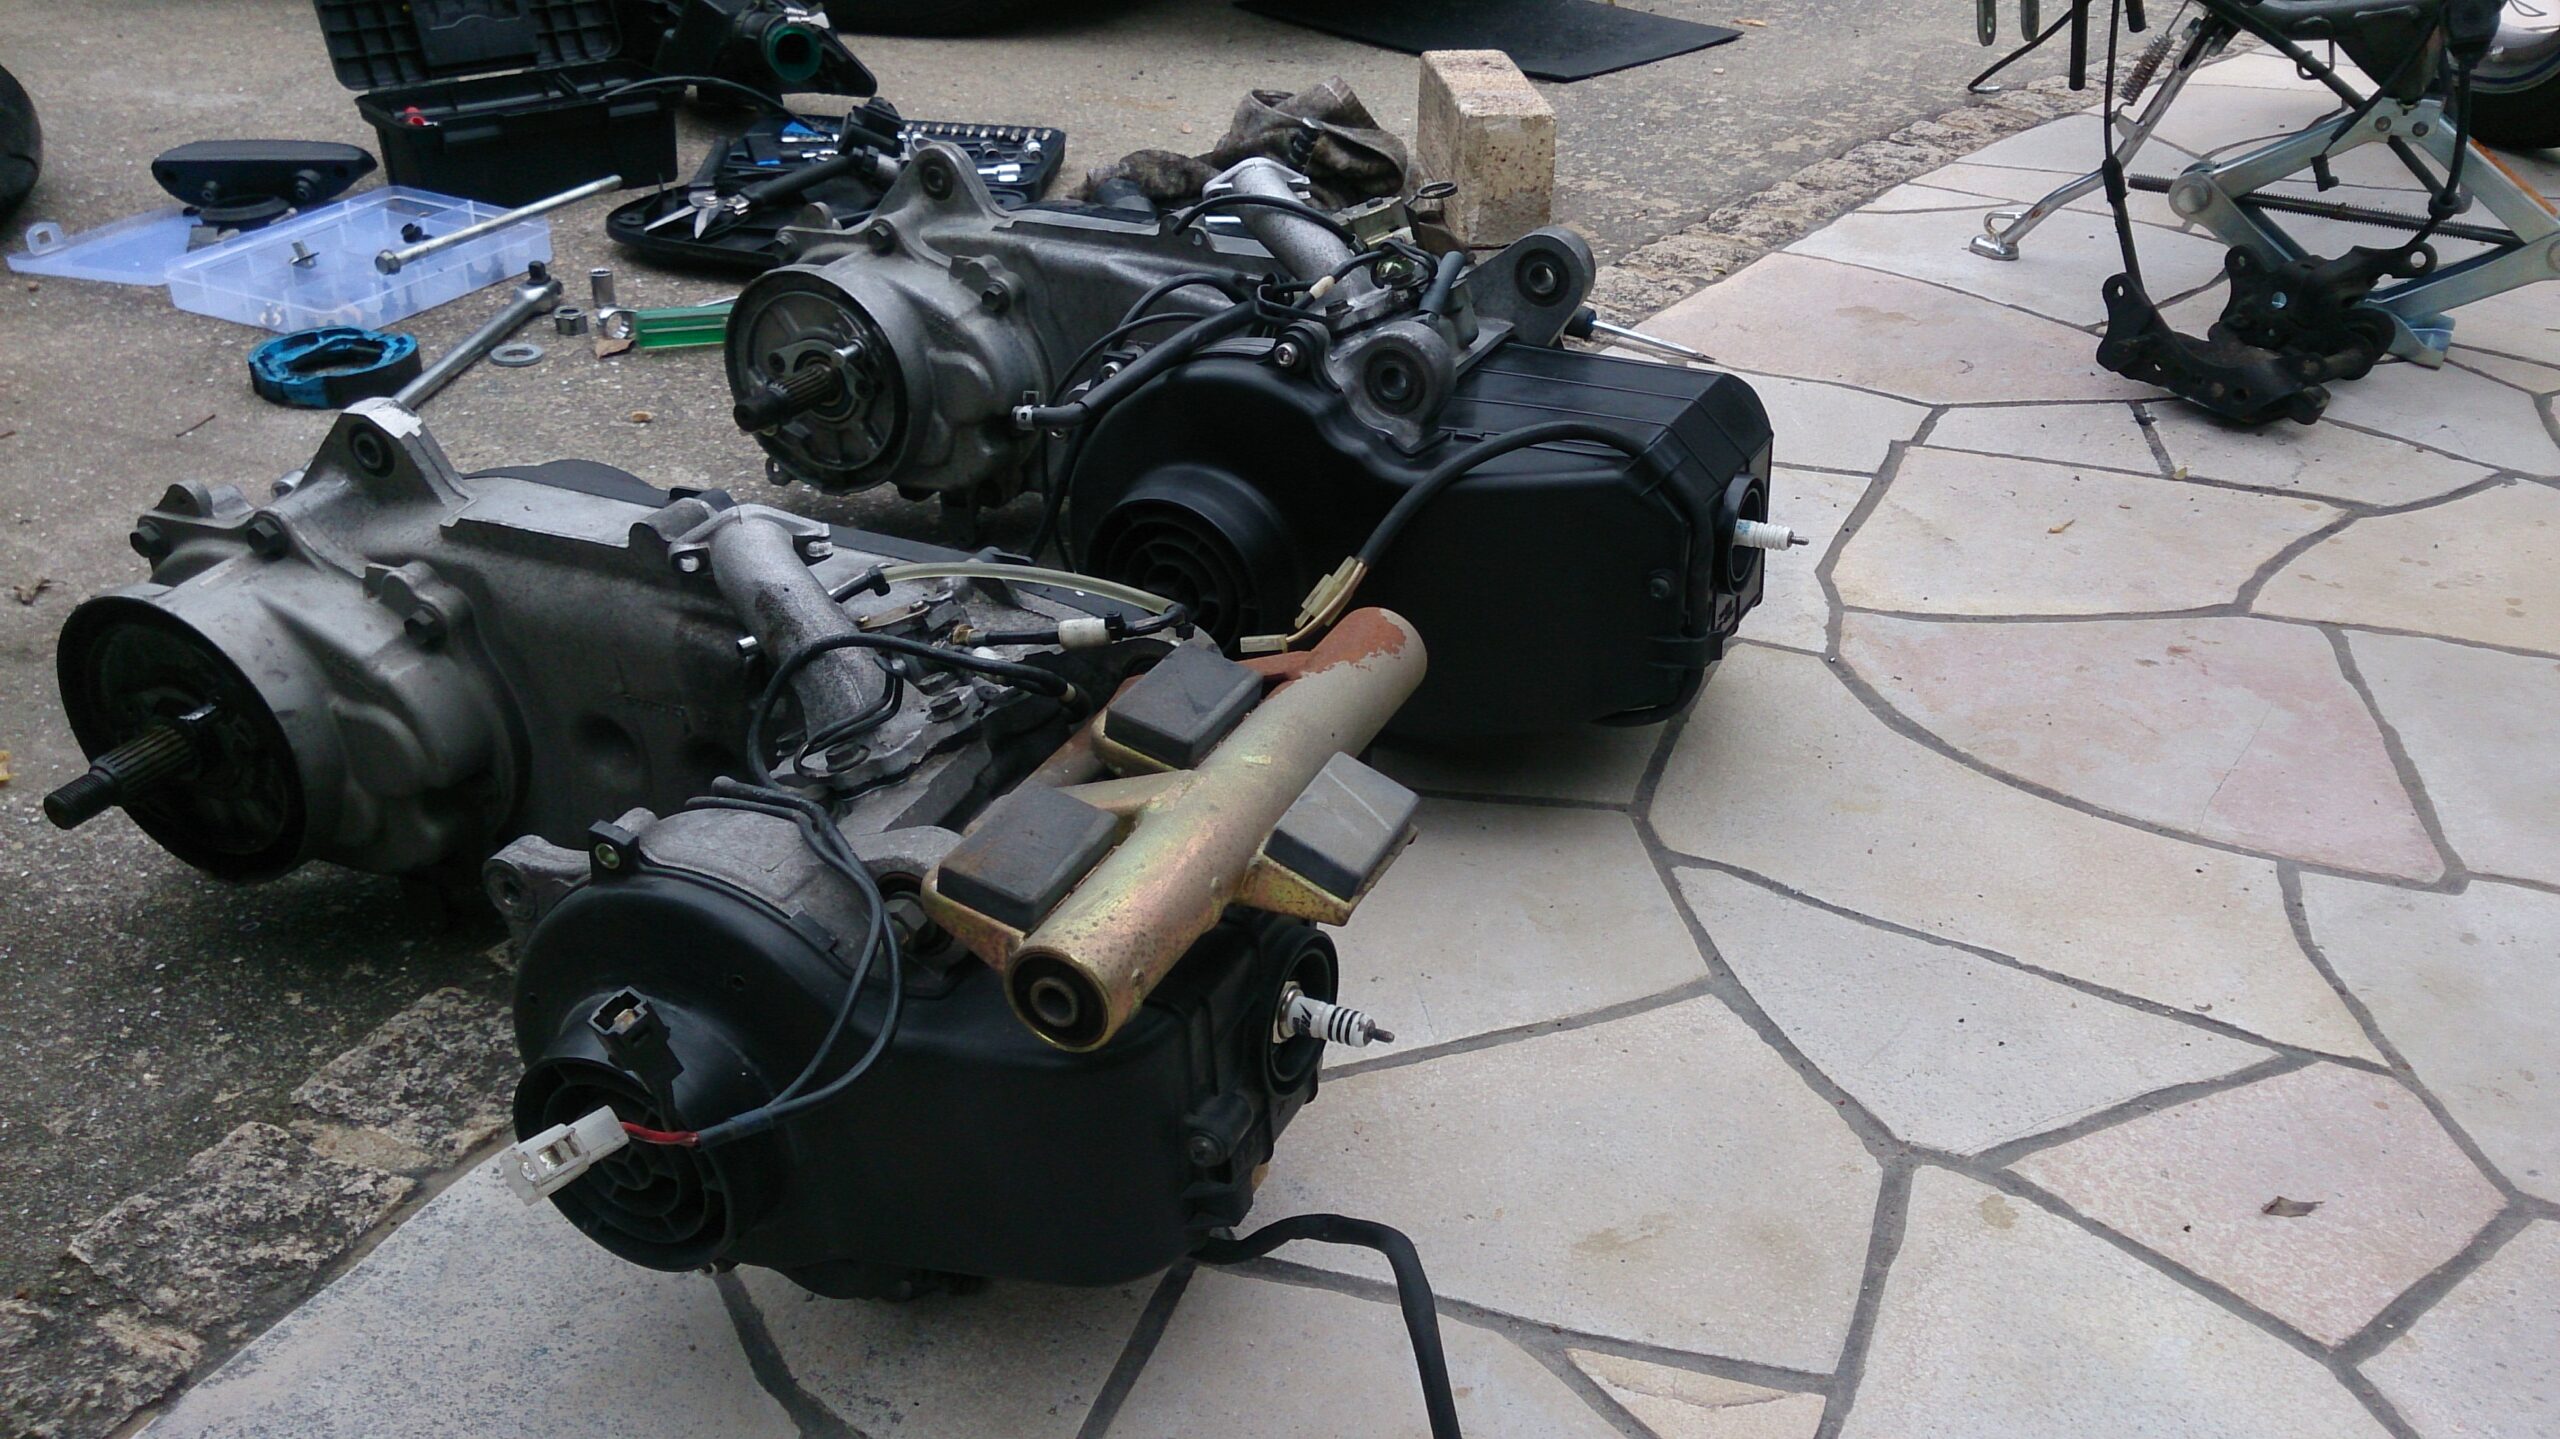
手に入れたエンジン
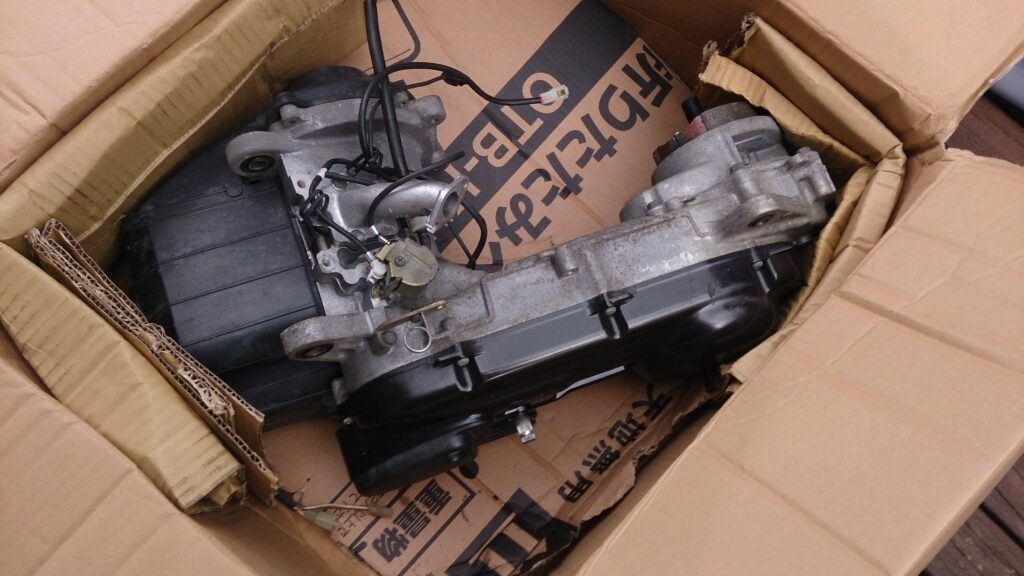
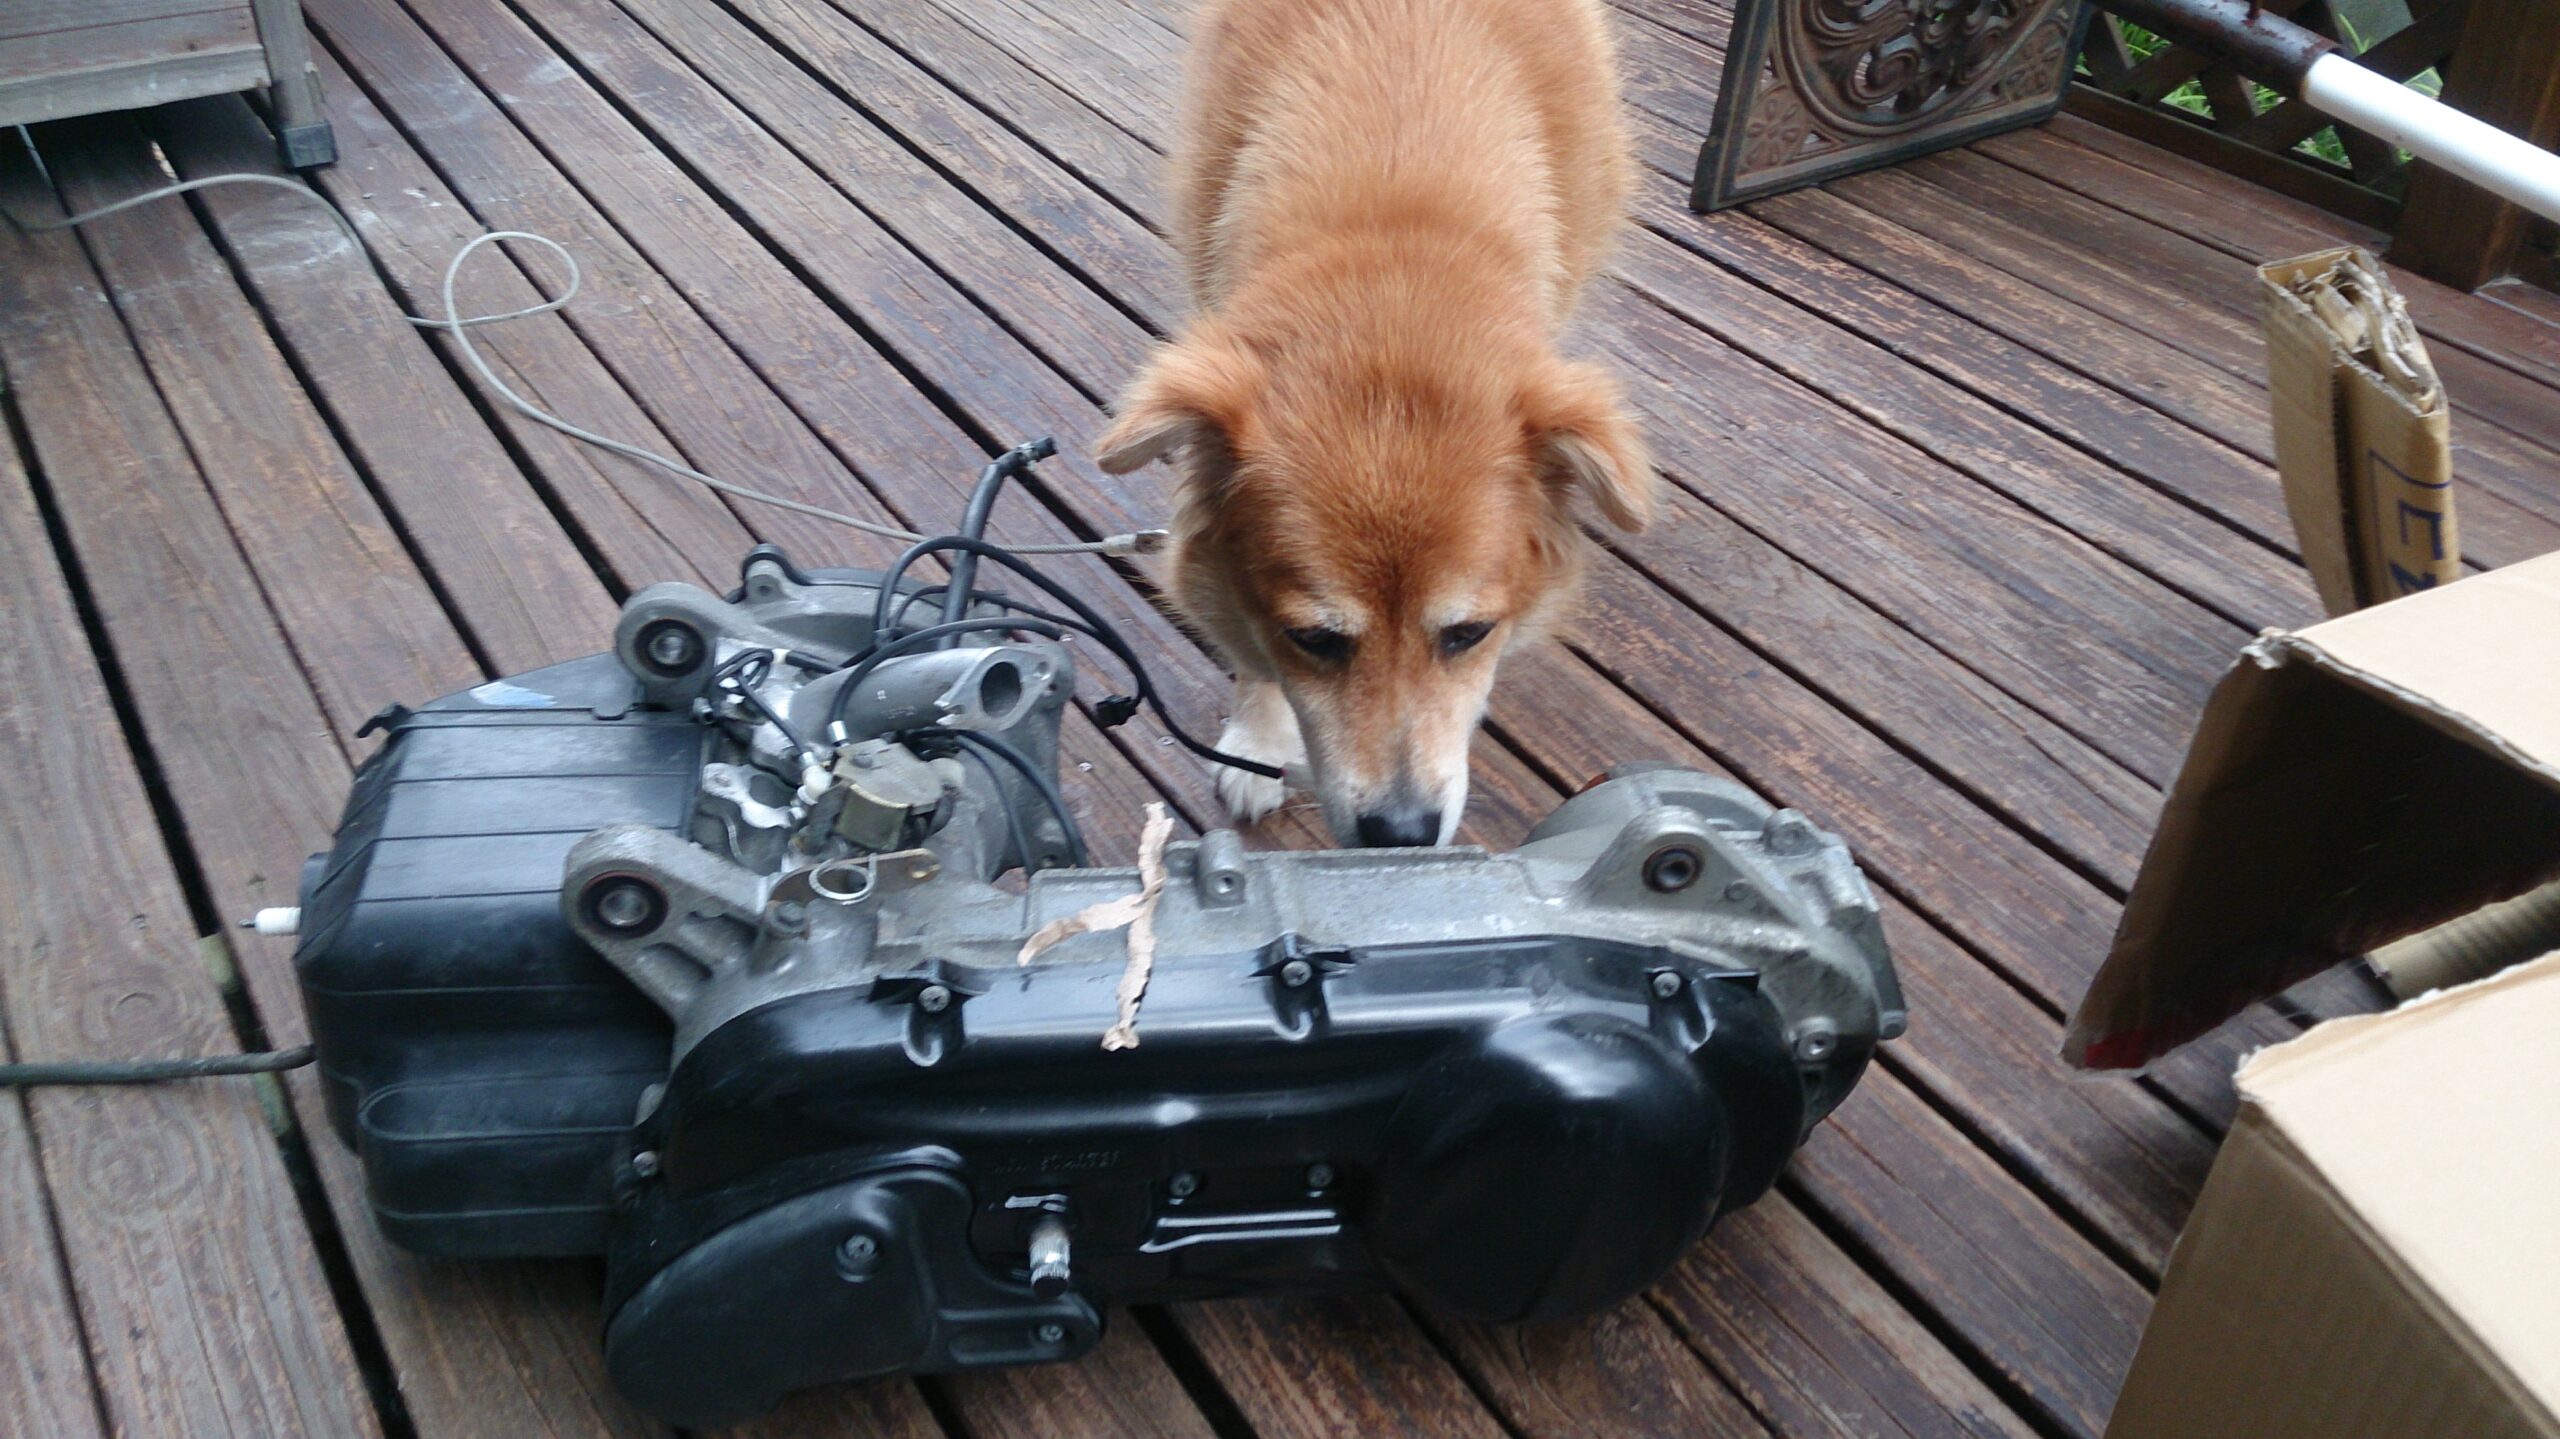
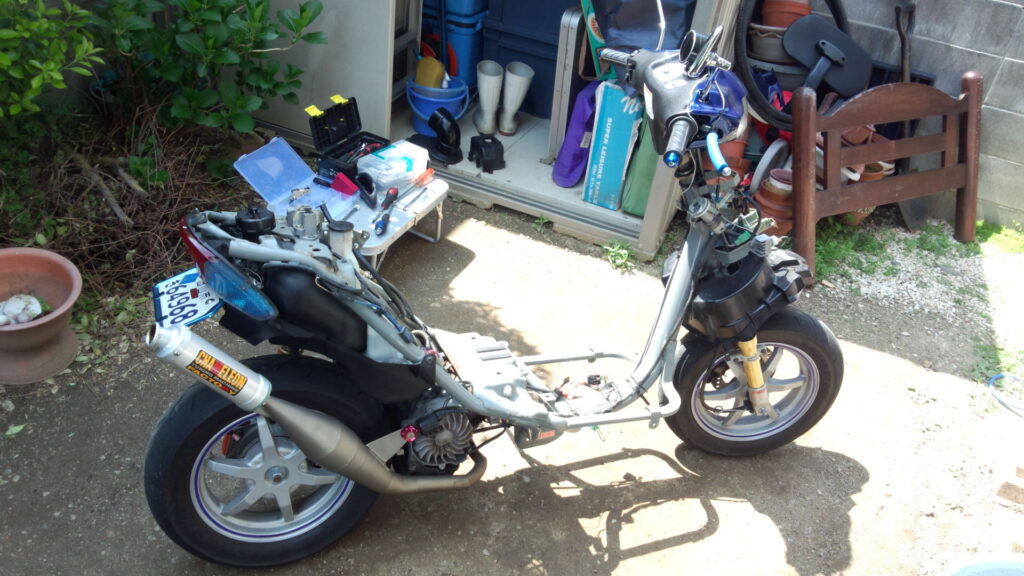
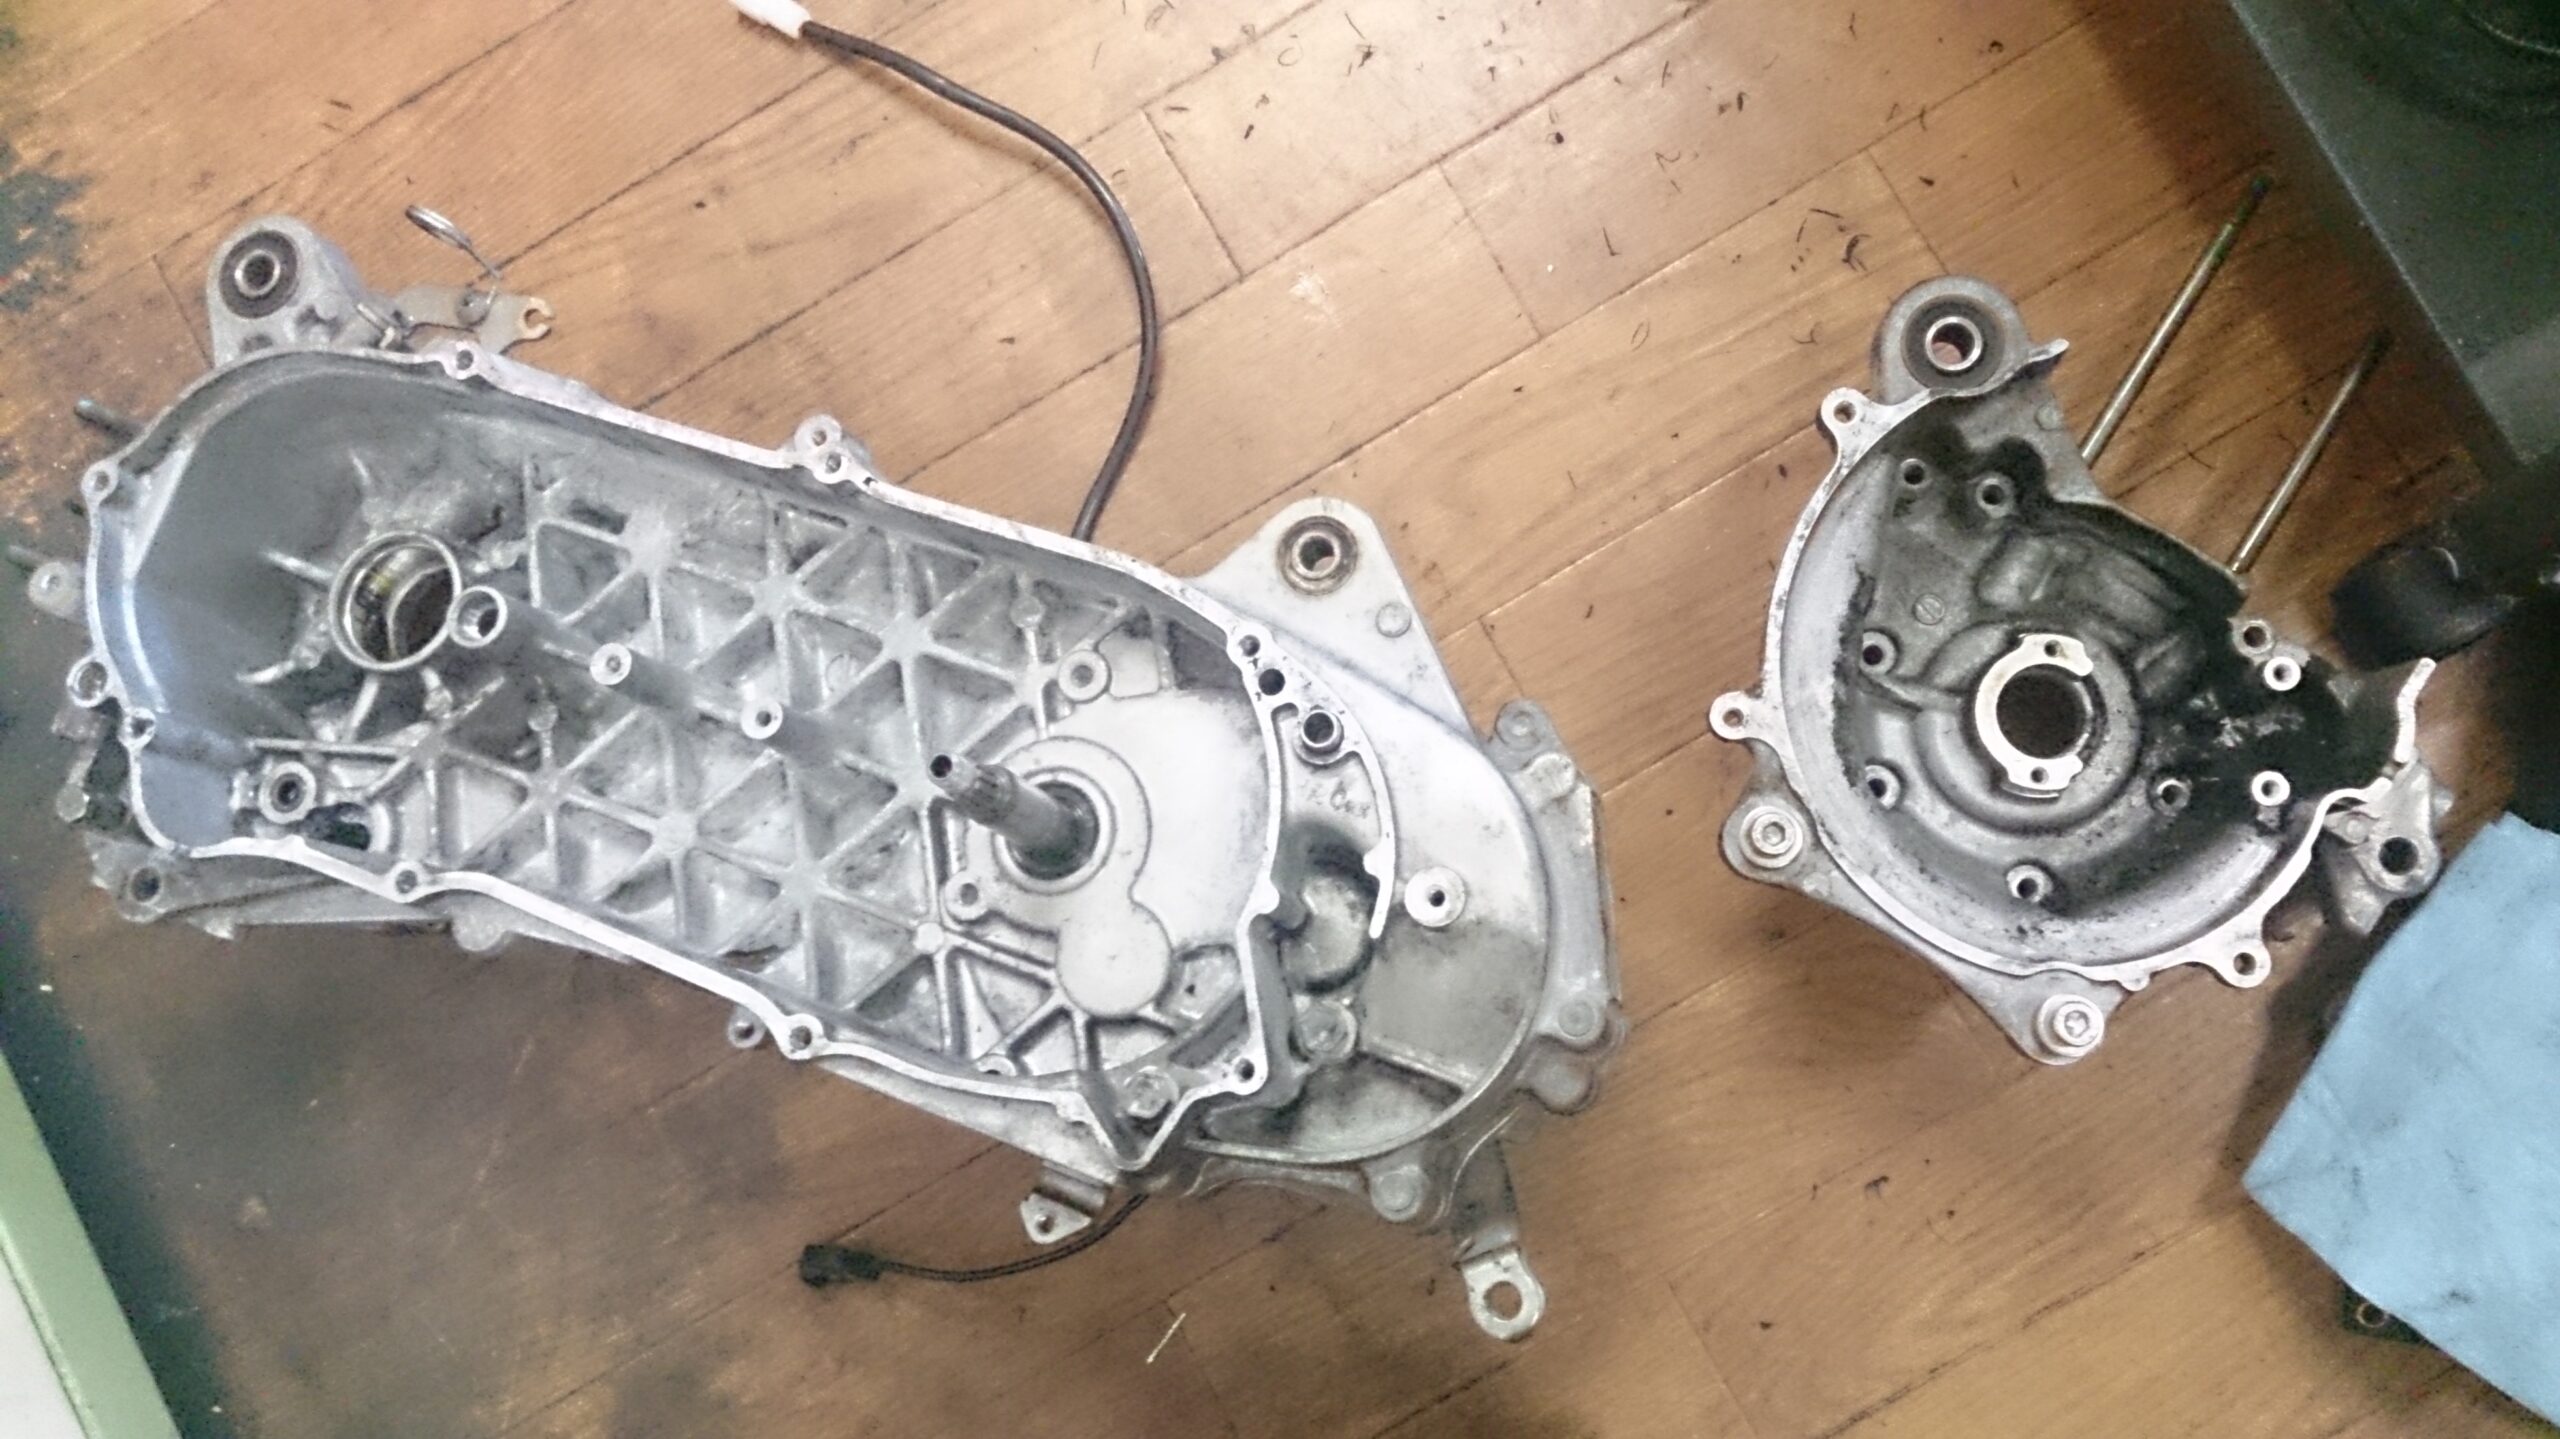
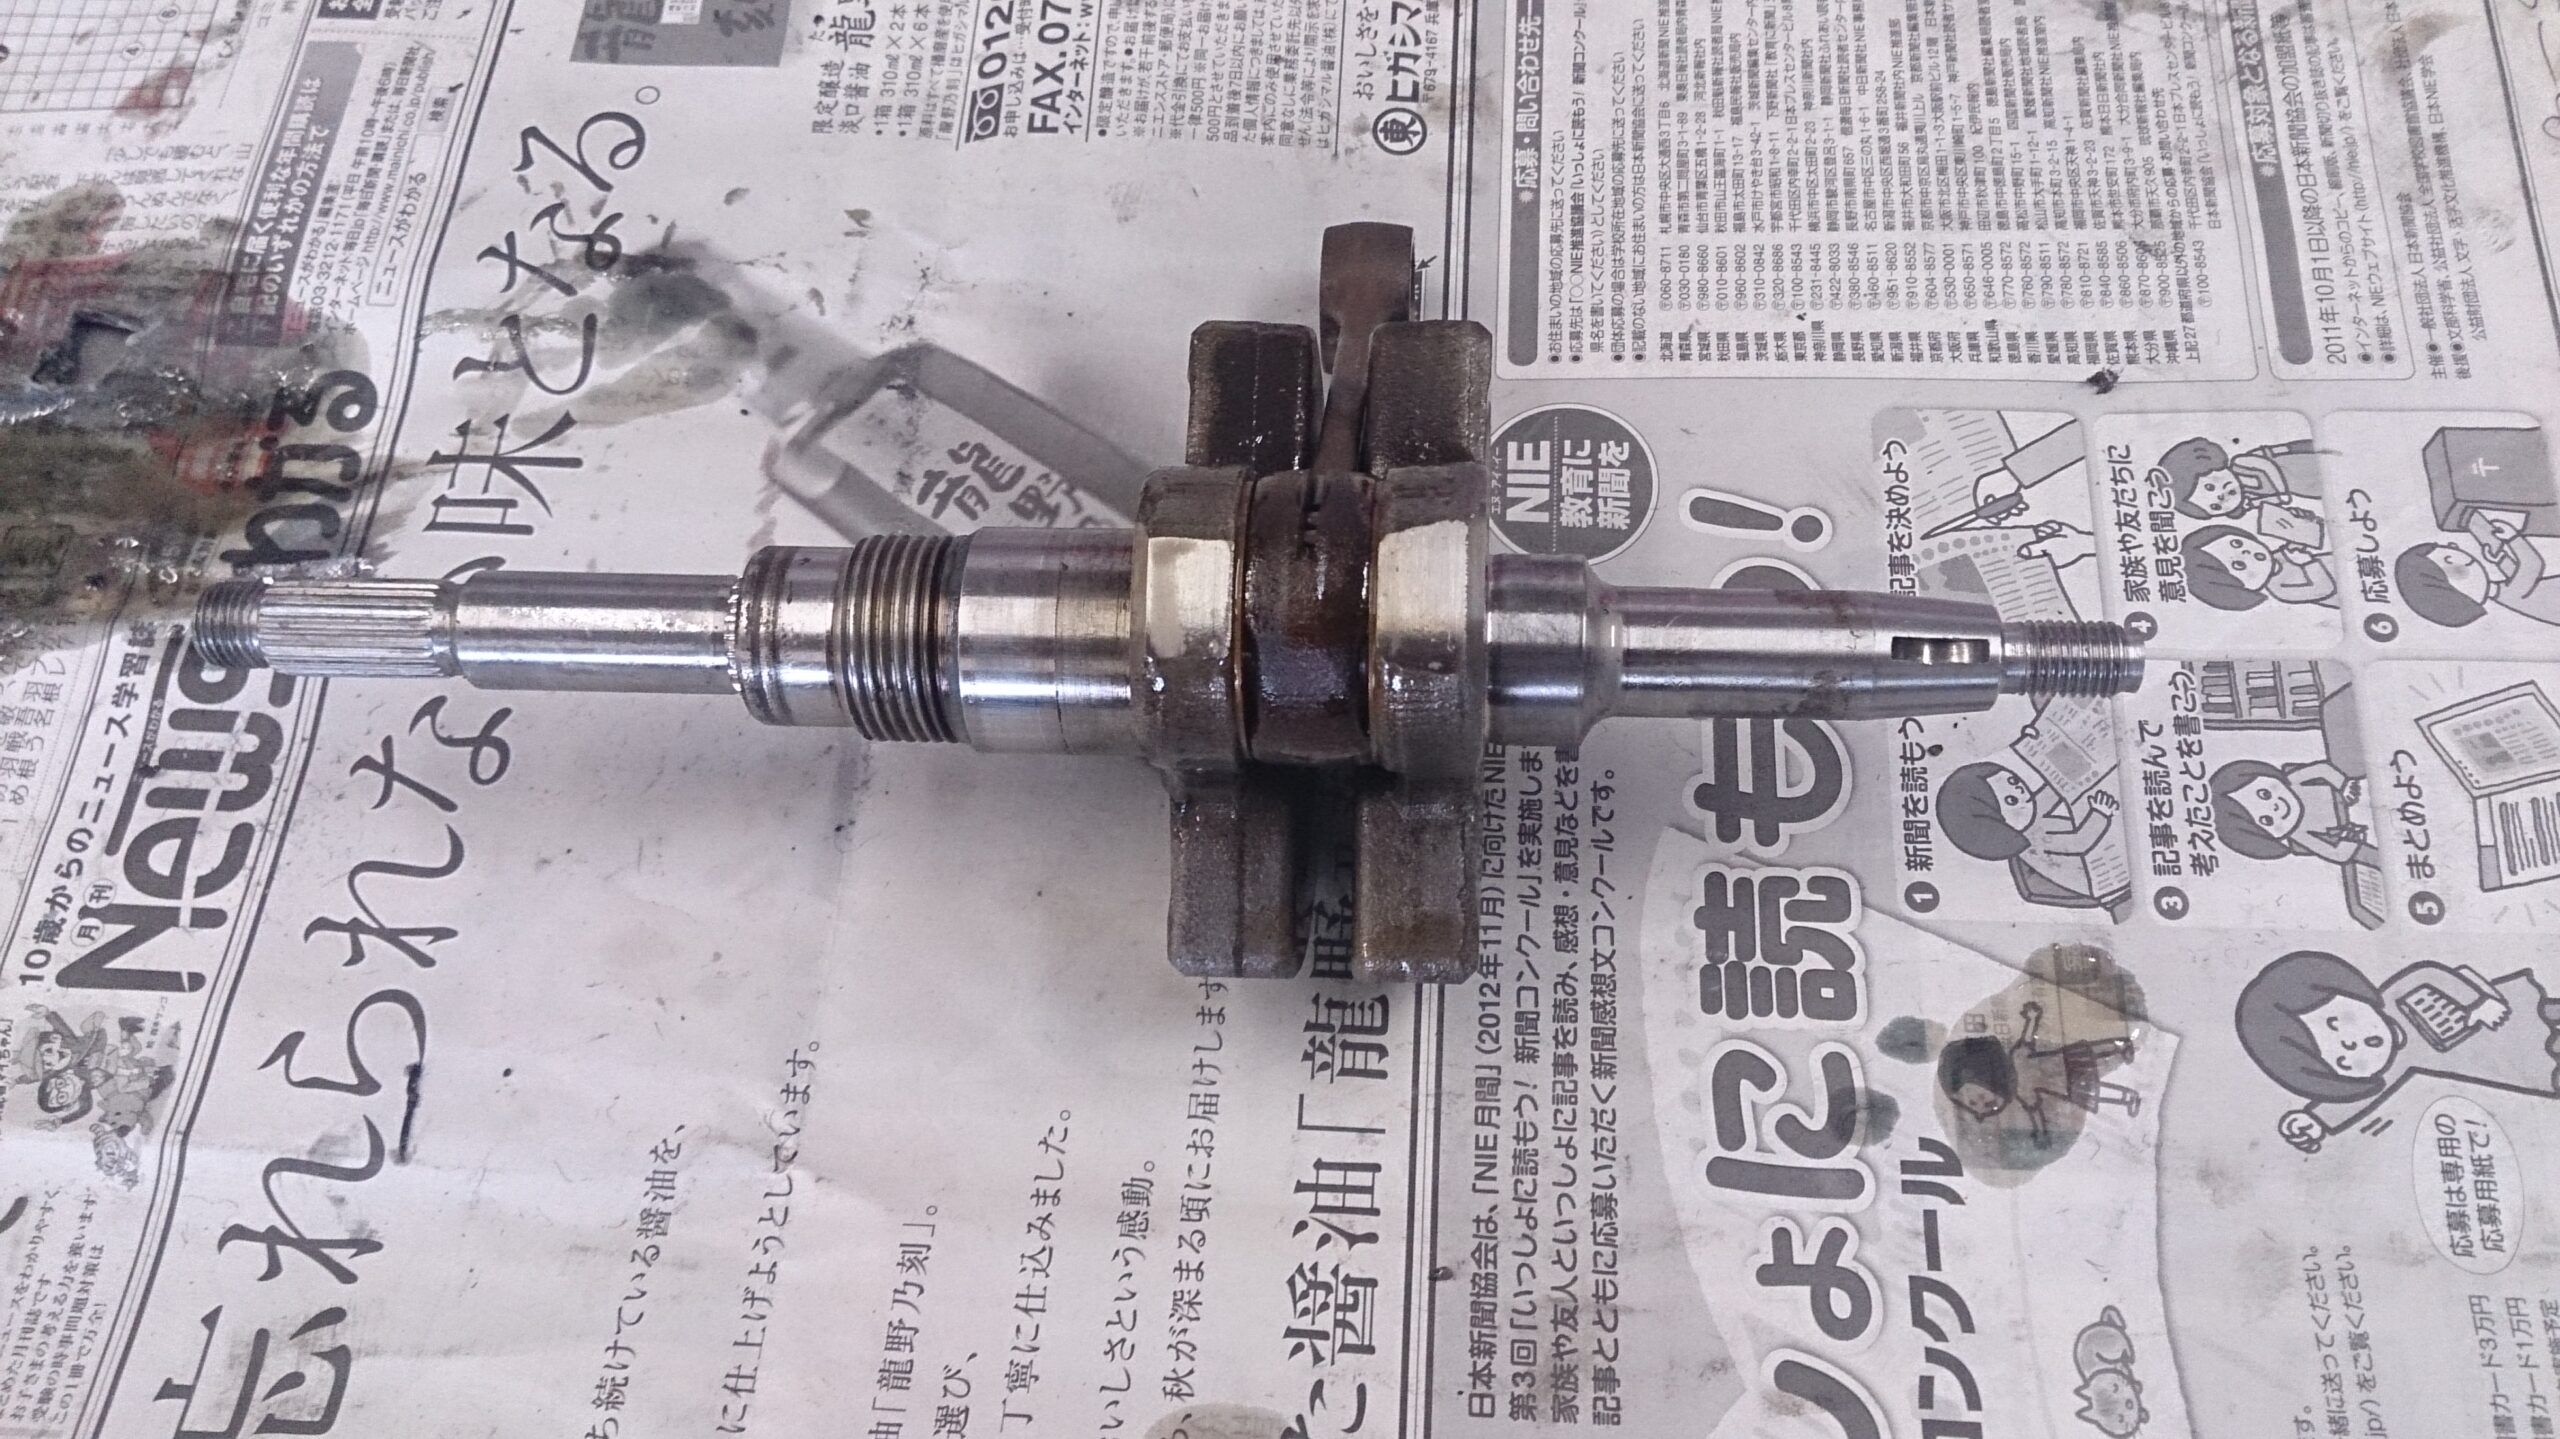
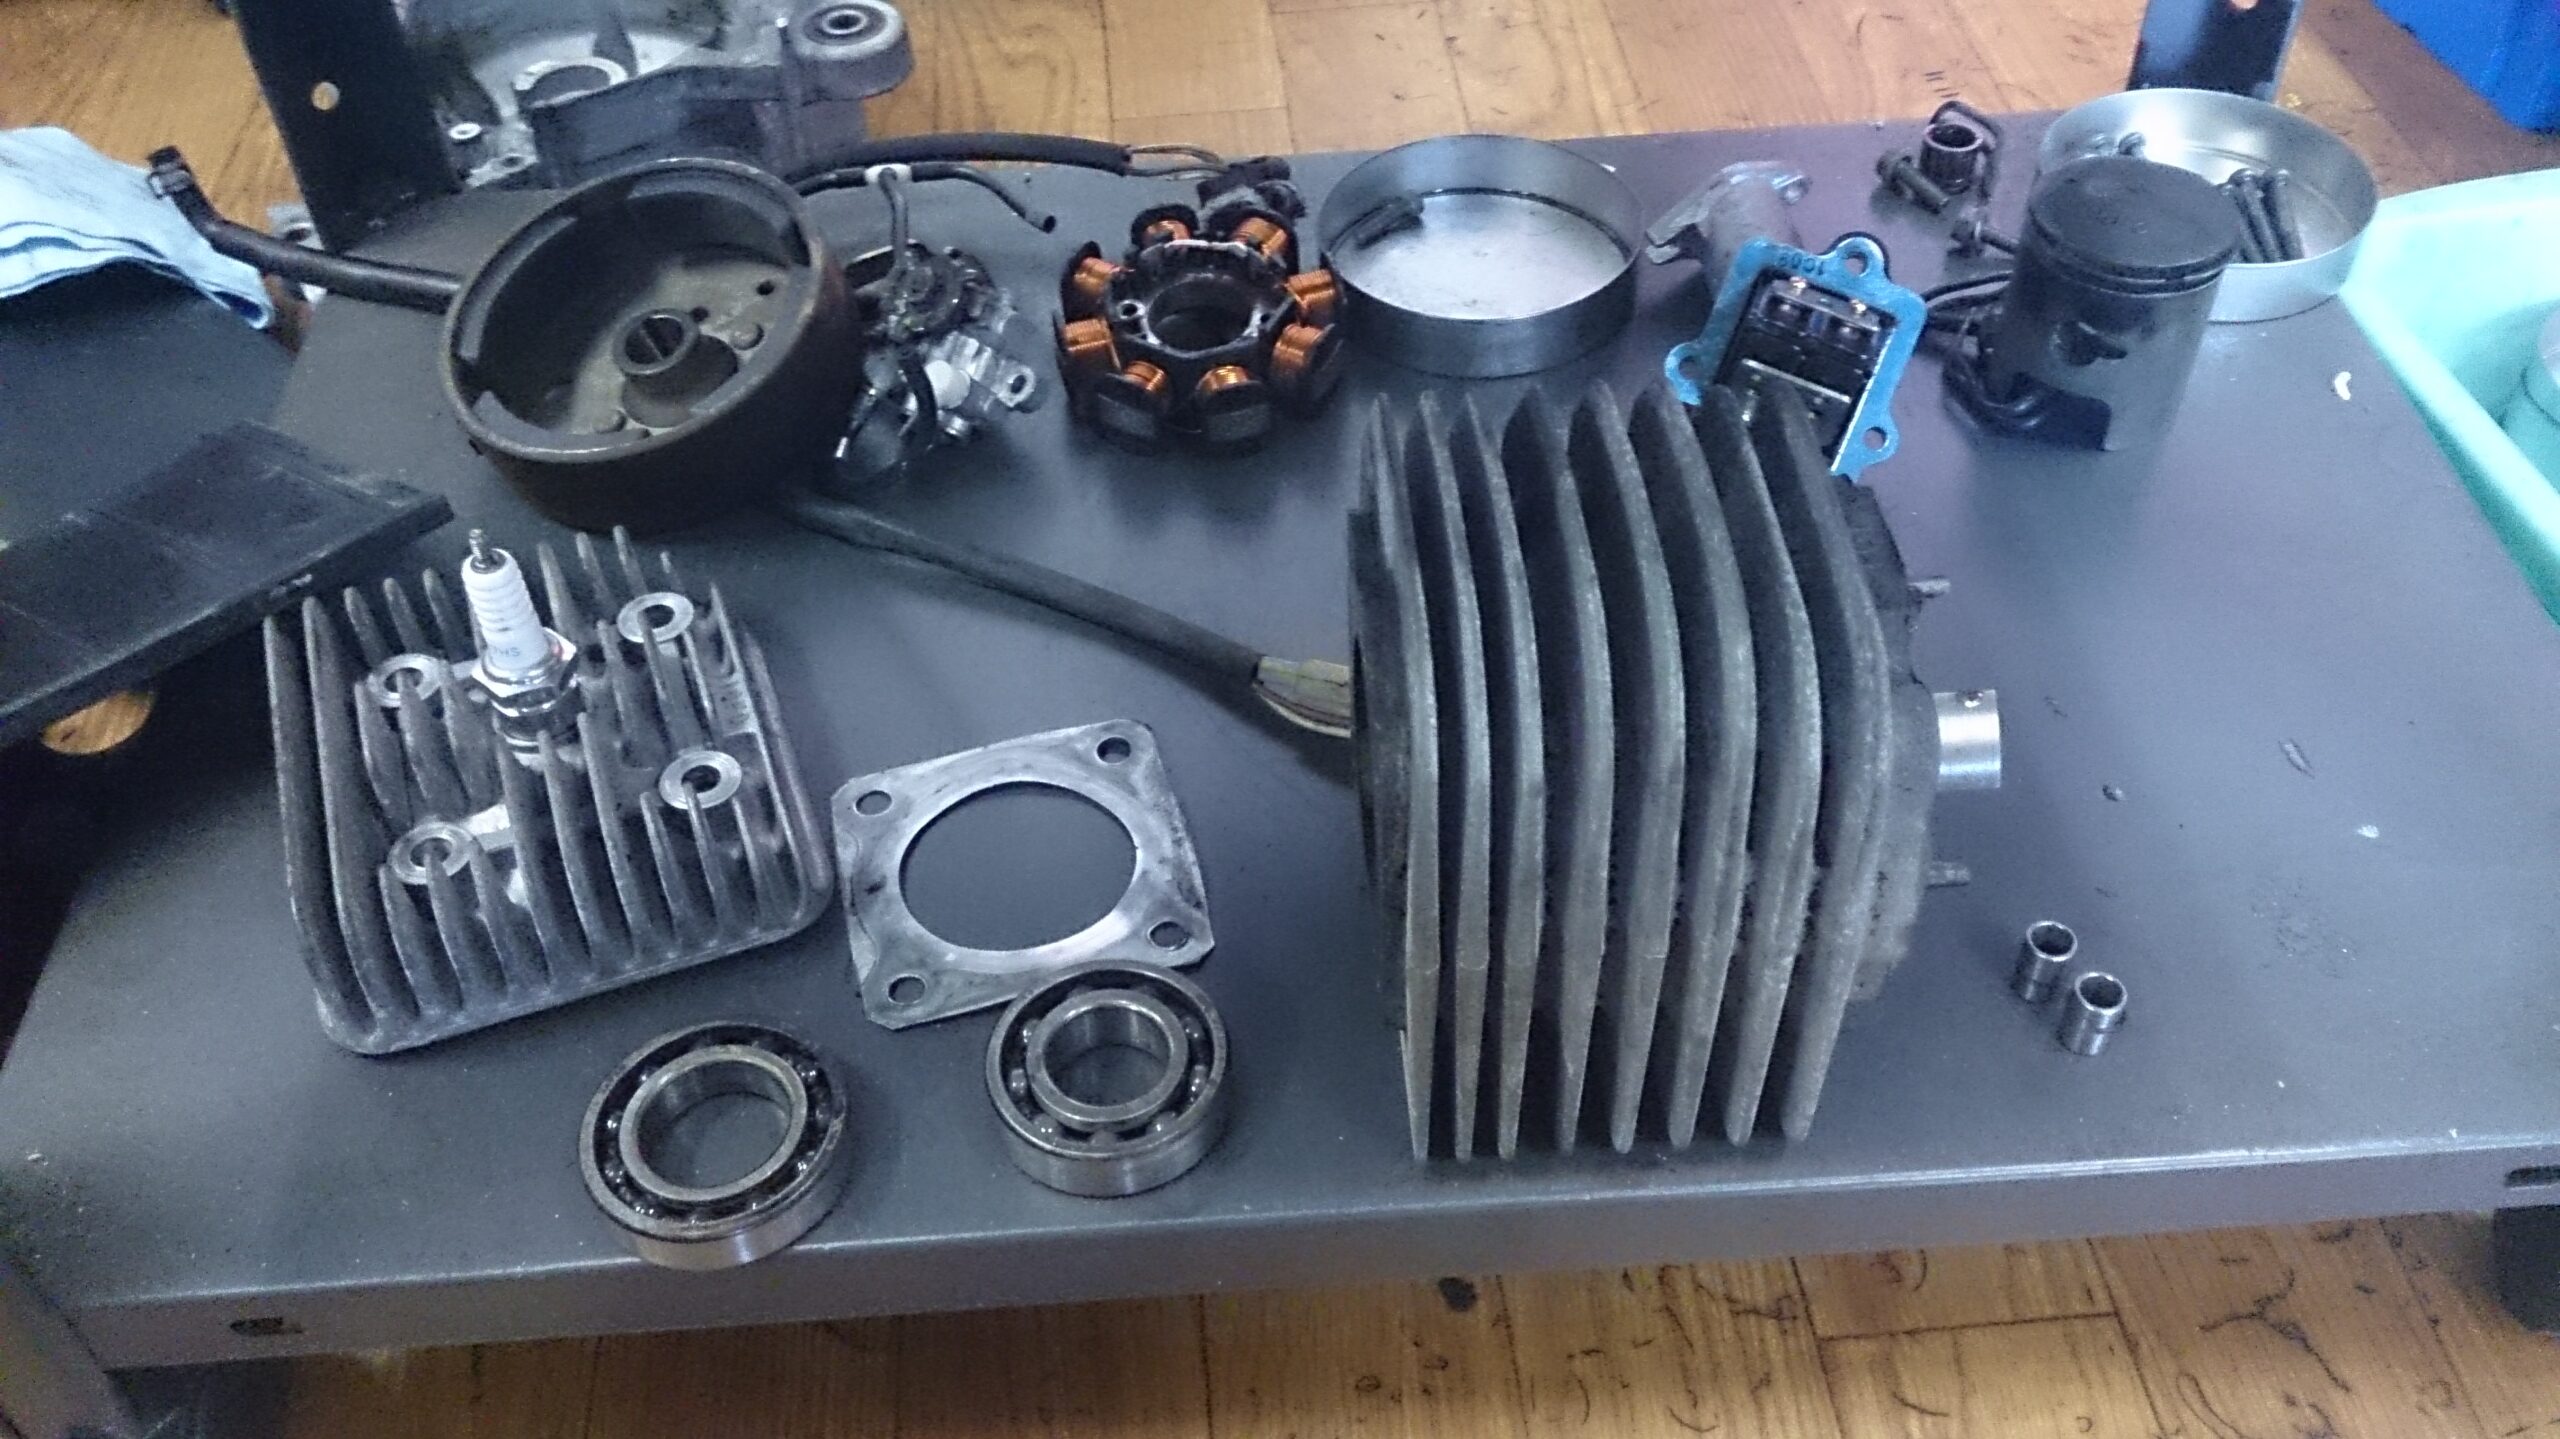
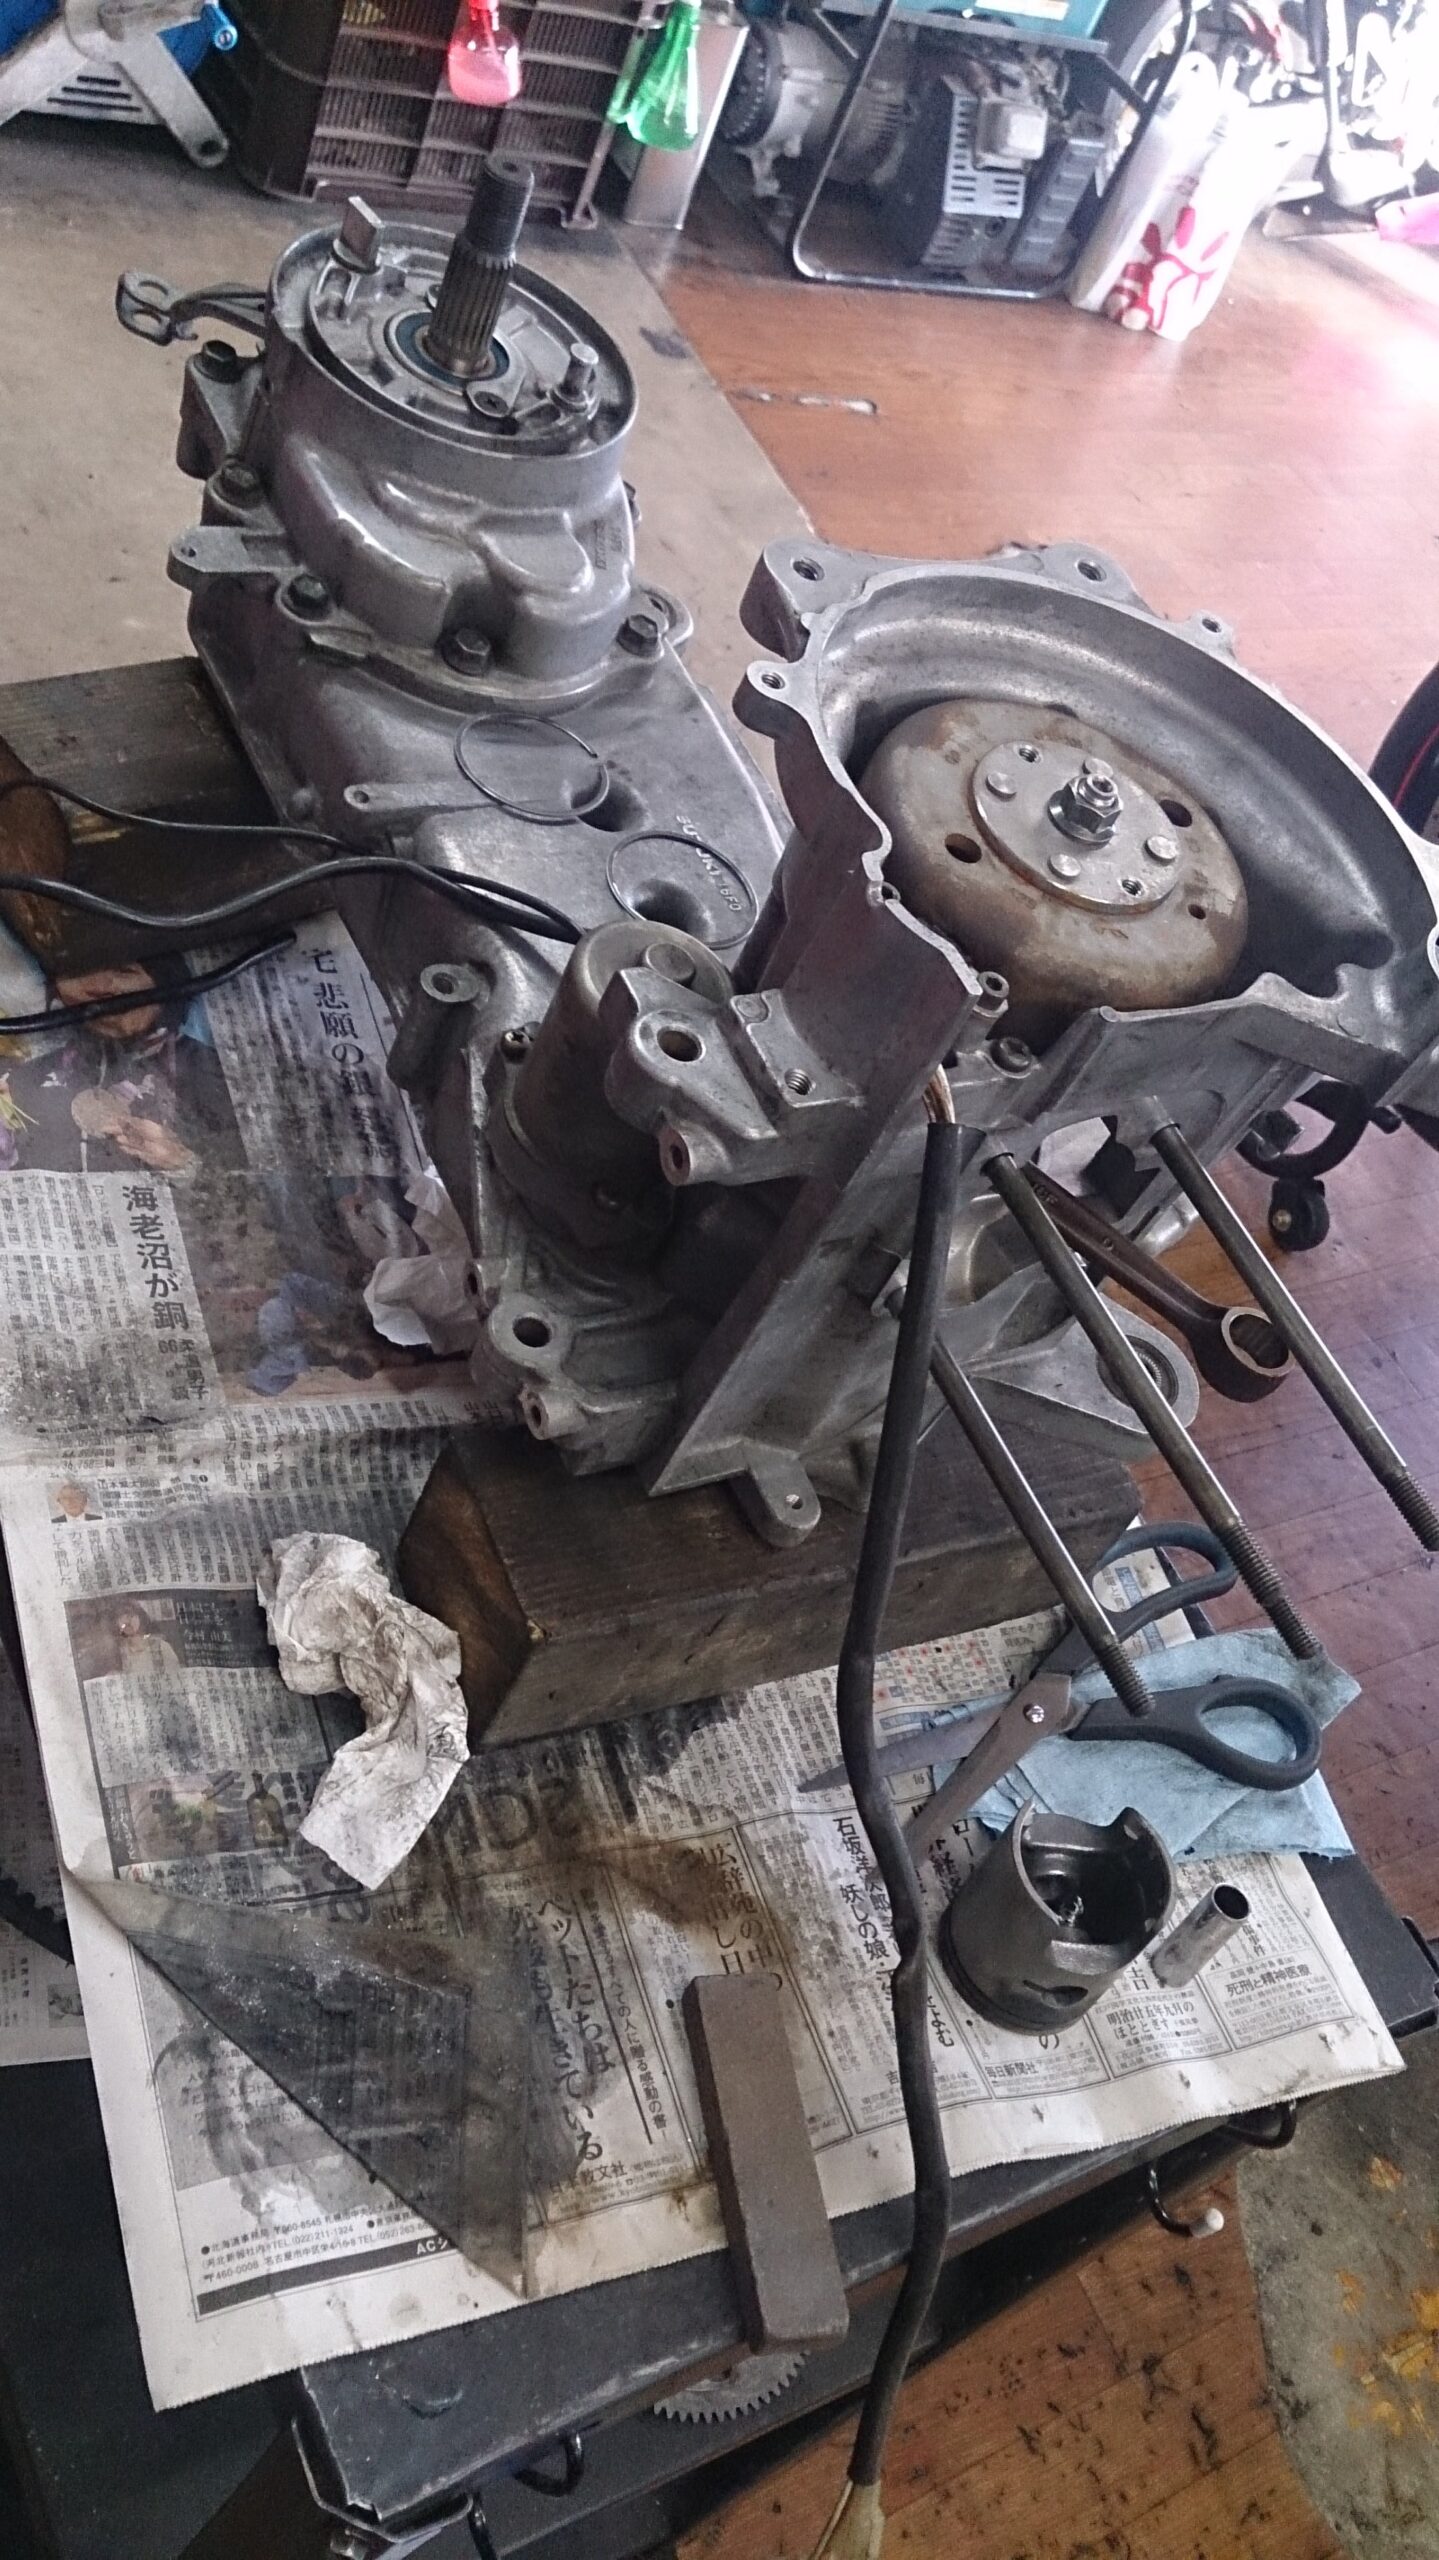
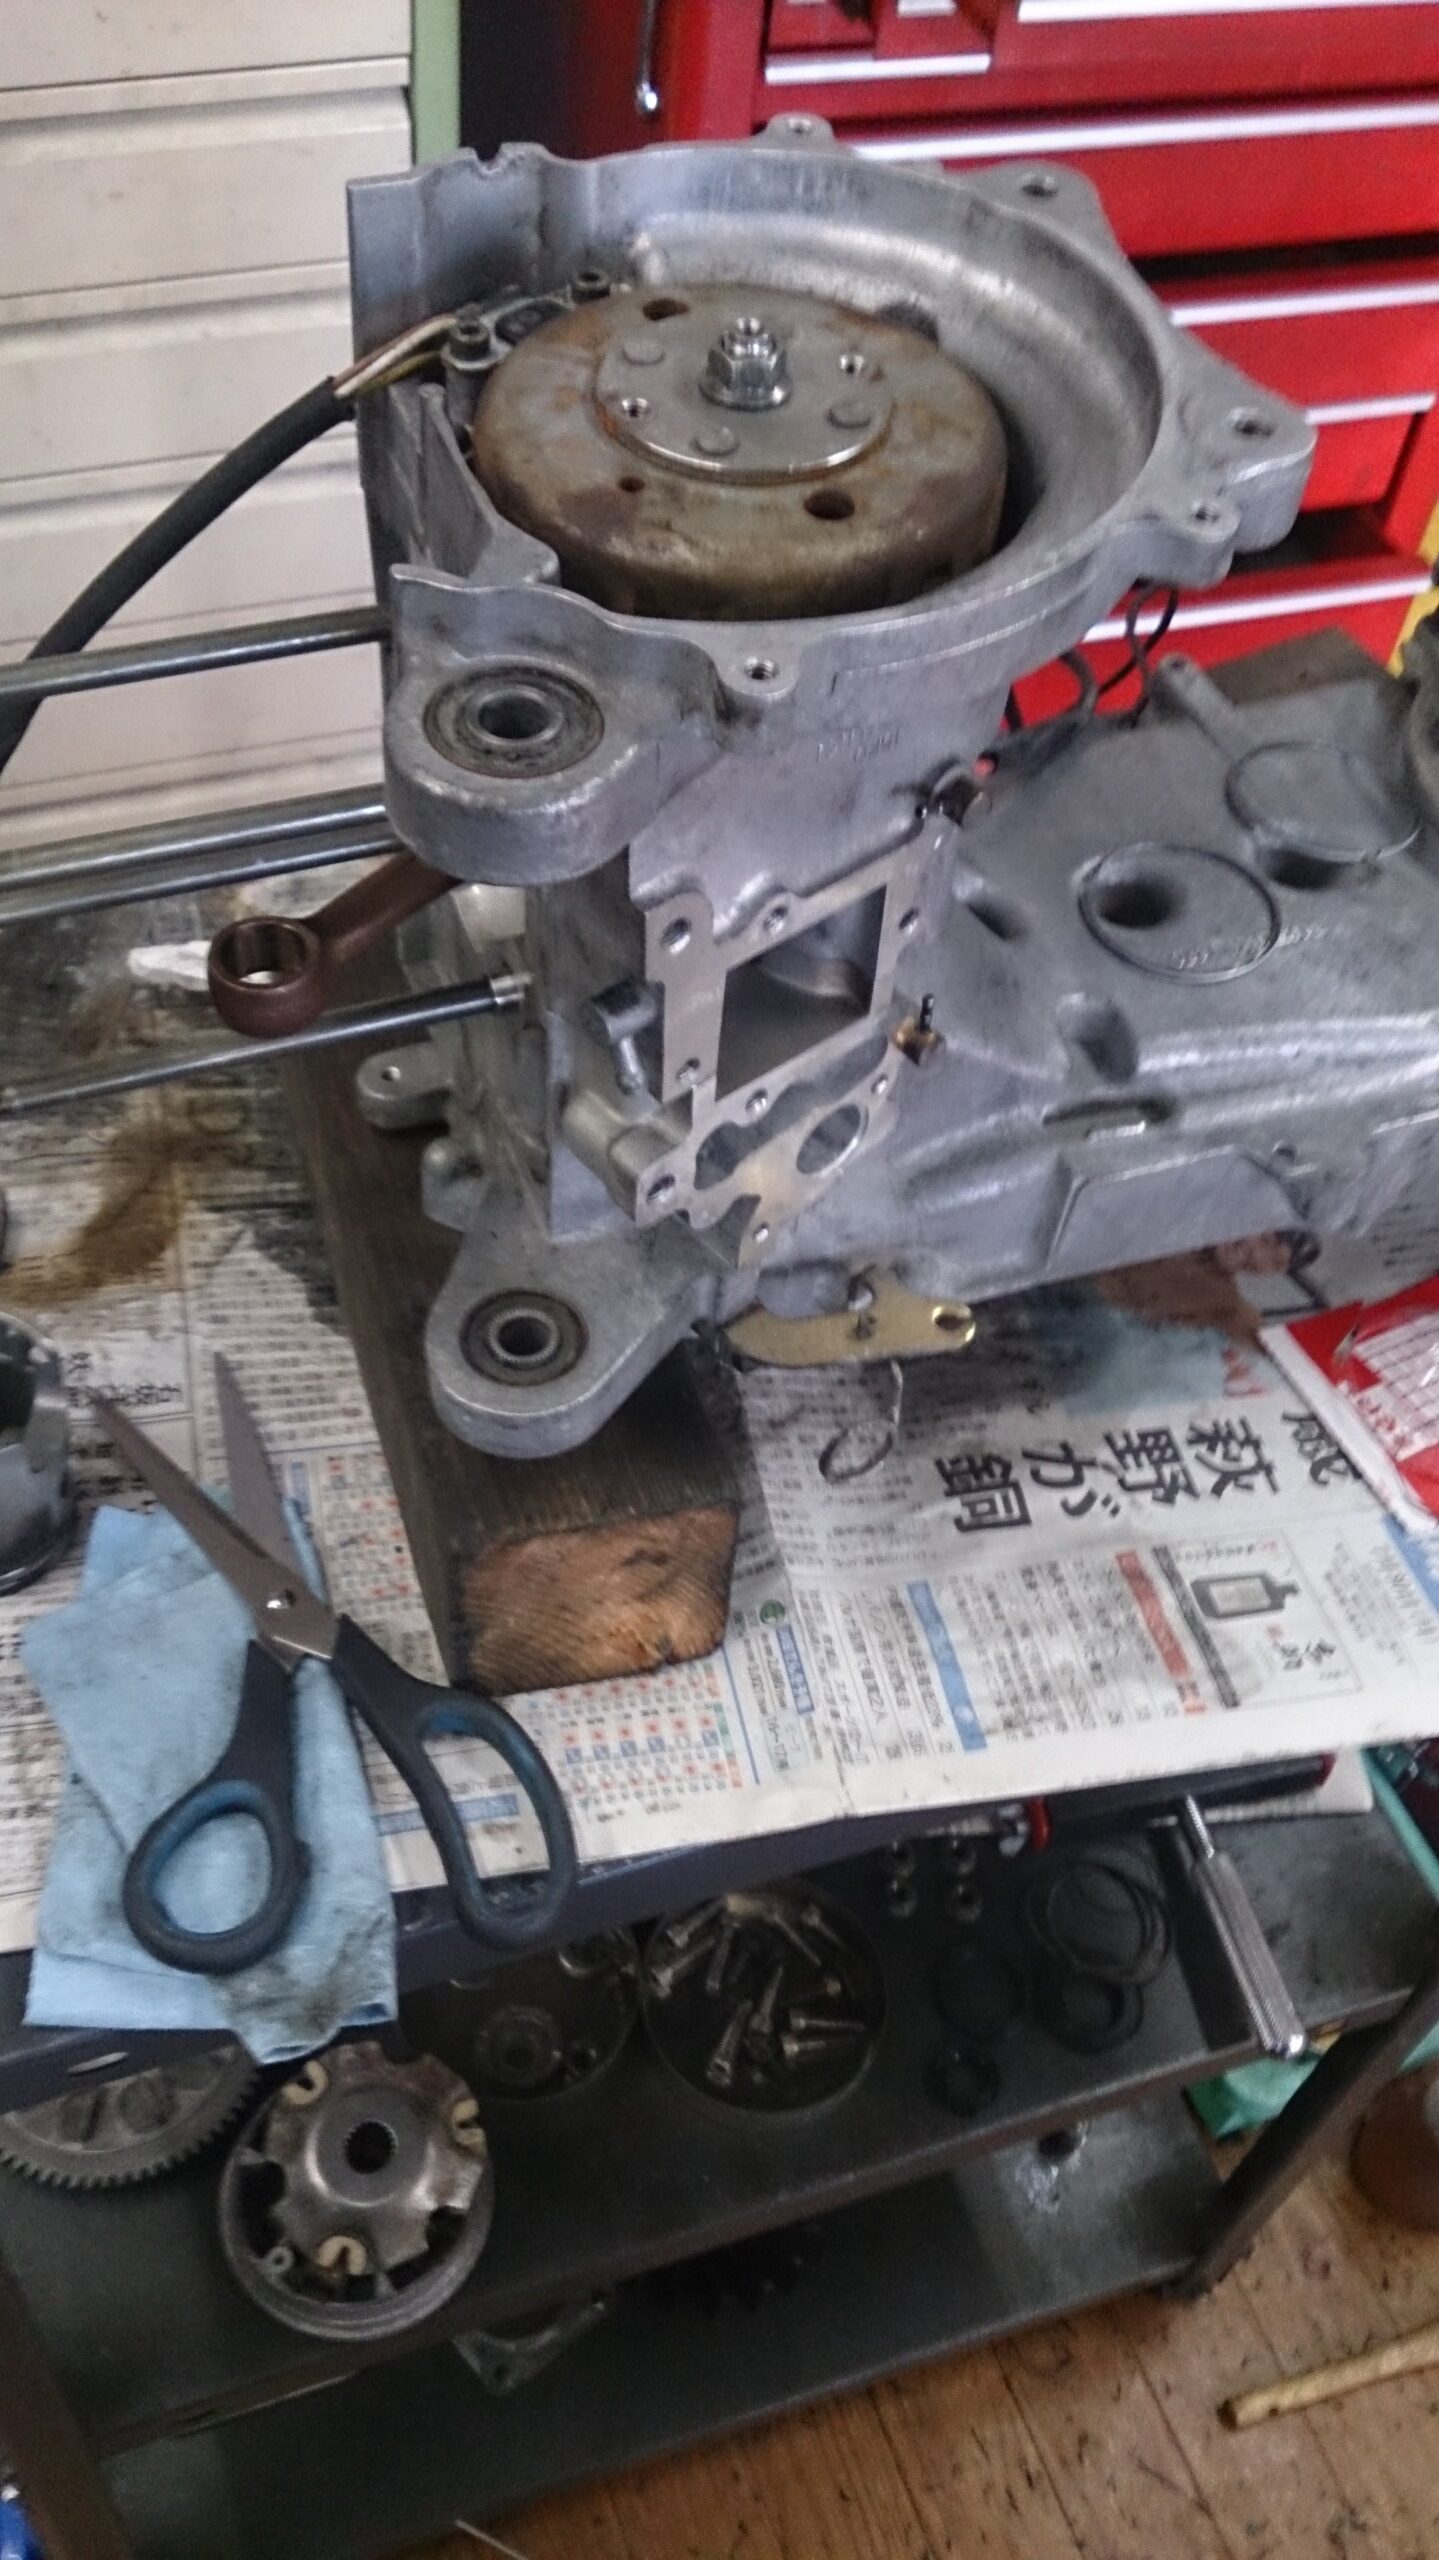
エンジンオーバーホール
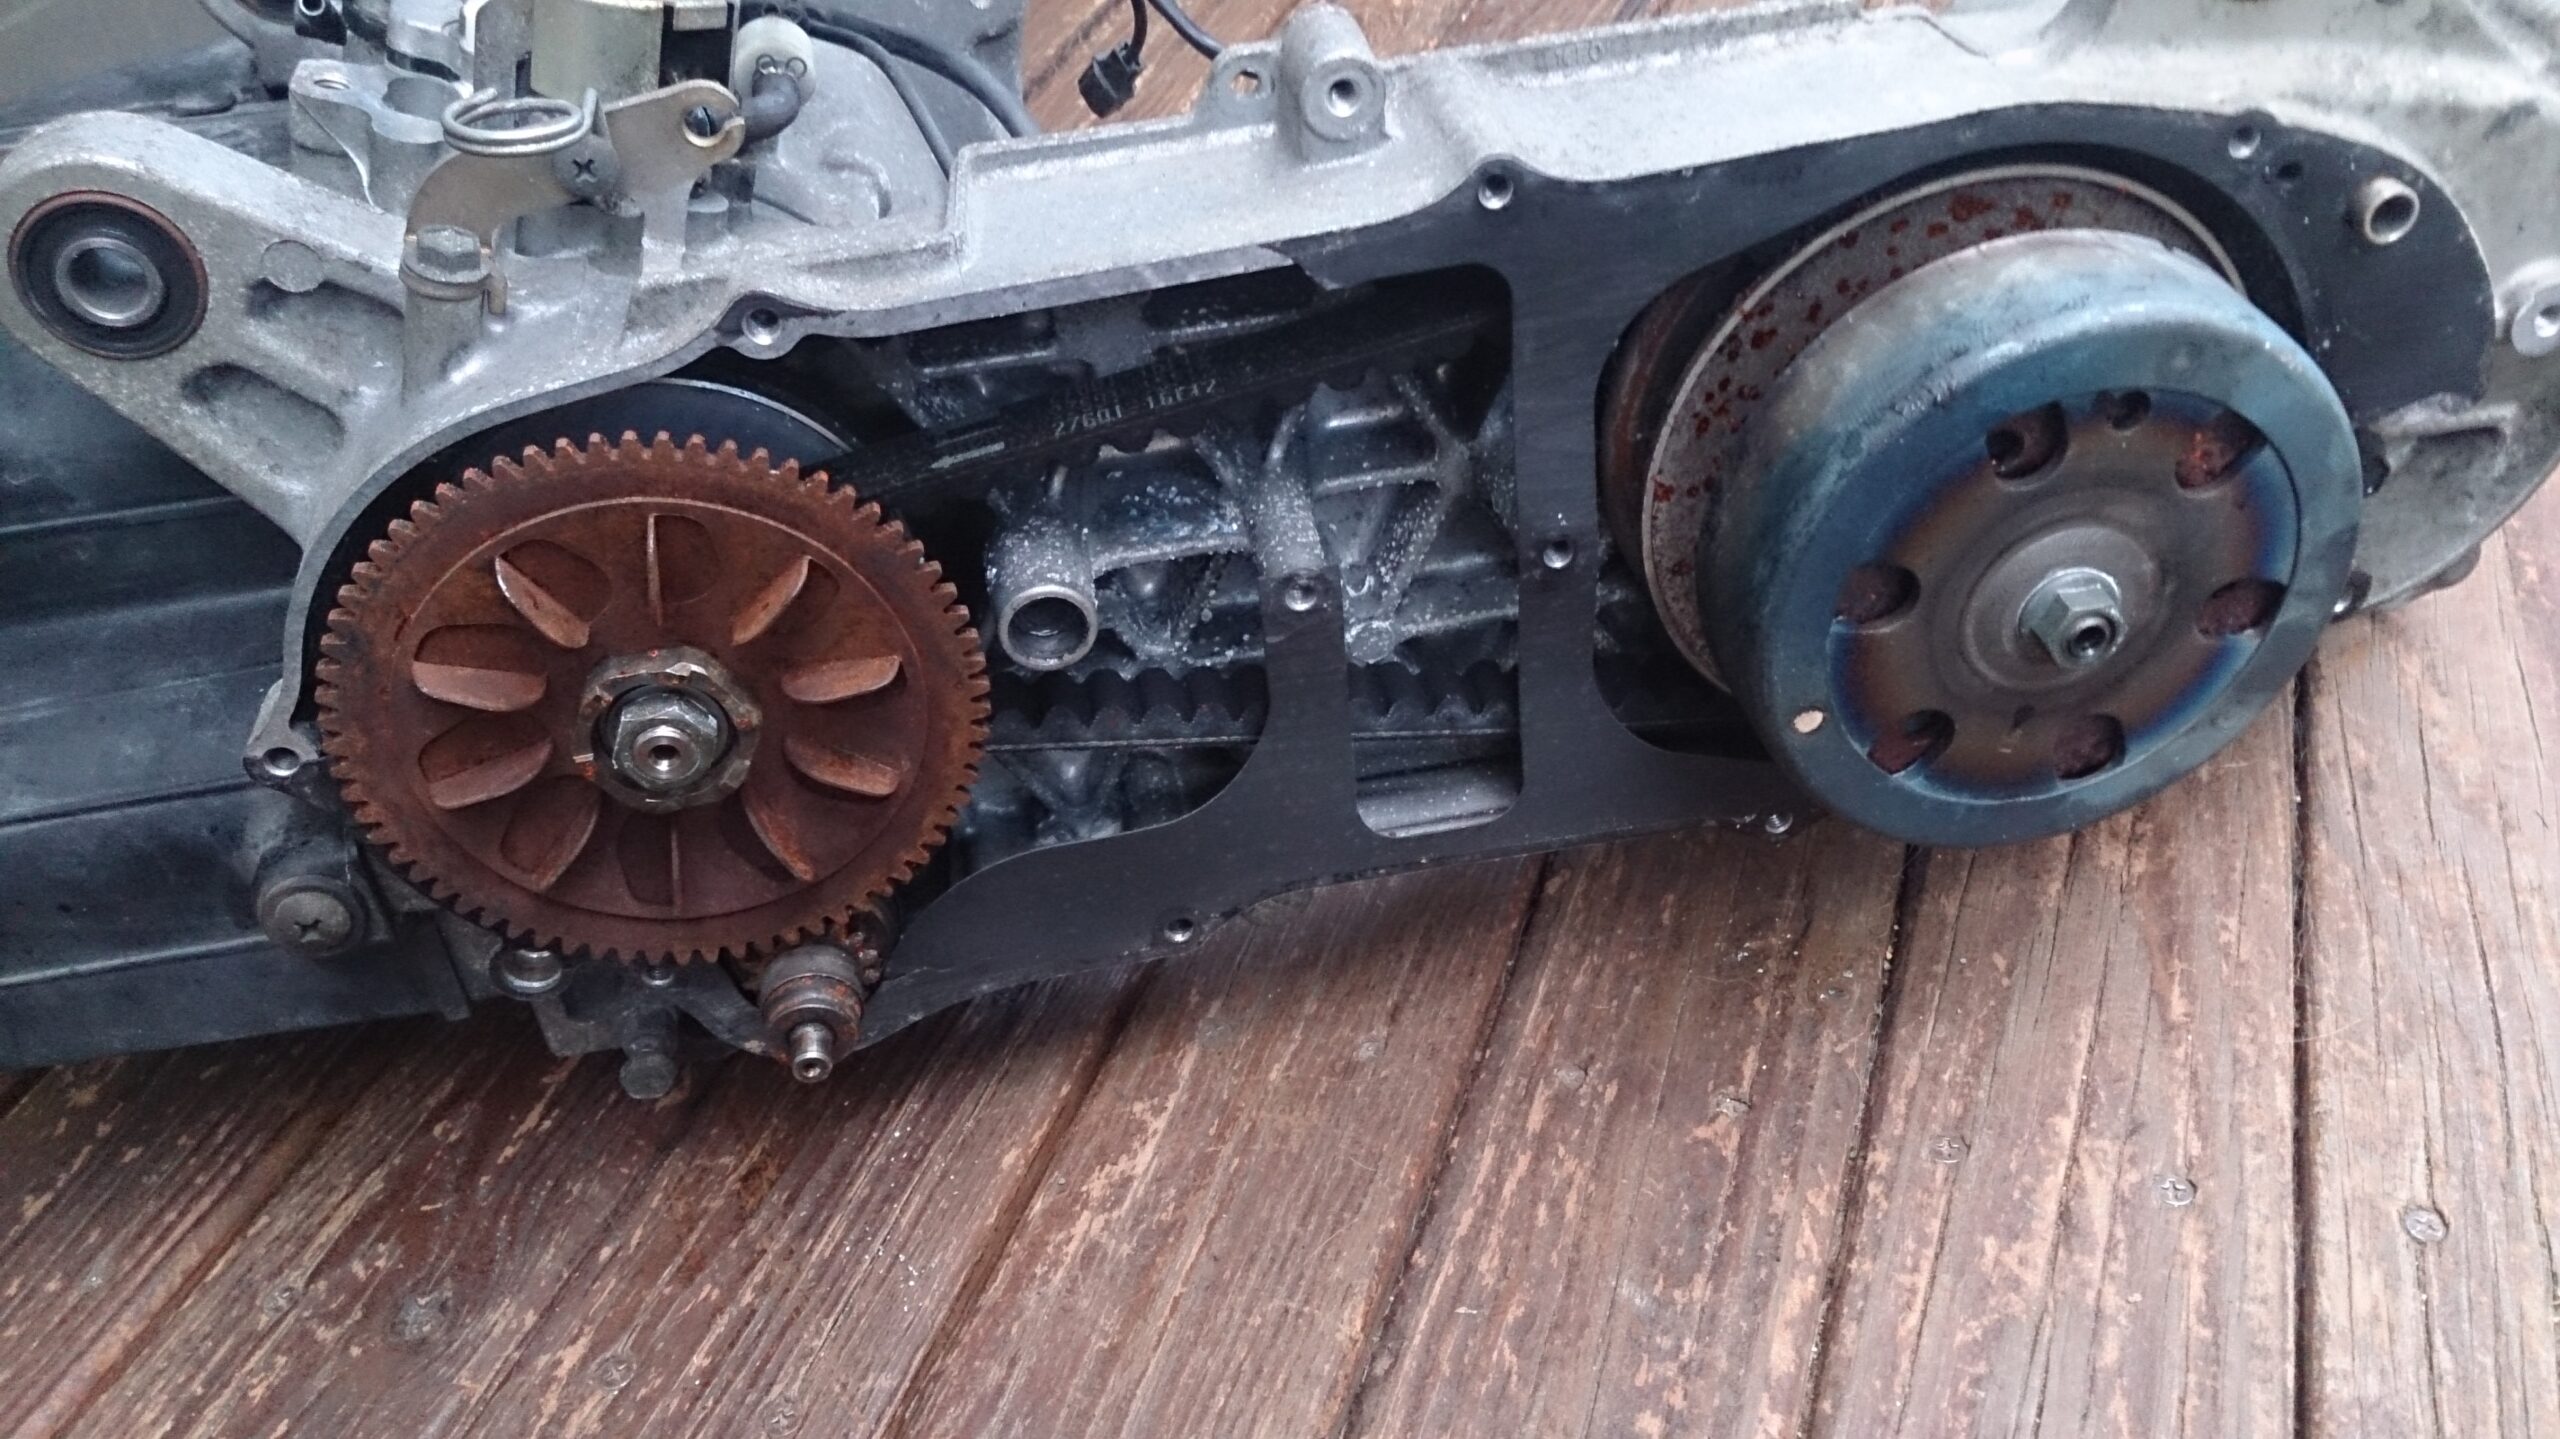
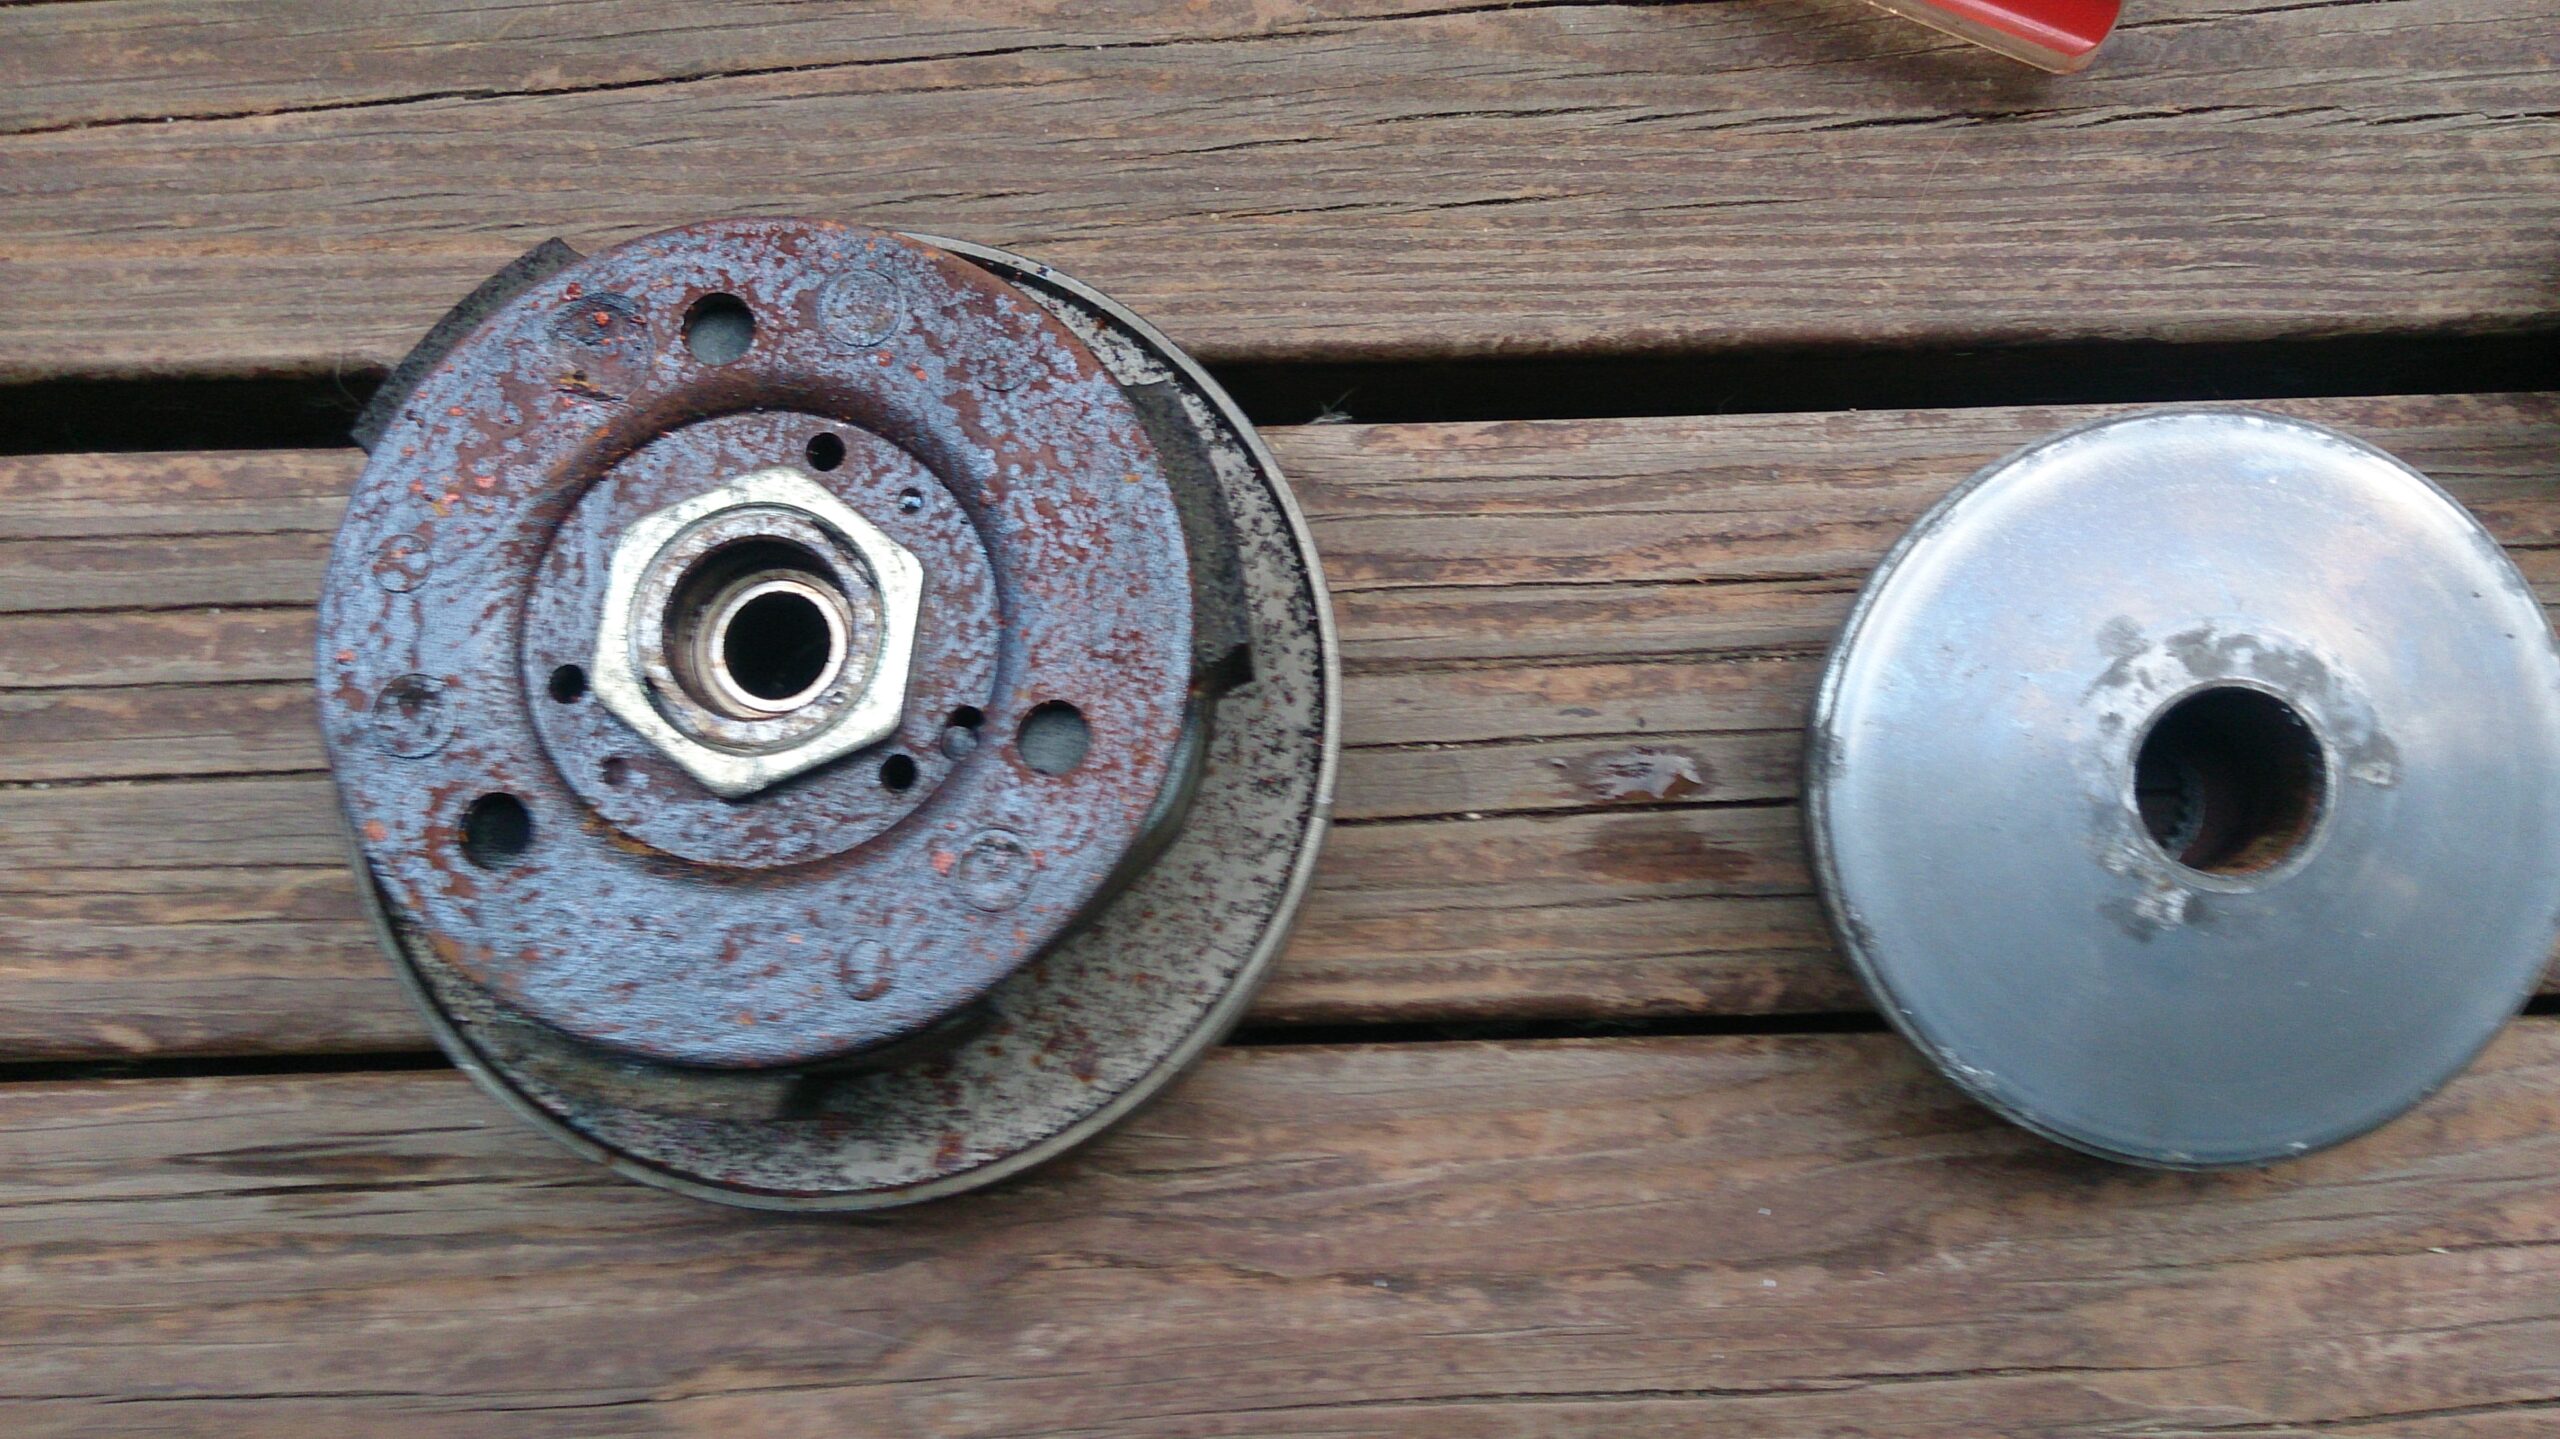
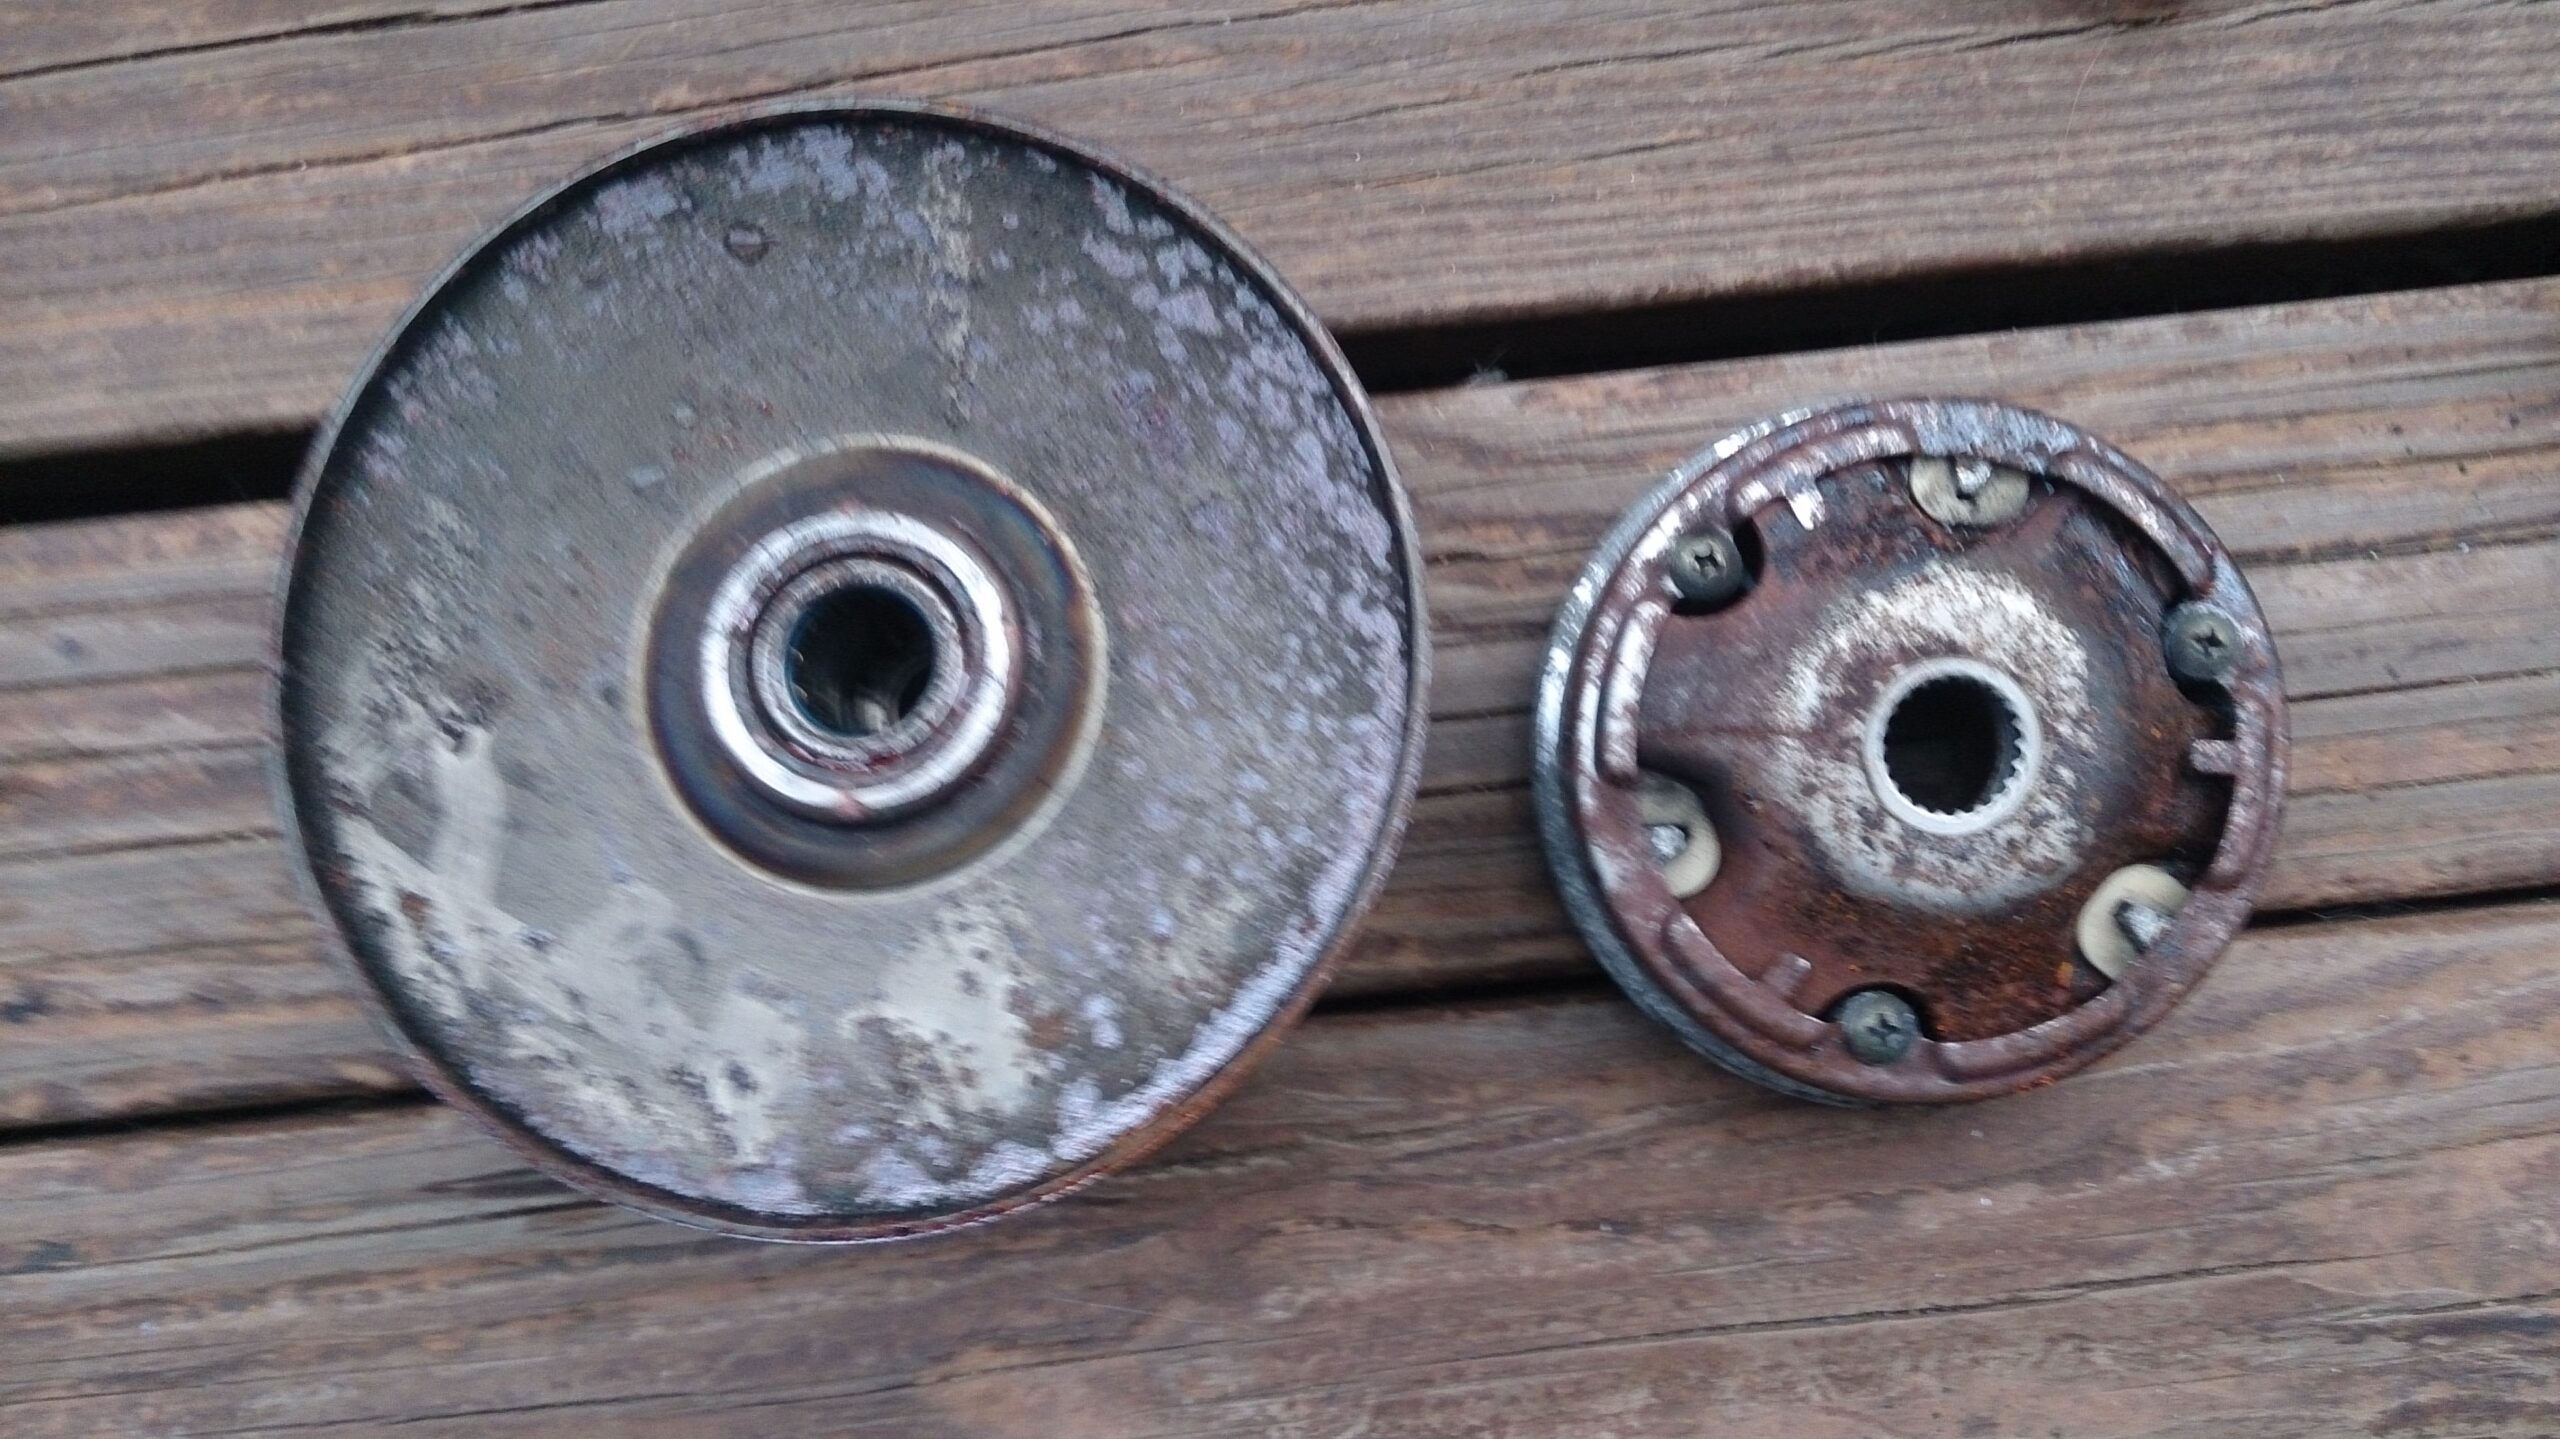
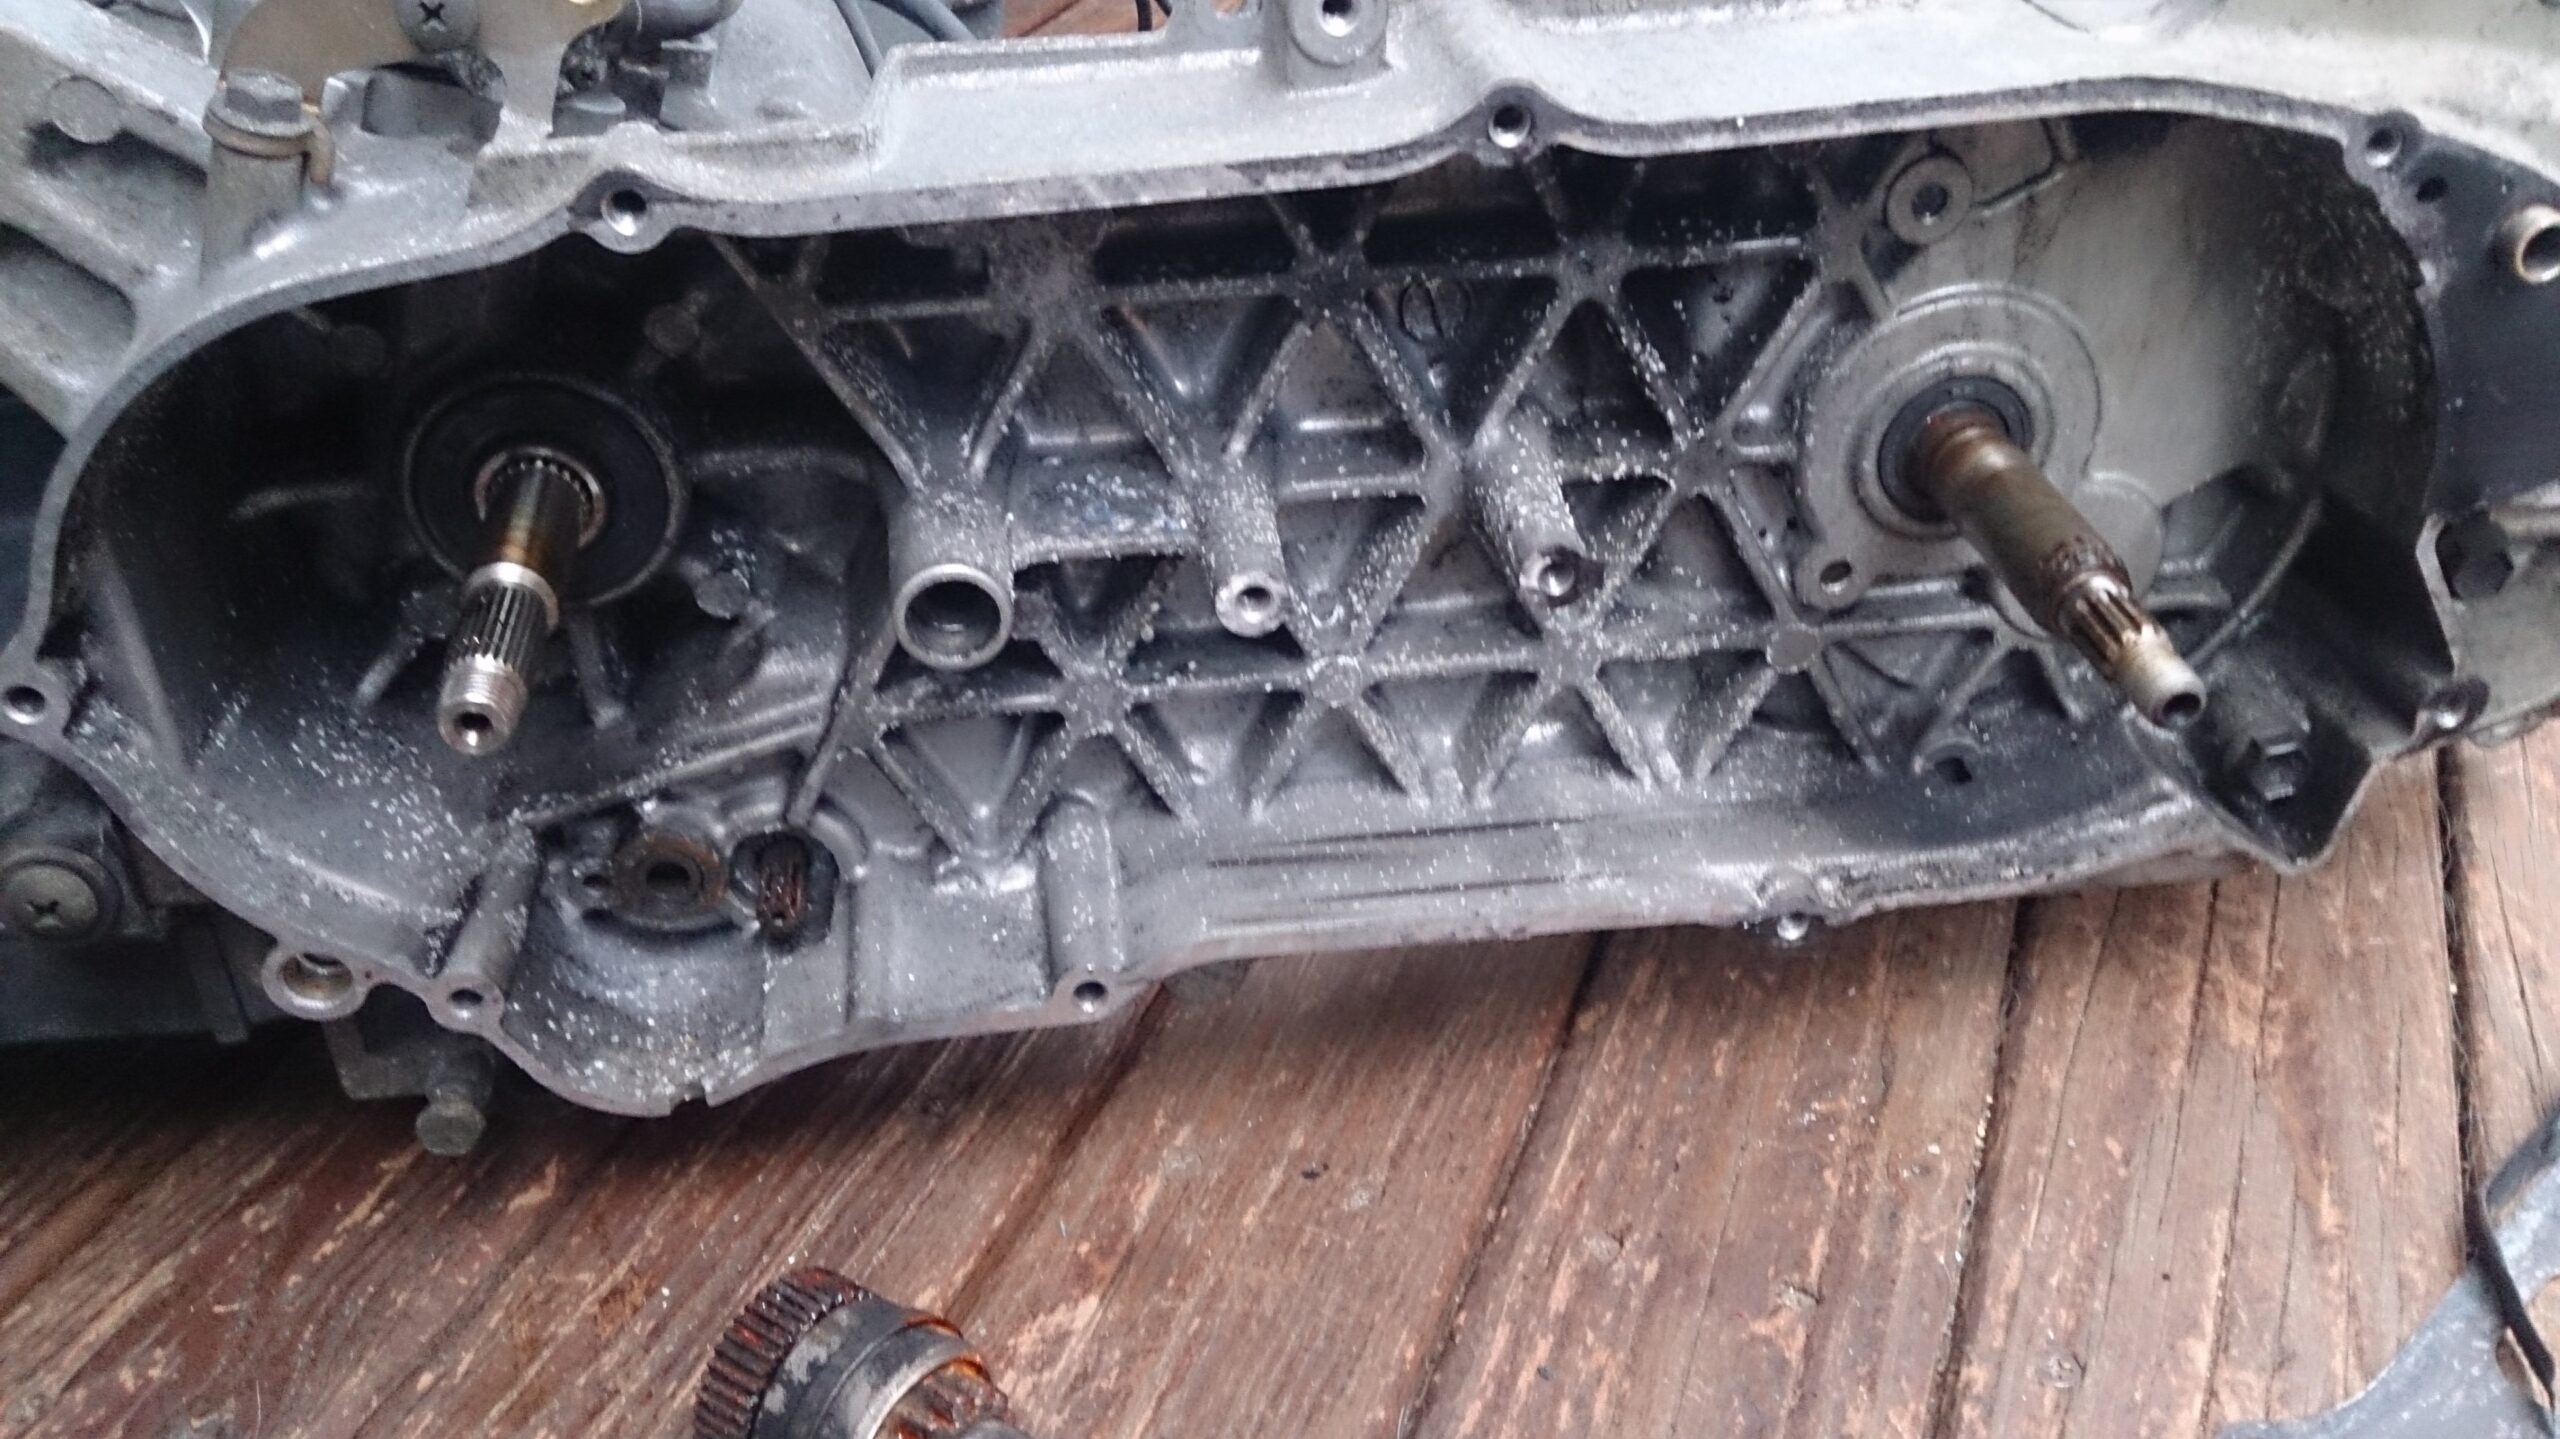
あれ??腐ってね????

エンジンハンガーの製作
エンジンスワップ時に問題になるのが、エンジンハンガーの製作です。
ZZのエンジンとアドレスのエンジンではエンジン側のシャフトの径が違います。
ZZ(10mm)アドレス110(12mm)
当時の僕にとっては加工難易度が高く、家に道具もないので、困り果てていましたが、ふと、自分が工業高校生であることを思い出します。
「実習室行ったらなんかあるんちゃうか?」
放課後、実習室に行くと、
ありました。練習用の材料置場にエエ感じの12mmパイプが転がってるではありませんか。
そのままではクソ長いので、カットグラインダーでエエ感じの長さにカット、ガワが錆び錆びだったので、旋盤で皮剥きして、長さも揃えます。
ついでにオフセット違いのホイールを使った時用のカラーも製作します。
角もエエ感じにテーパーで面取りしたりして、エンジン脱着時の作業性向上を図ります。
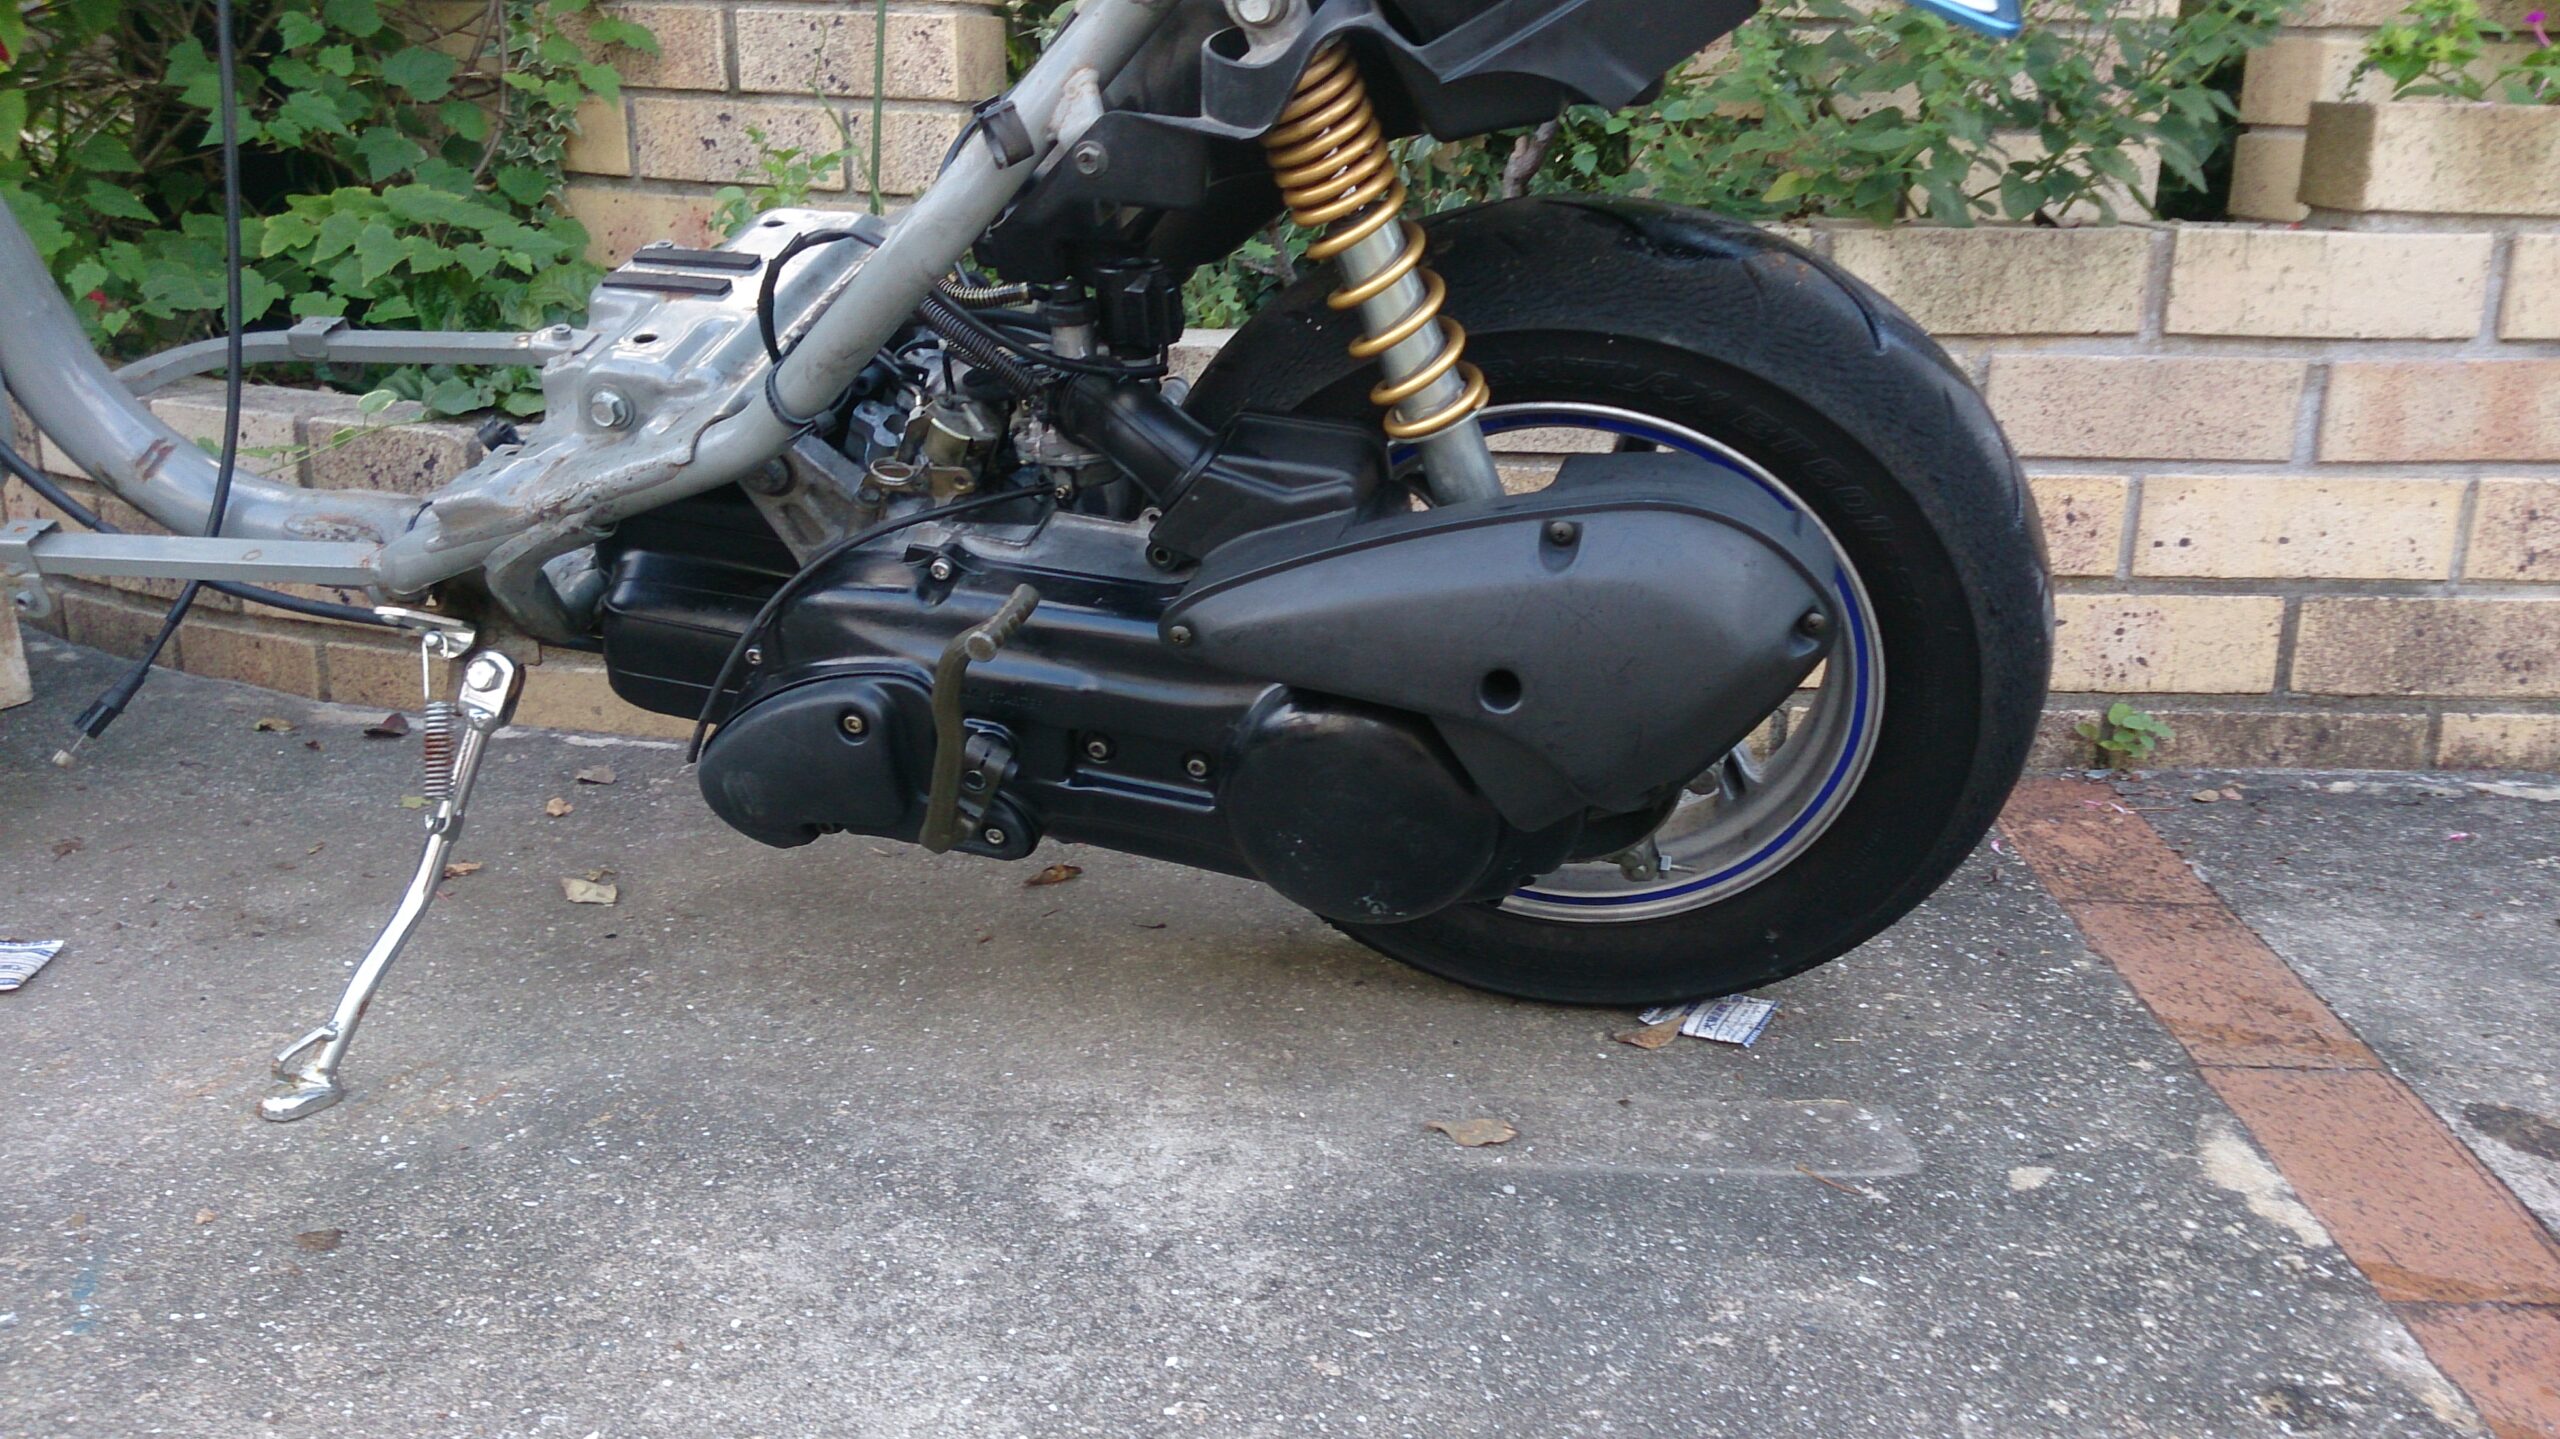
純正の10mmパイプをカットして、新しく作った12mmパイプをセットします。
本当は治具を作るのがいいんでしょうが、めんどくさいので、V字ブロックで代用します。

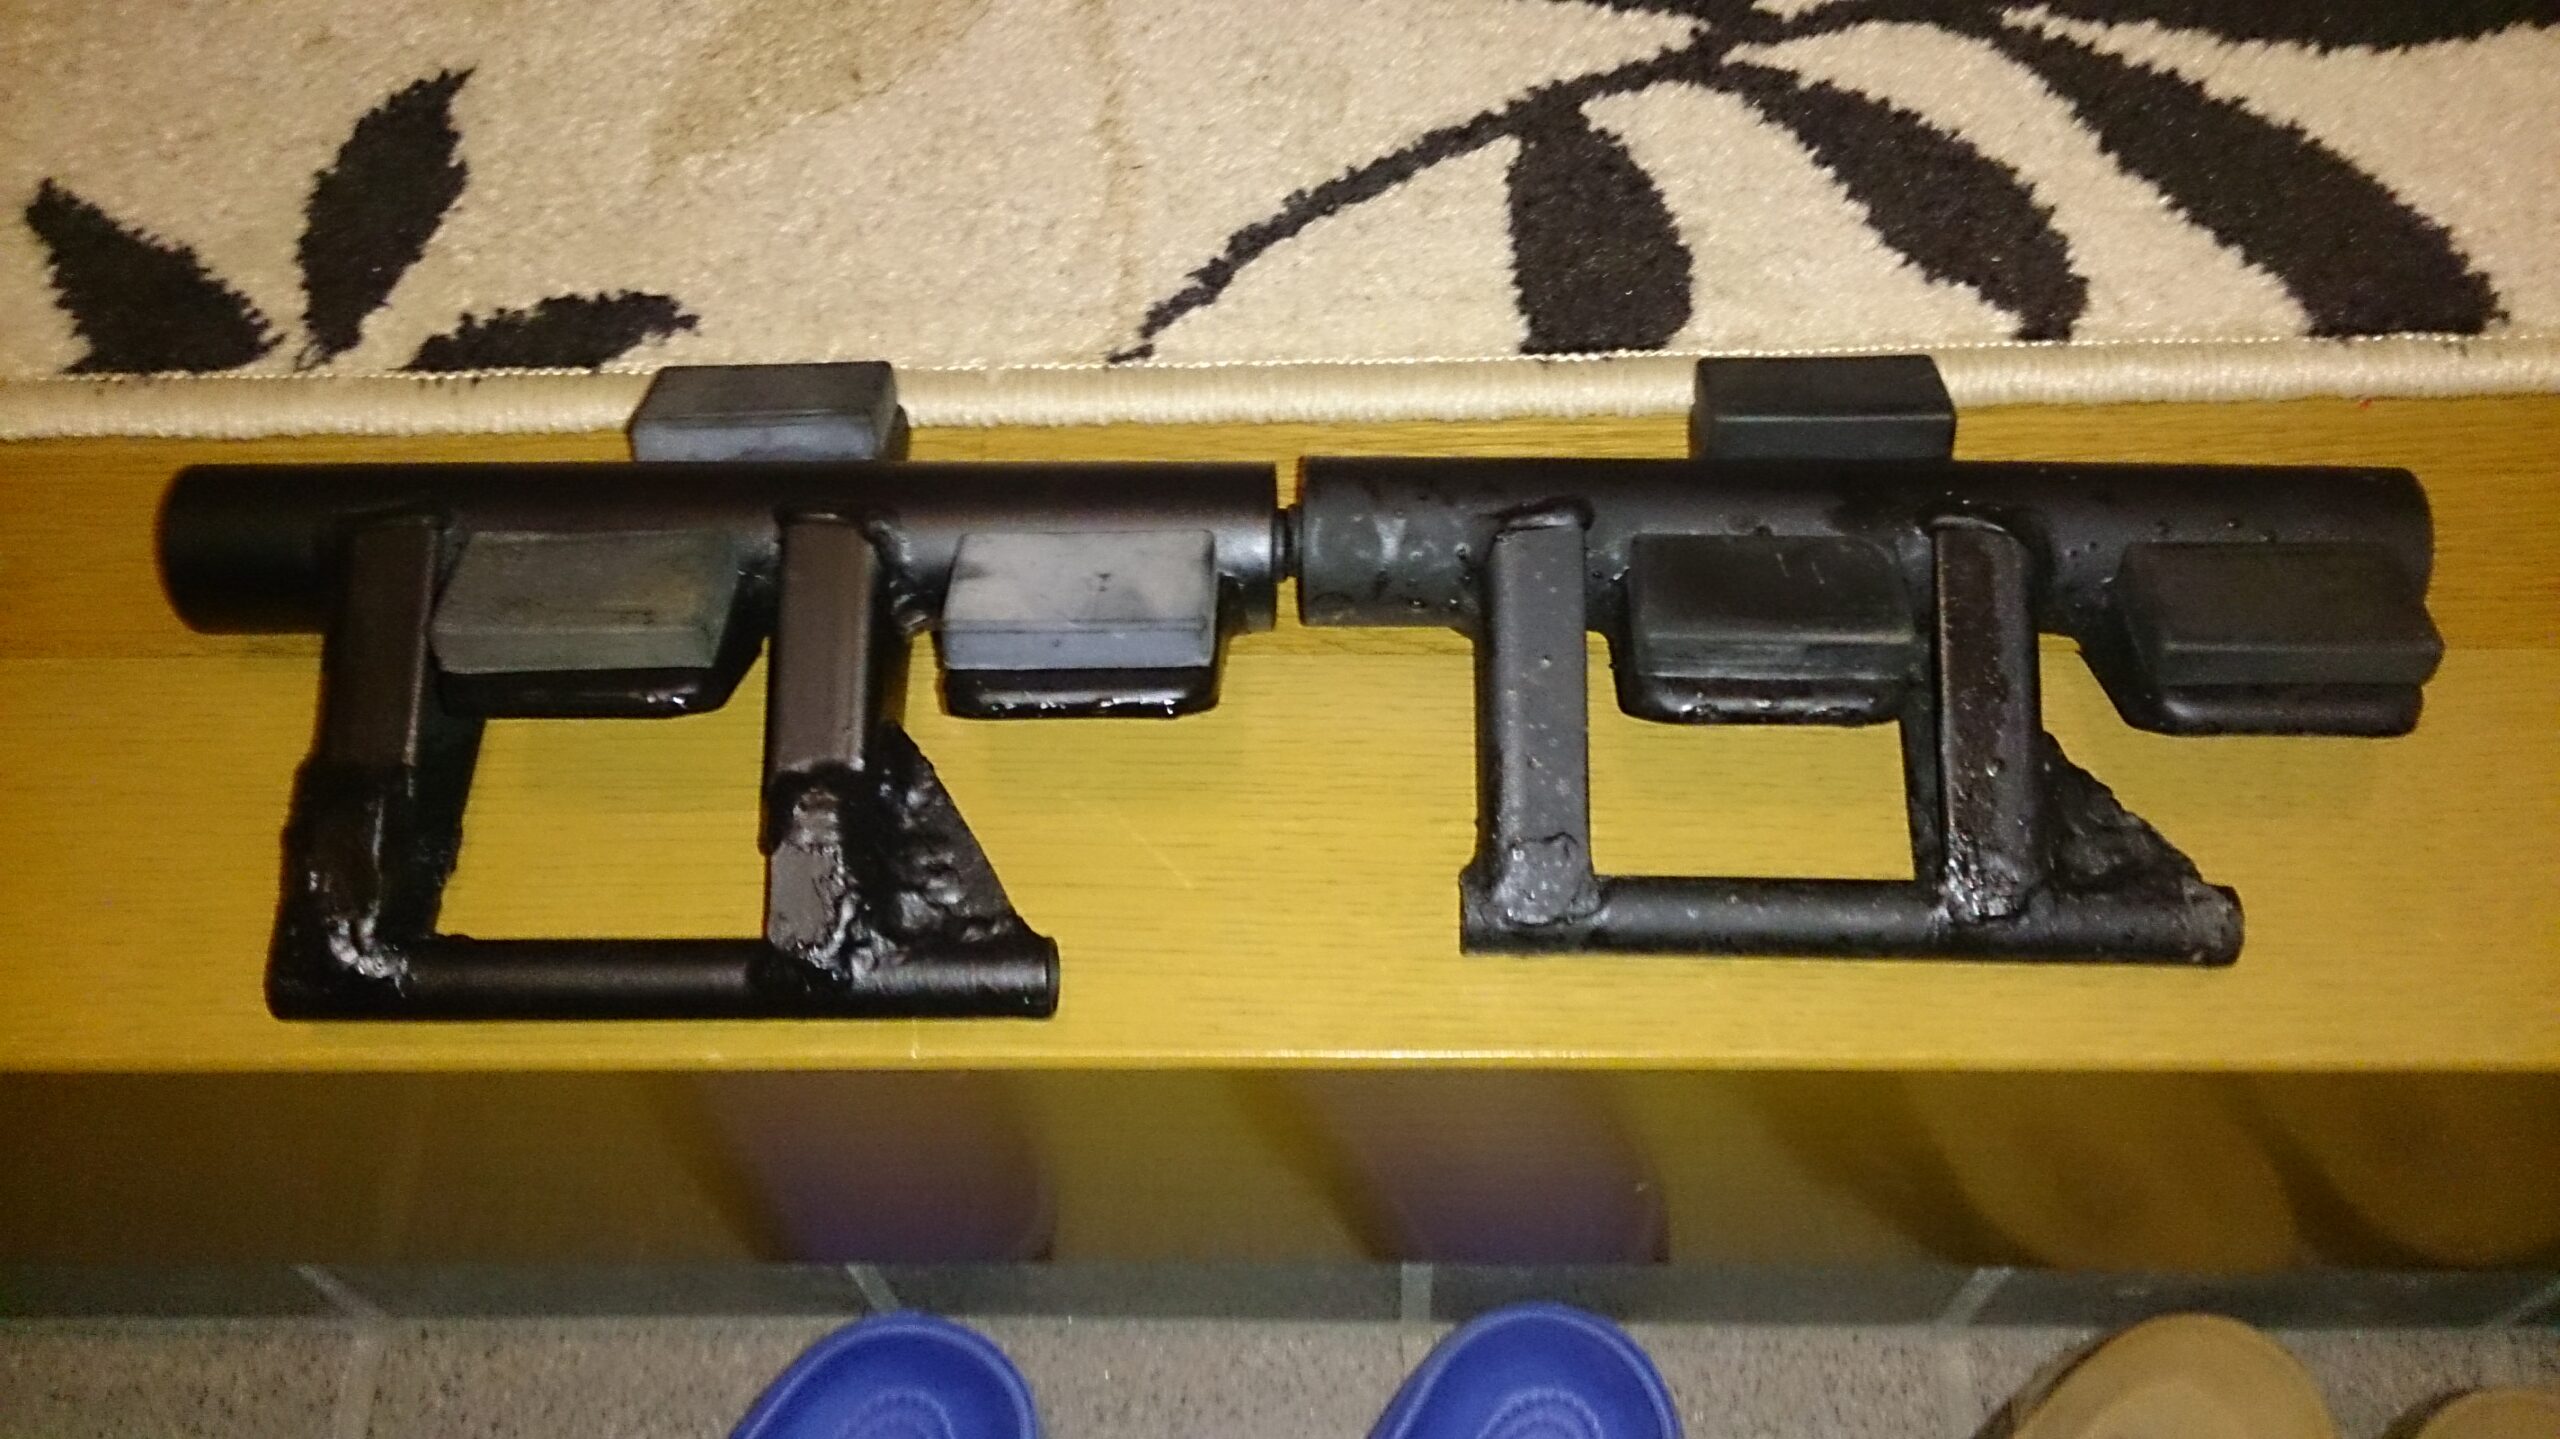
そこから長さを決めて溶接します。得意のガス溶接でやりました。
パイプが伸びた分、補強プレートも溶接します。
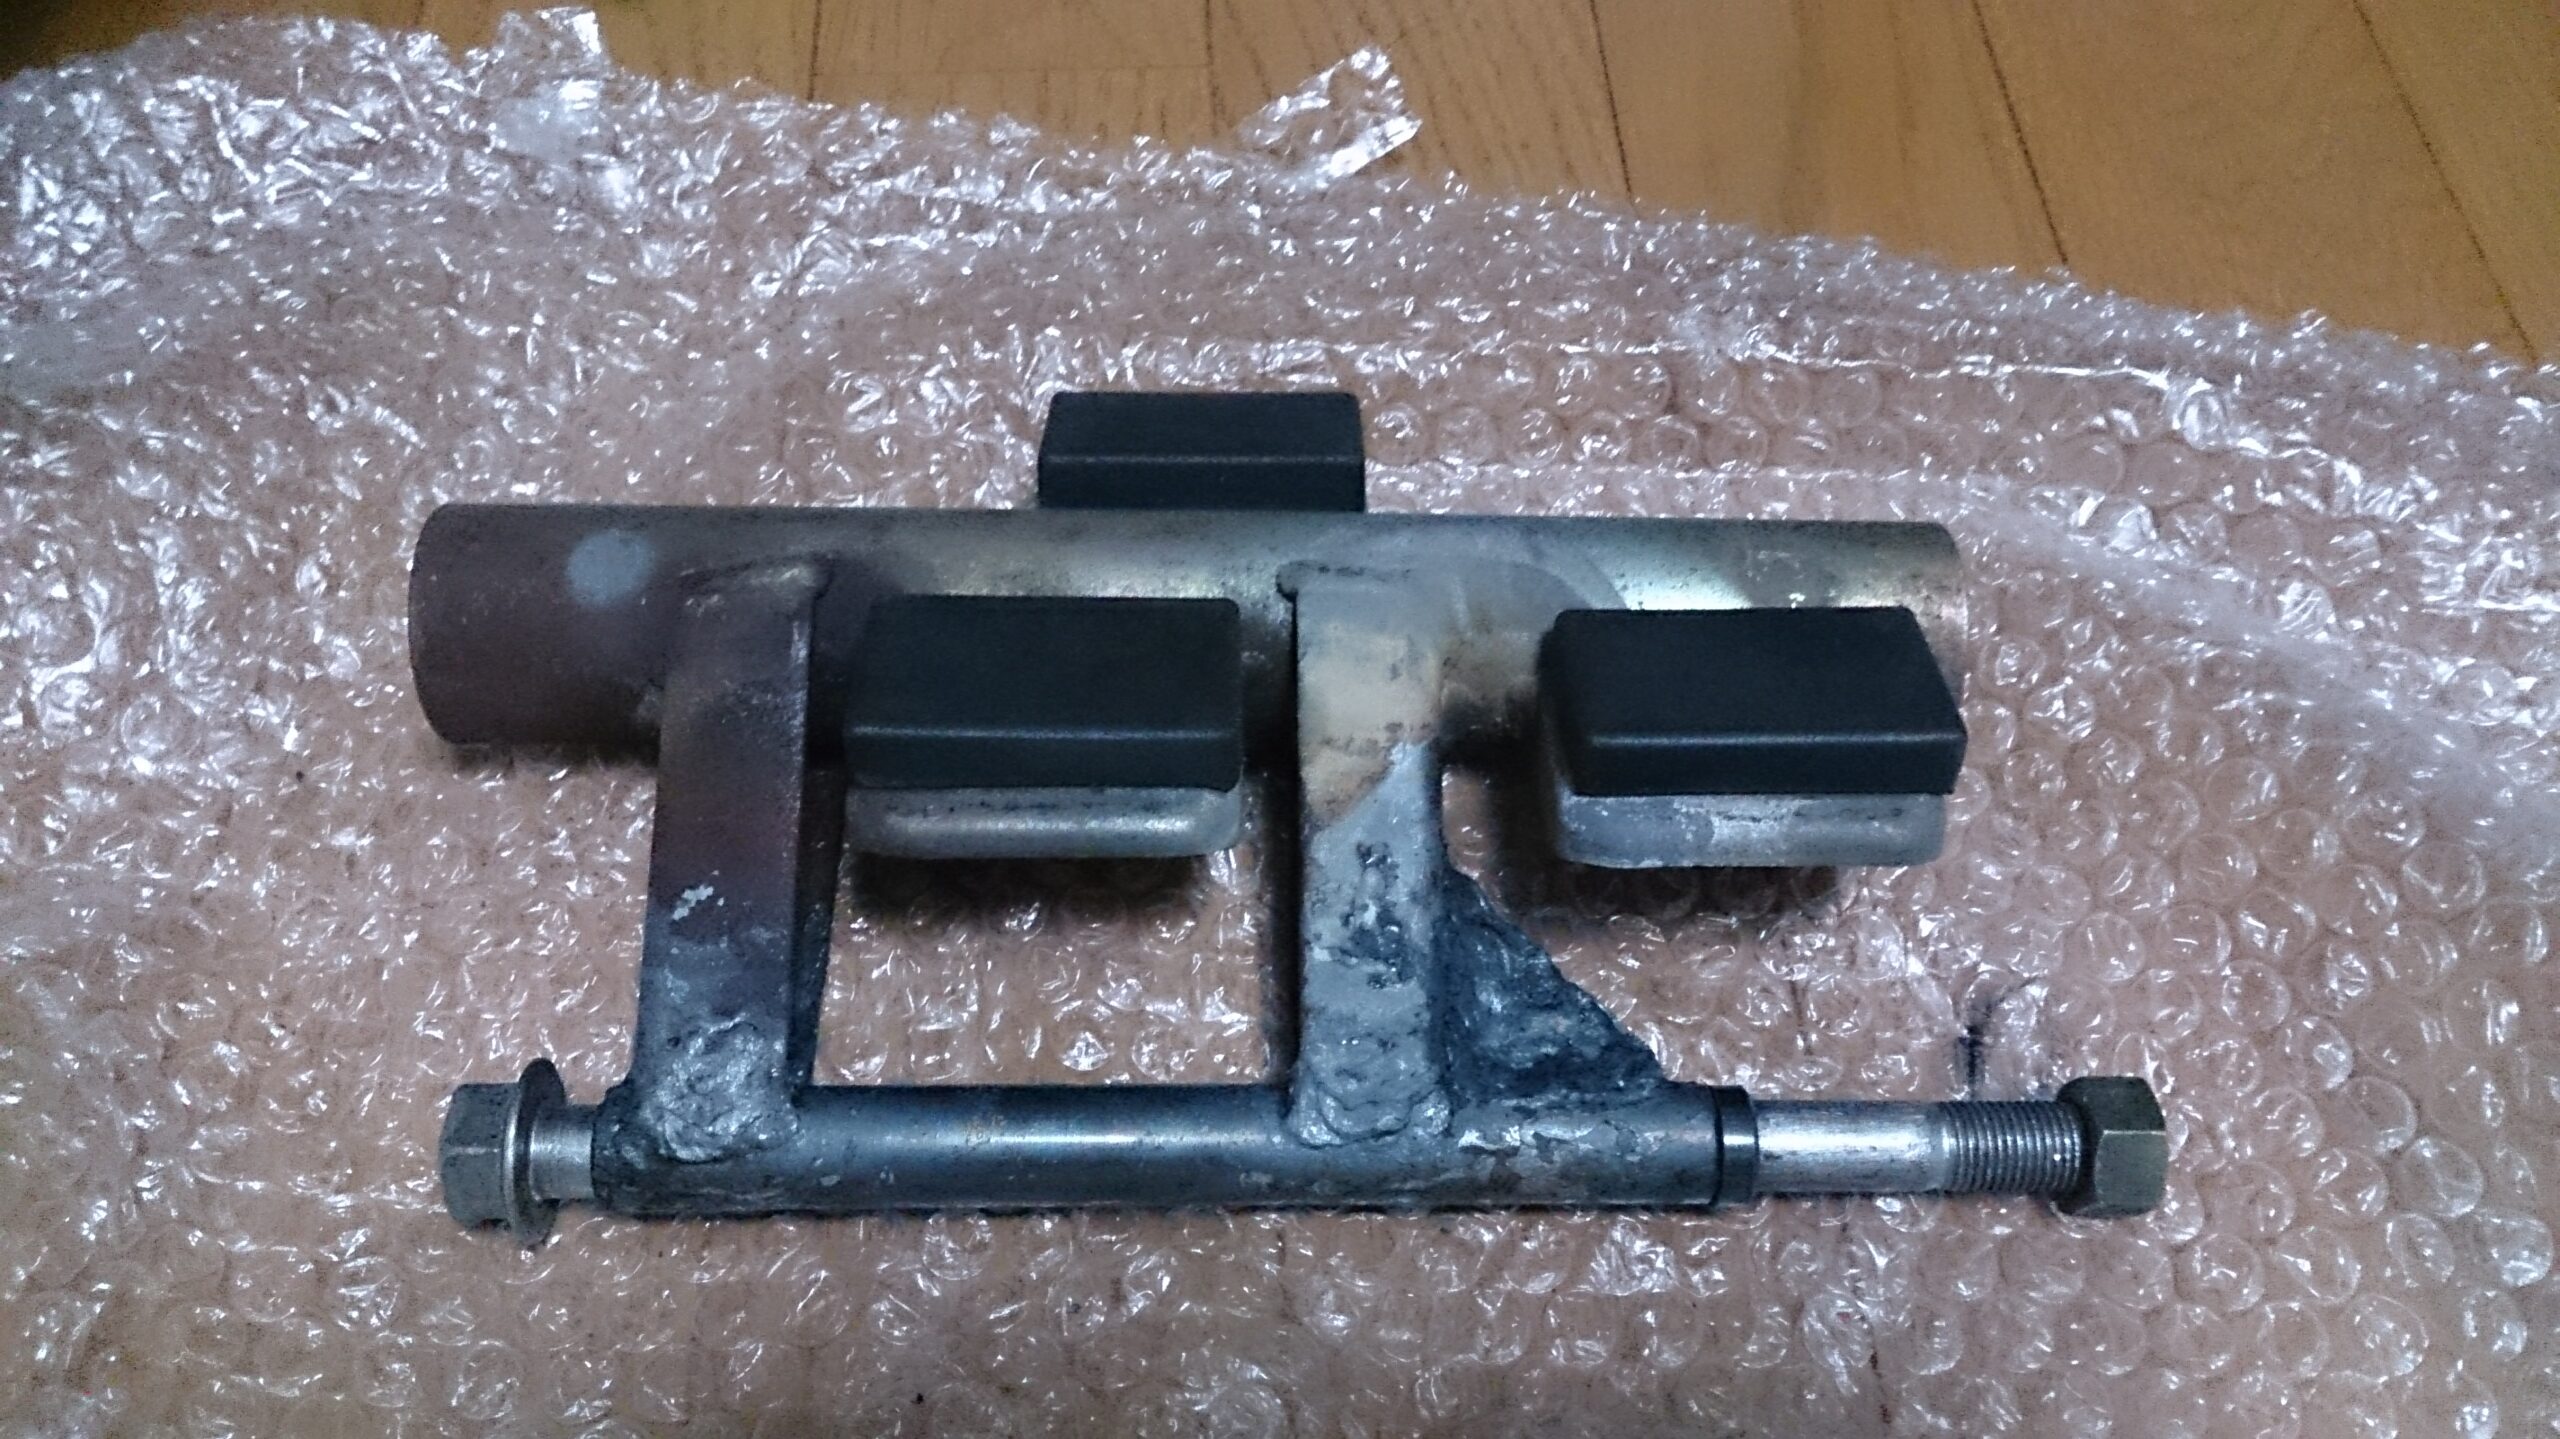
完成品がコレ↑
パイプが薄いので難しかったですがなんとかできました。
完成品のできばえにうっとりしながら眺めてると、先生がやってきて、
先生「おぉ~吉田君いっつも帰るの早いのに居残りで溶接の練習か~!感心感心!」
僕「あざっす!」
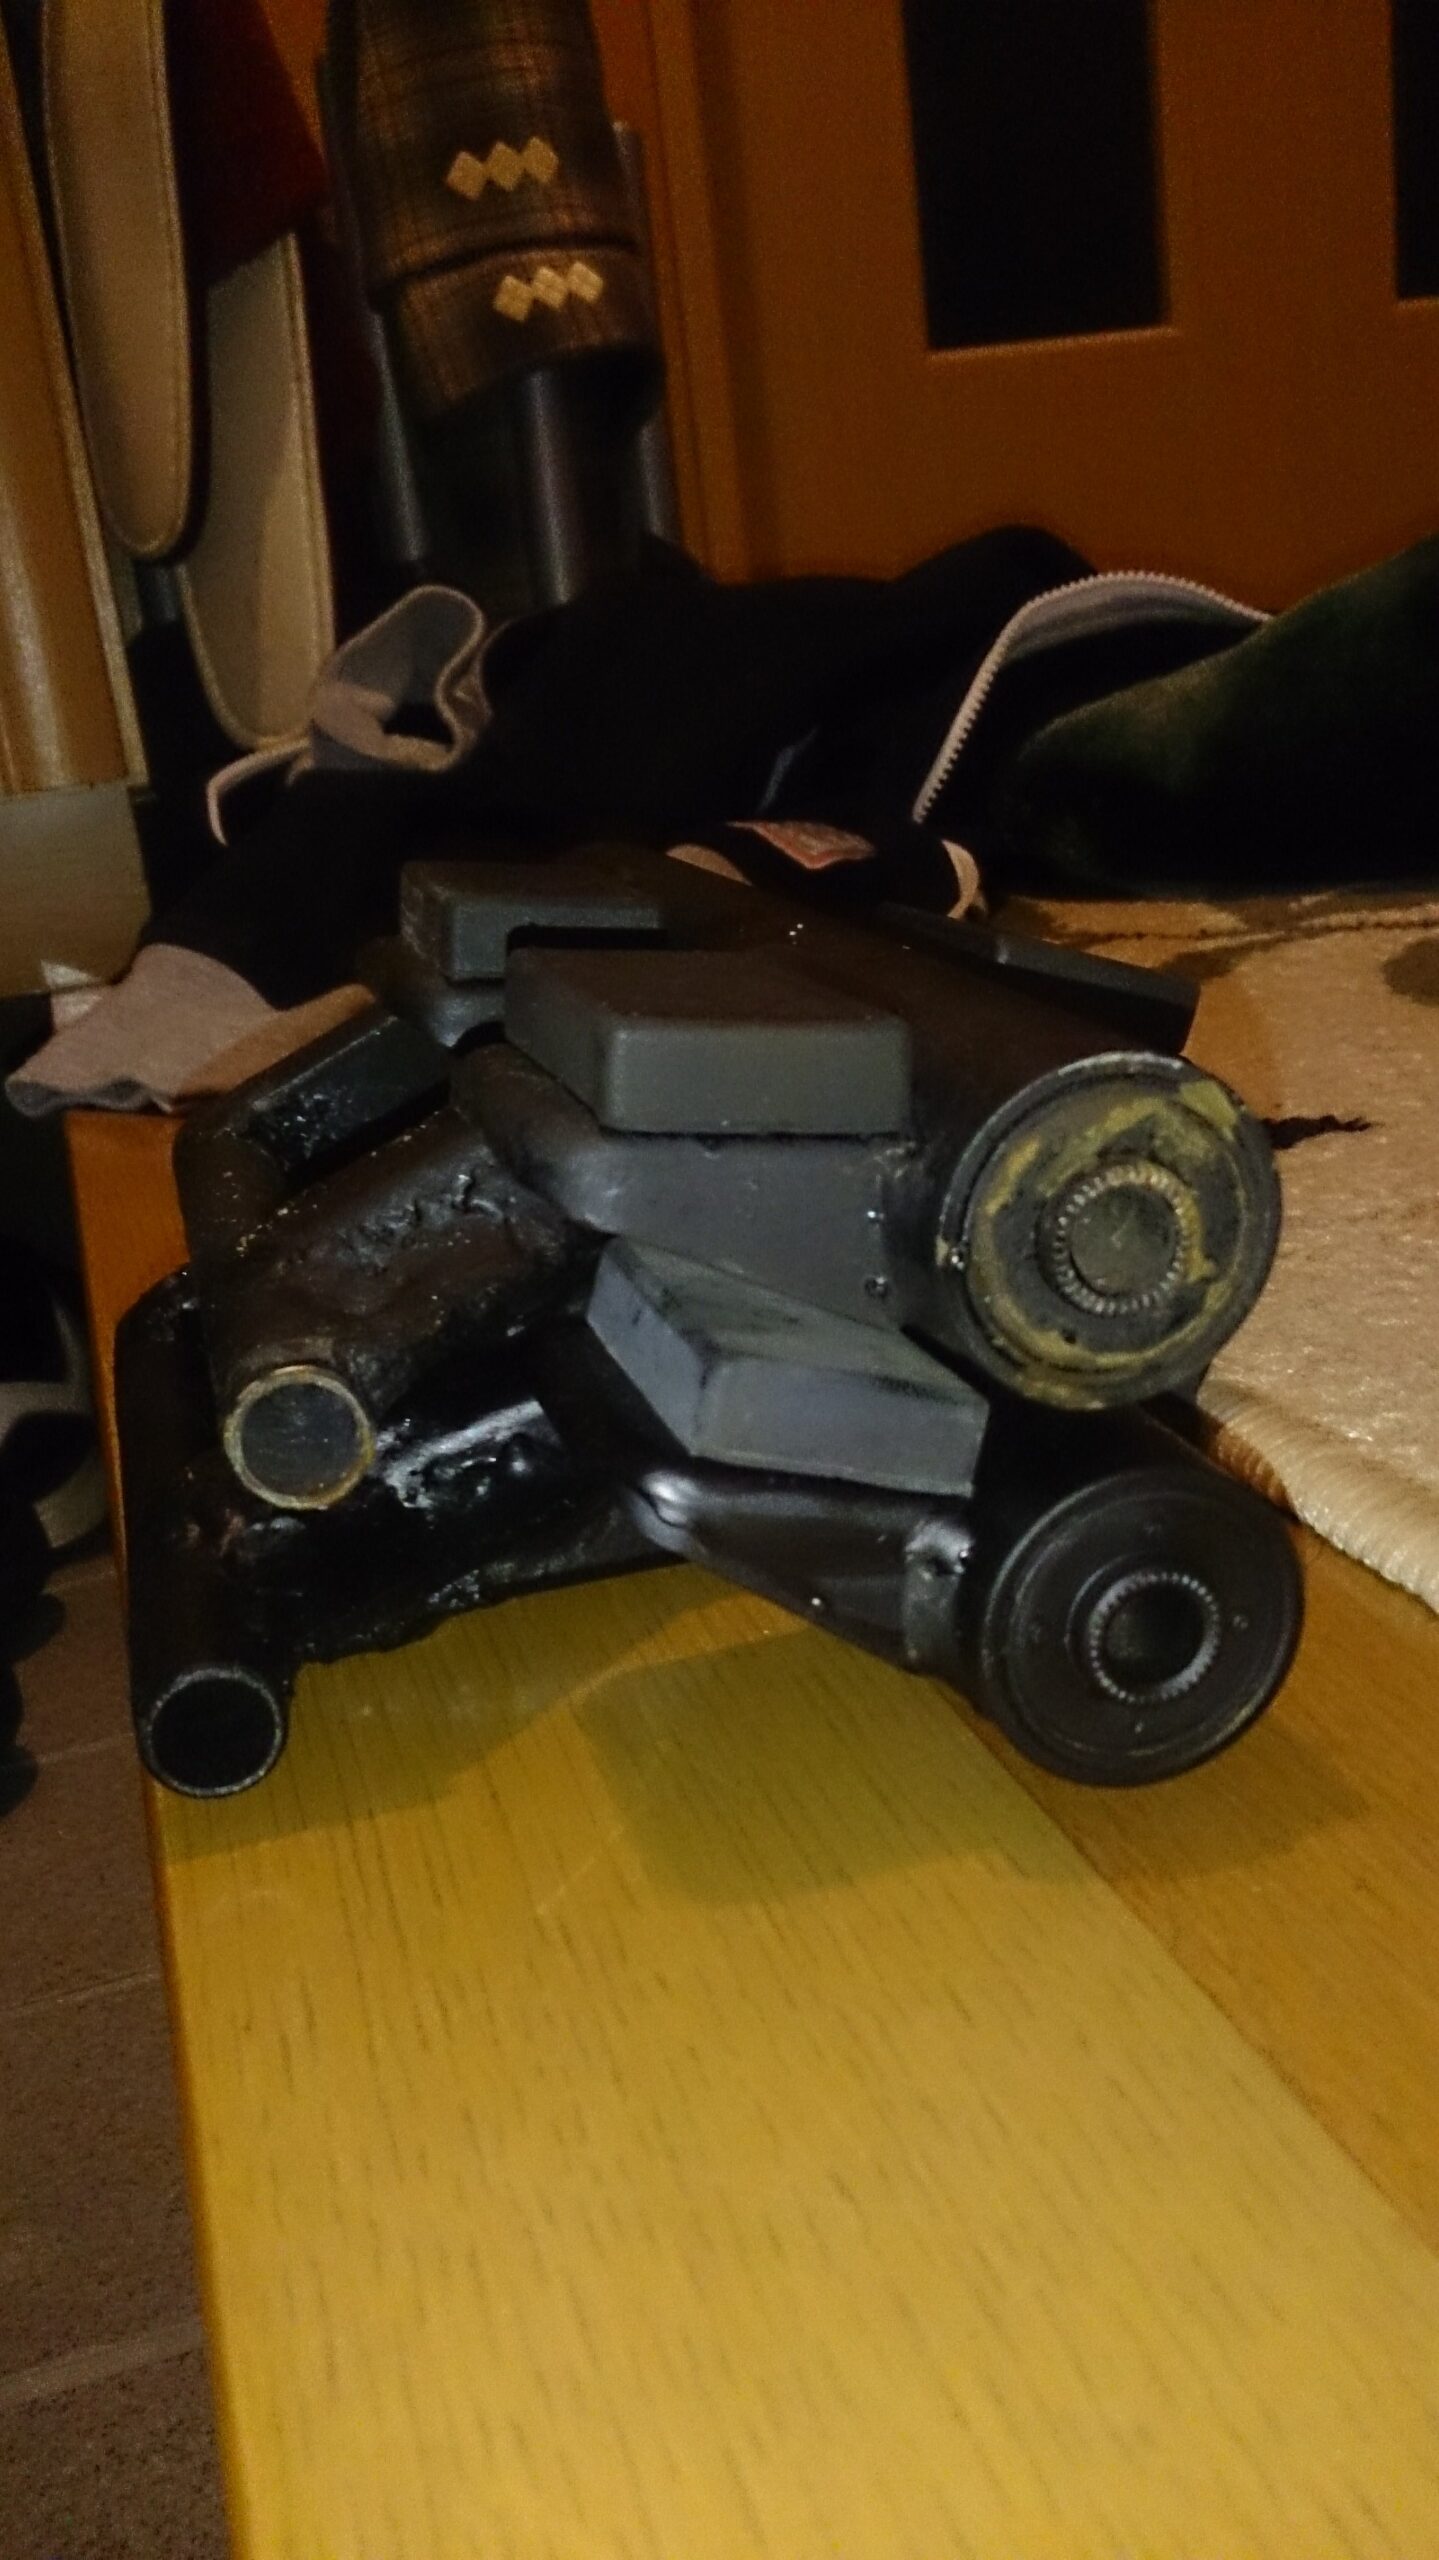
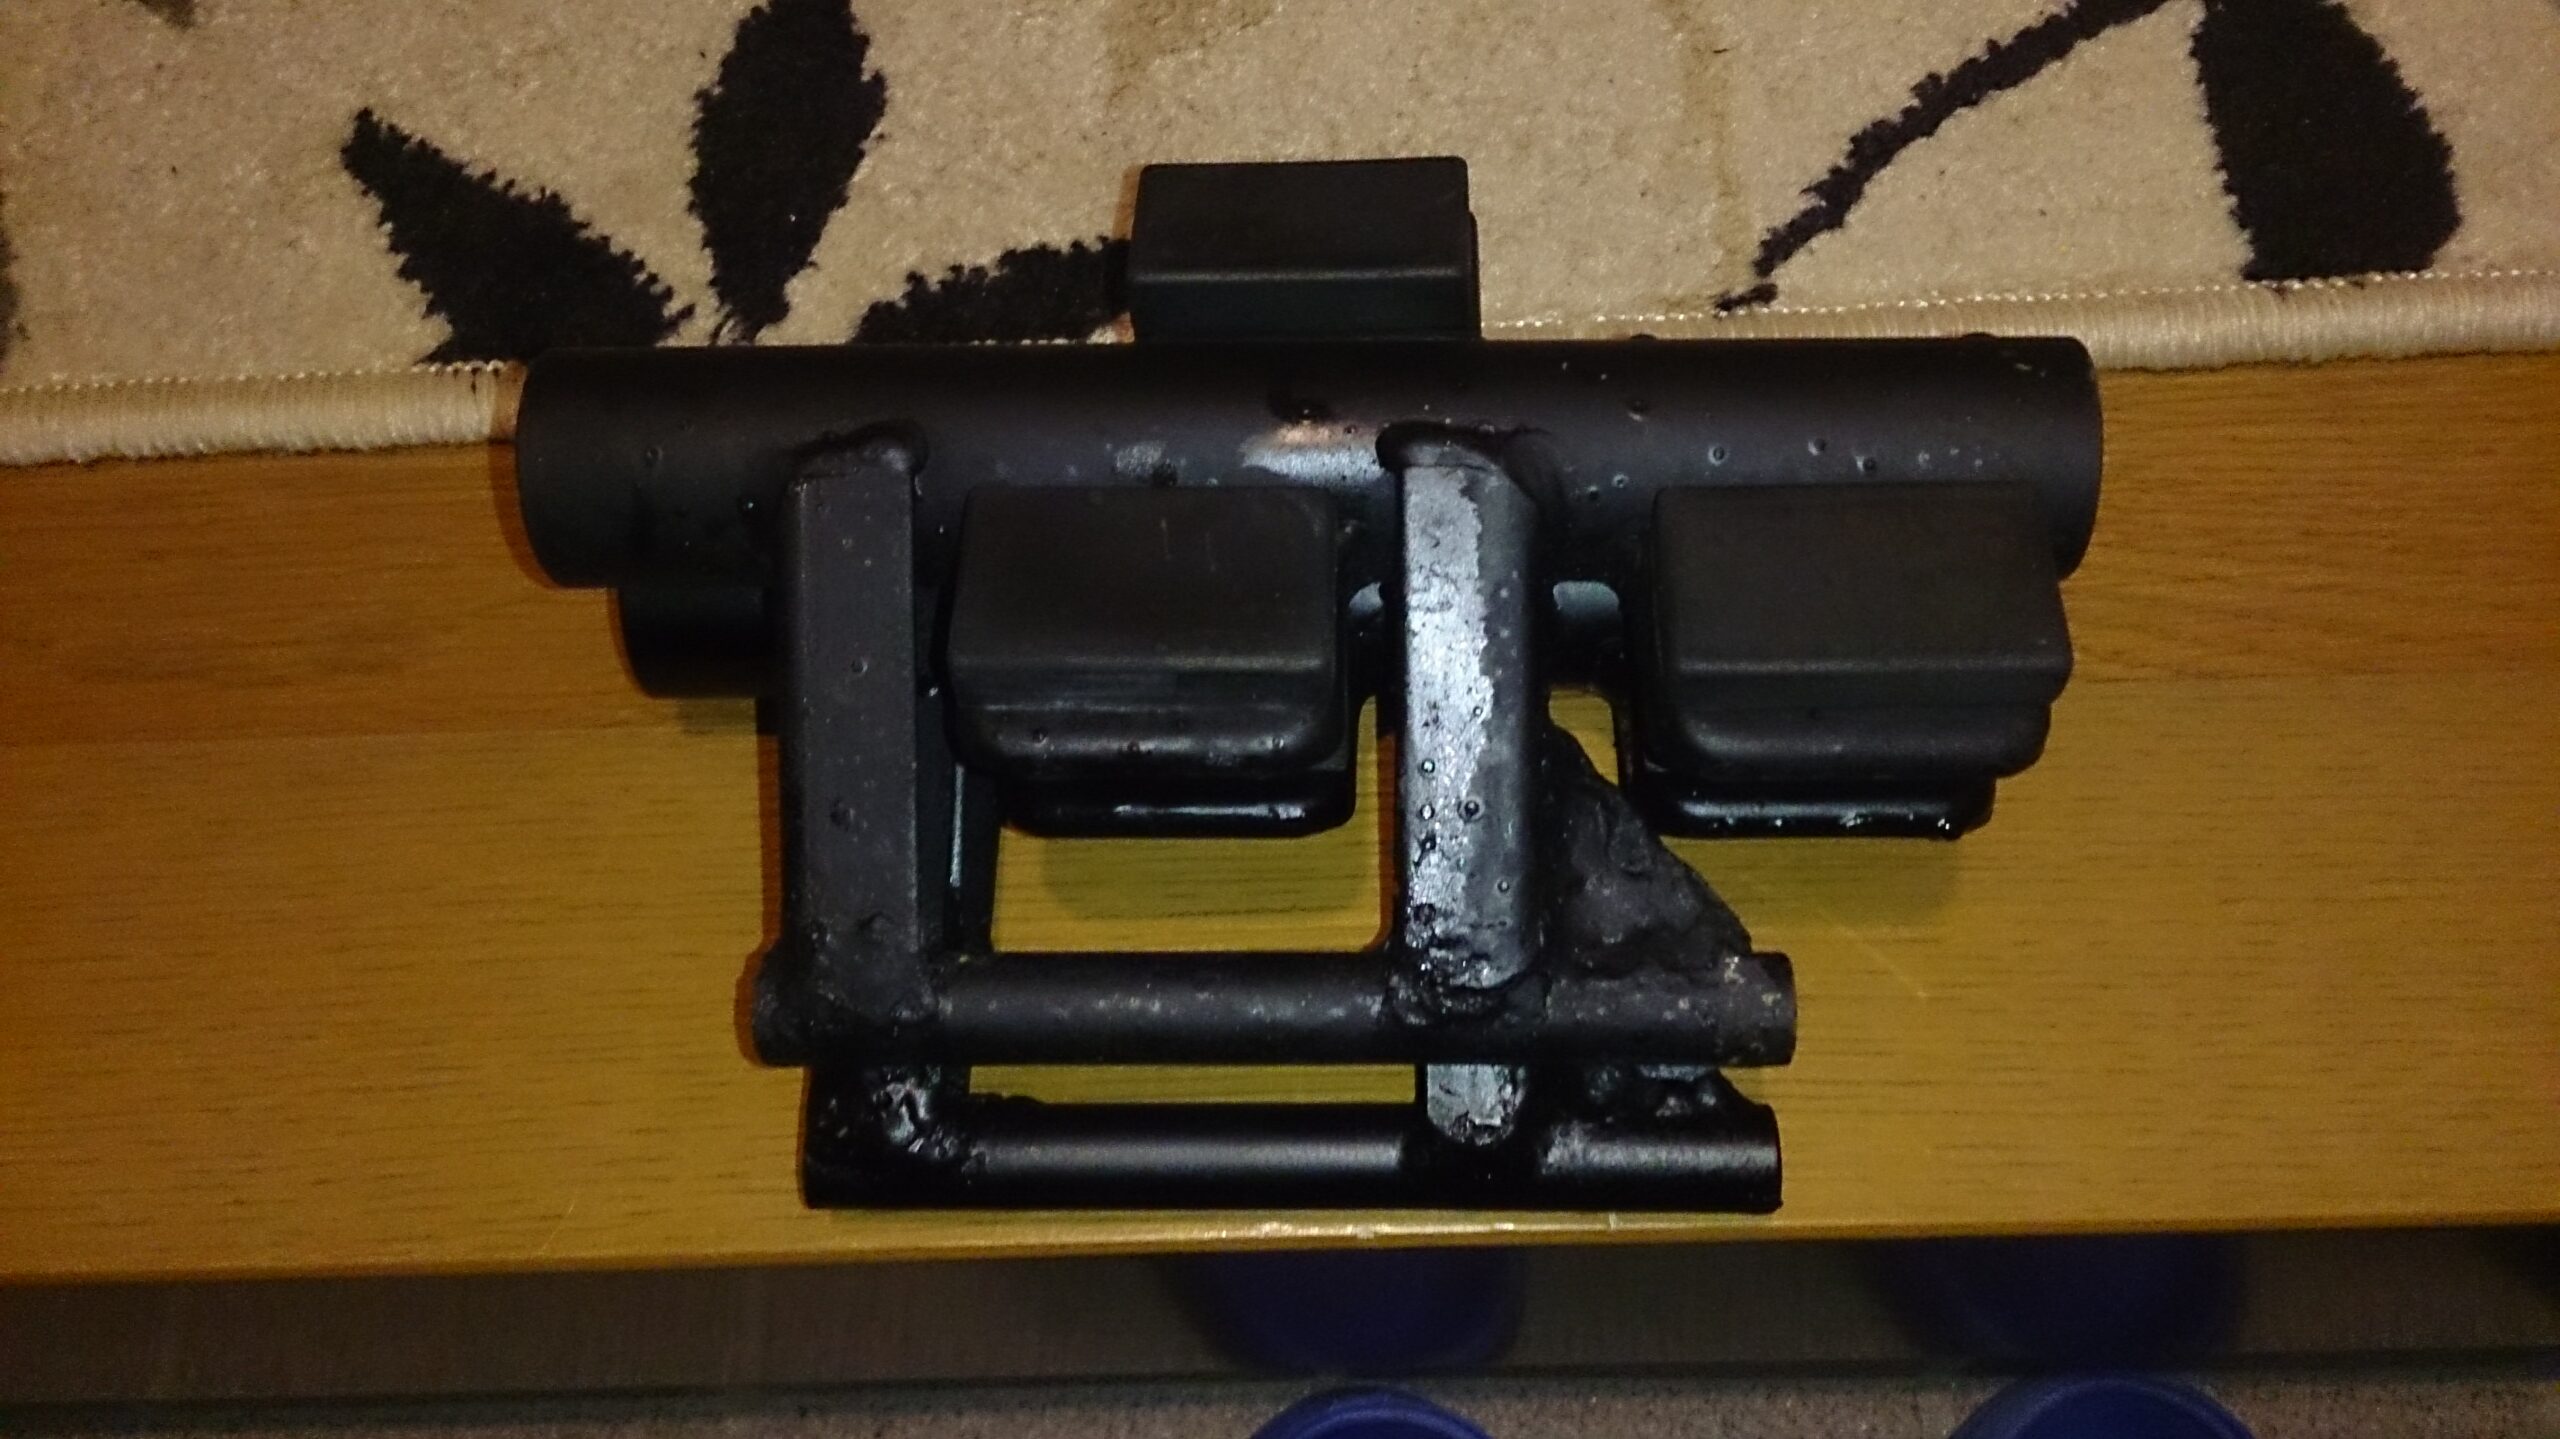
バージョン1とバージョン2も作りました。
バージョン1はショート過ぎて付けるとプラグが取り外せなくなったので、バージョン2では少しロングにエンジンを後ろにオフセットさせる形で作りました。
バージョン2では溶接箇所も増やして強度マシマシです。


CDIはなぜかZZのデイトナの赤箱で動きました。110用より進角になるらしいですが、まぁハイオク入れときゃいいでしょう。
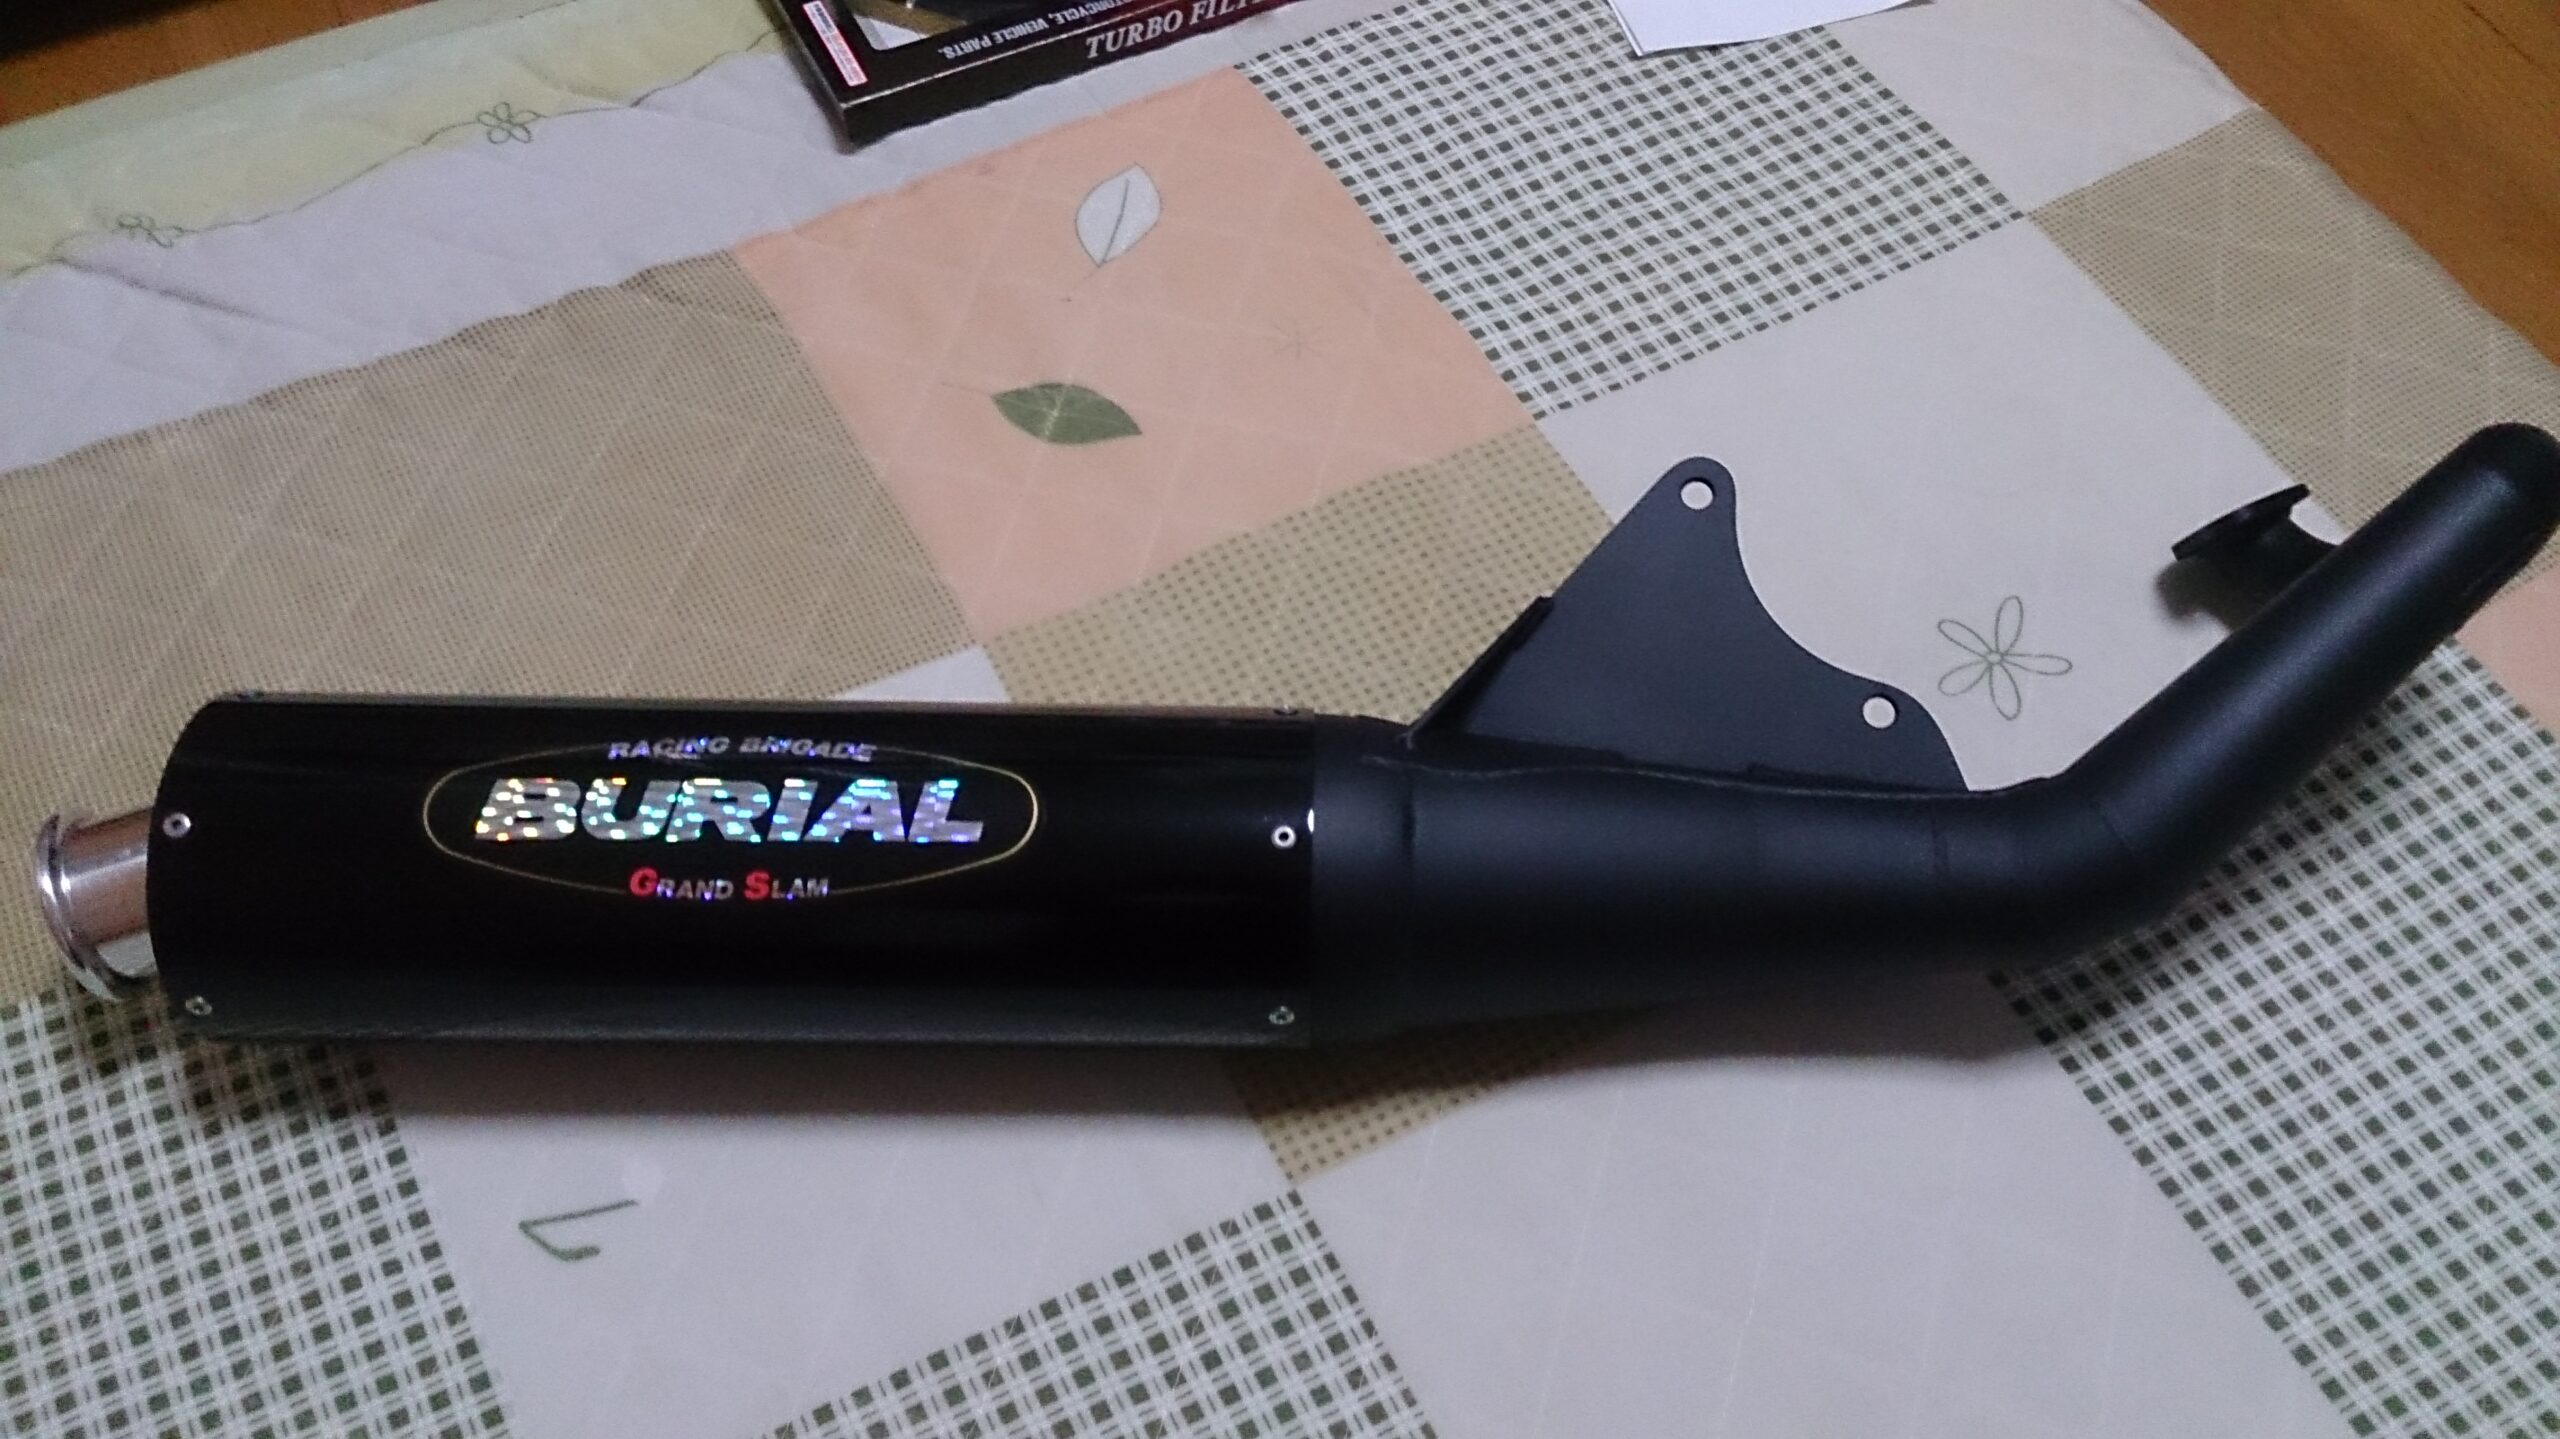
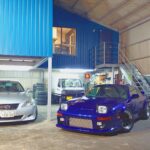
ちなみにたまたまですが、ベリアル=悪魔です。
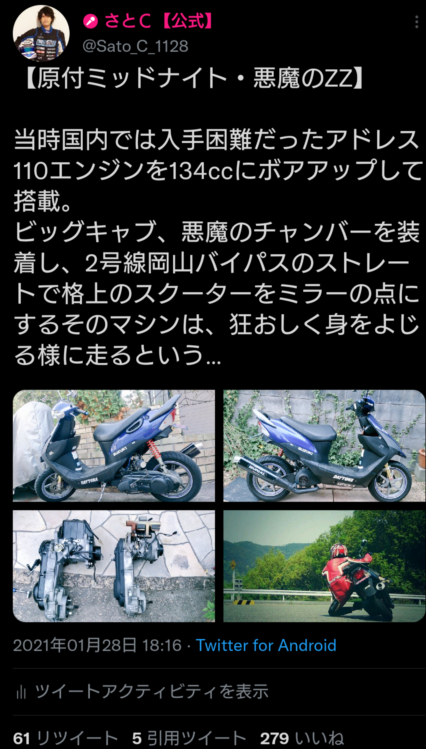
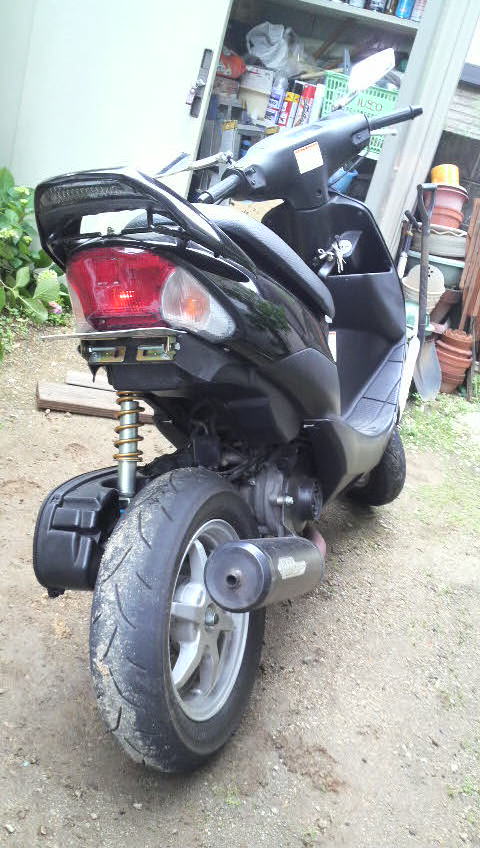
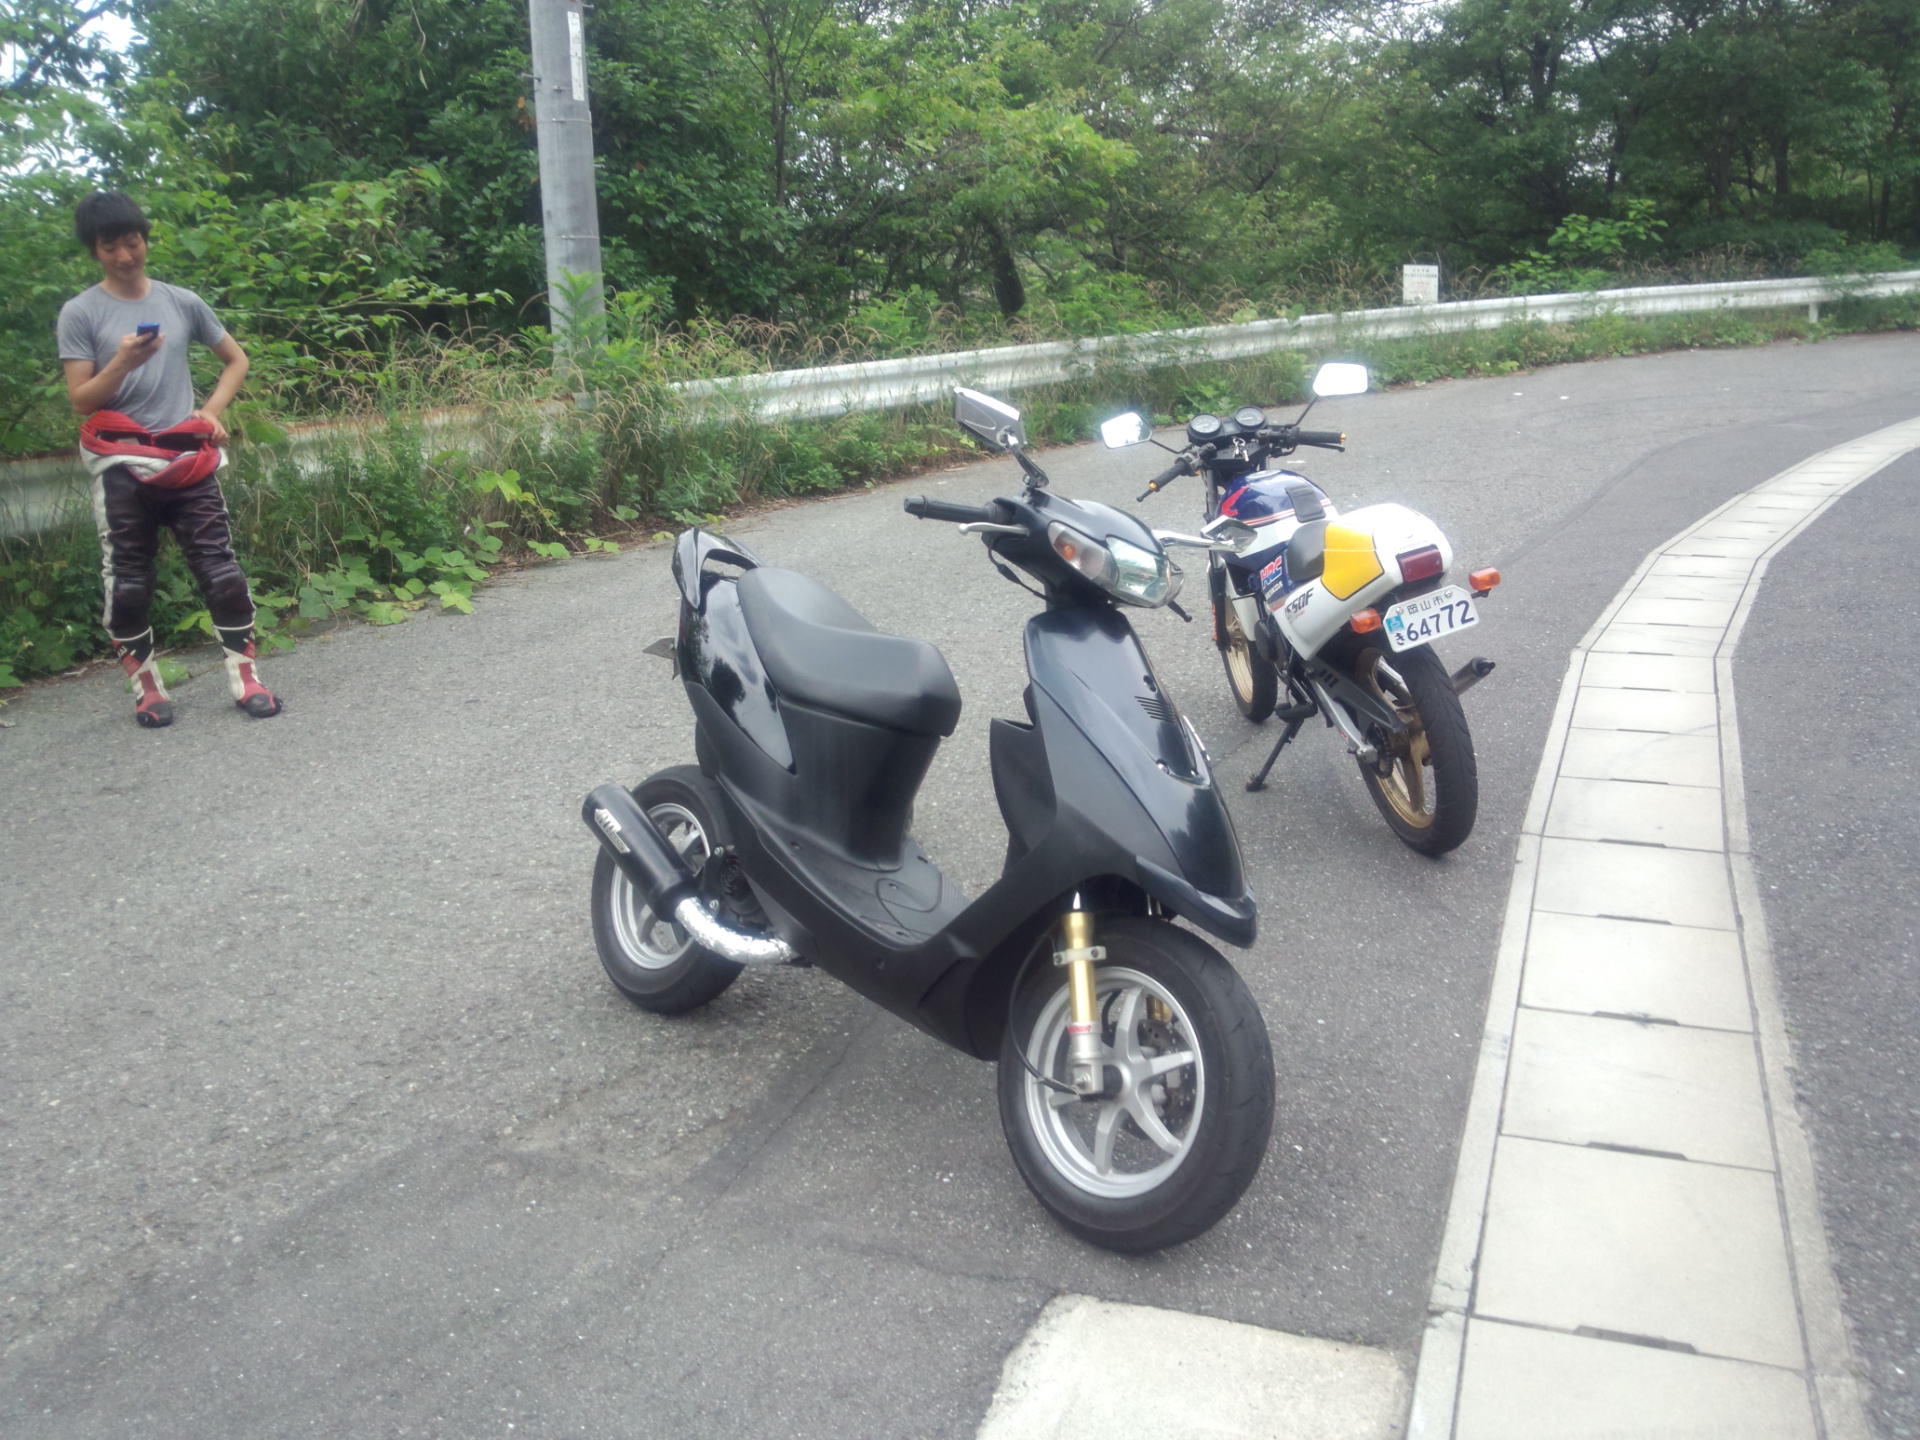
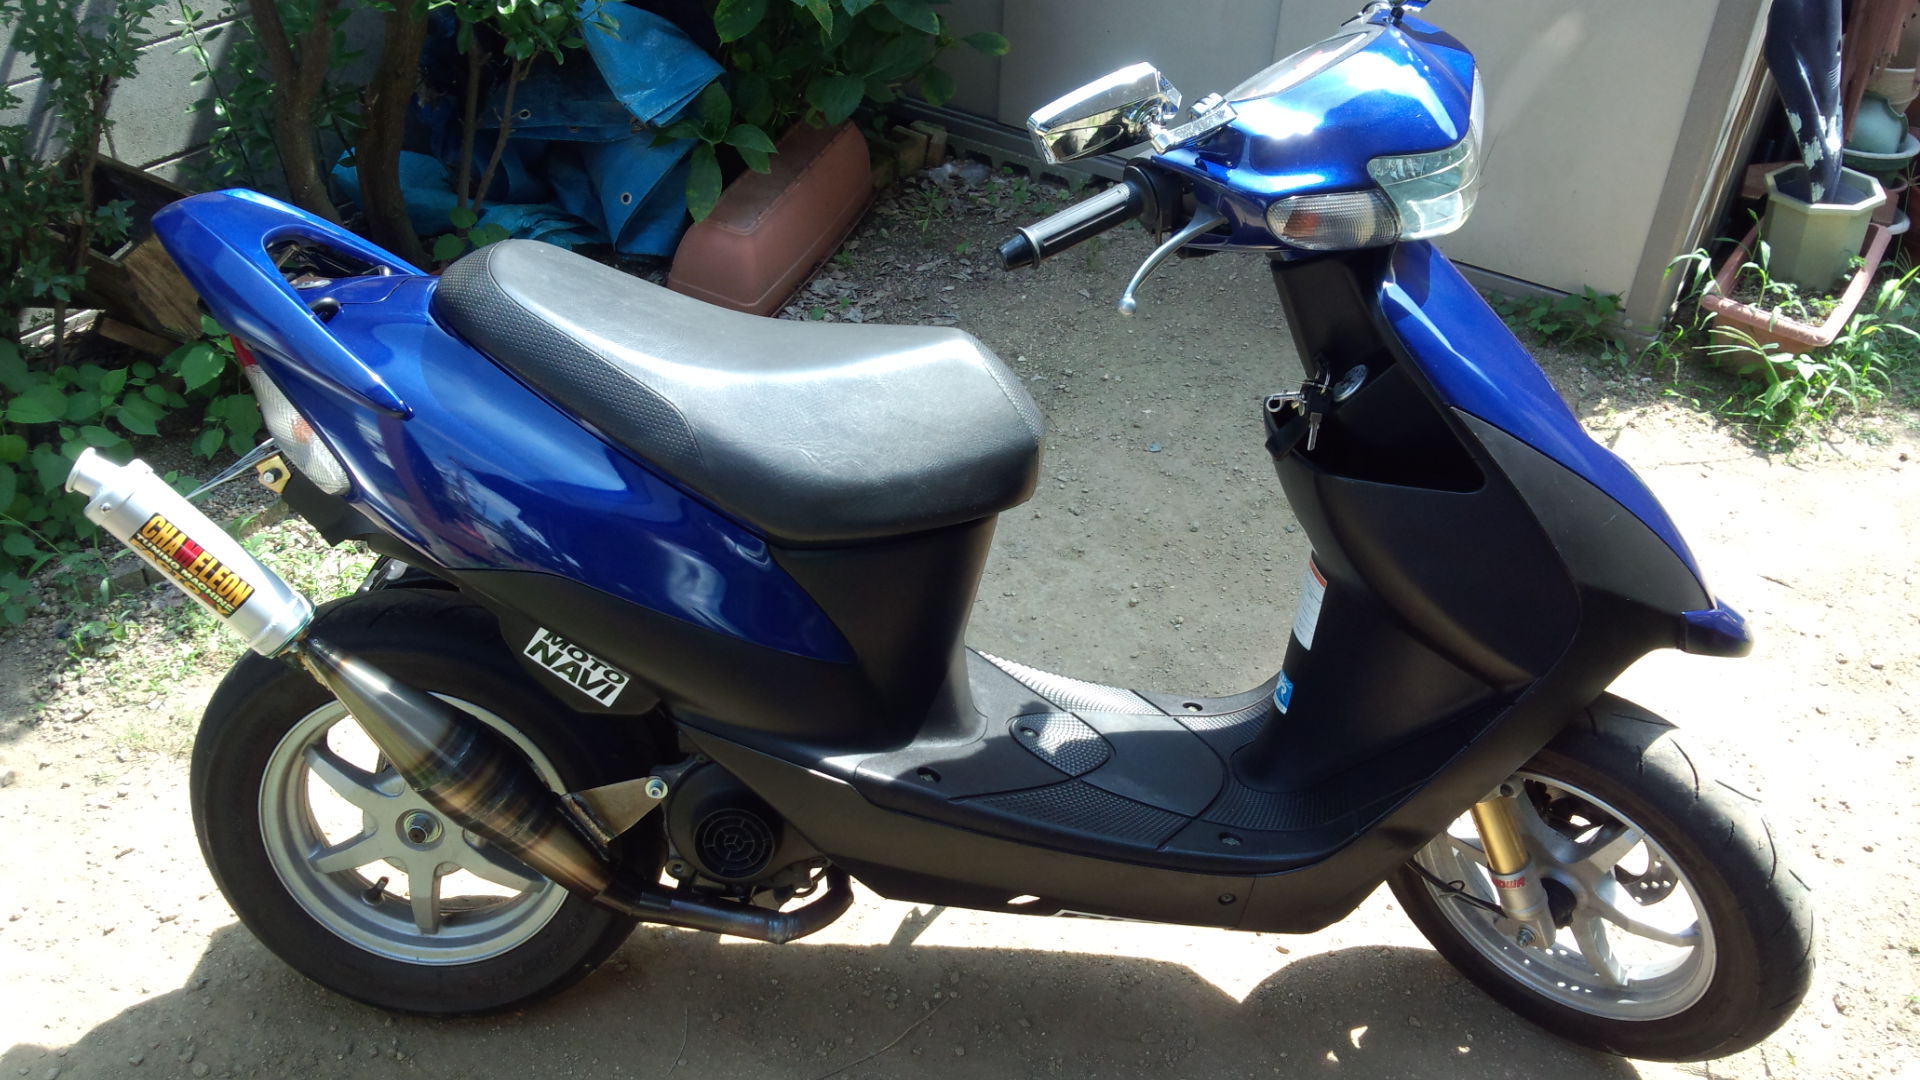
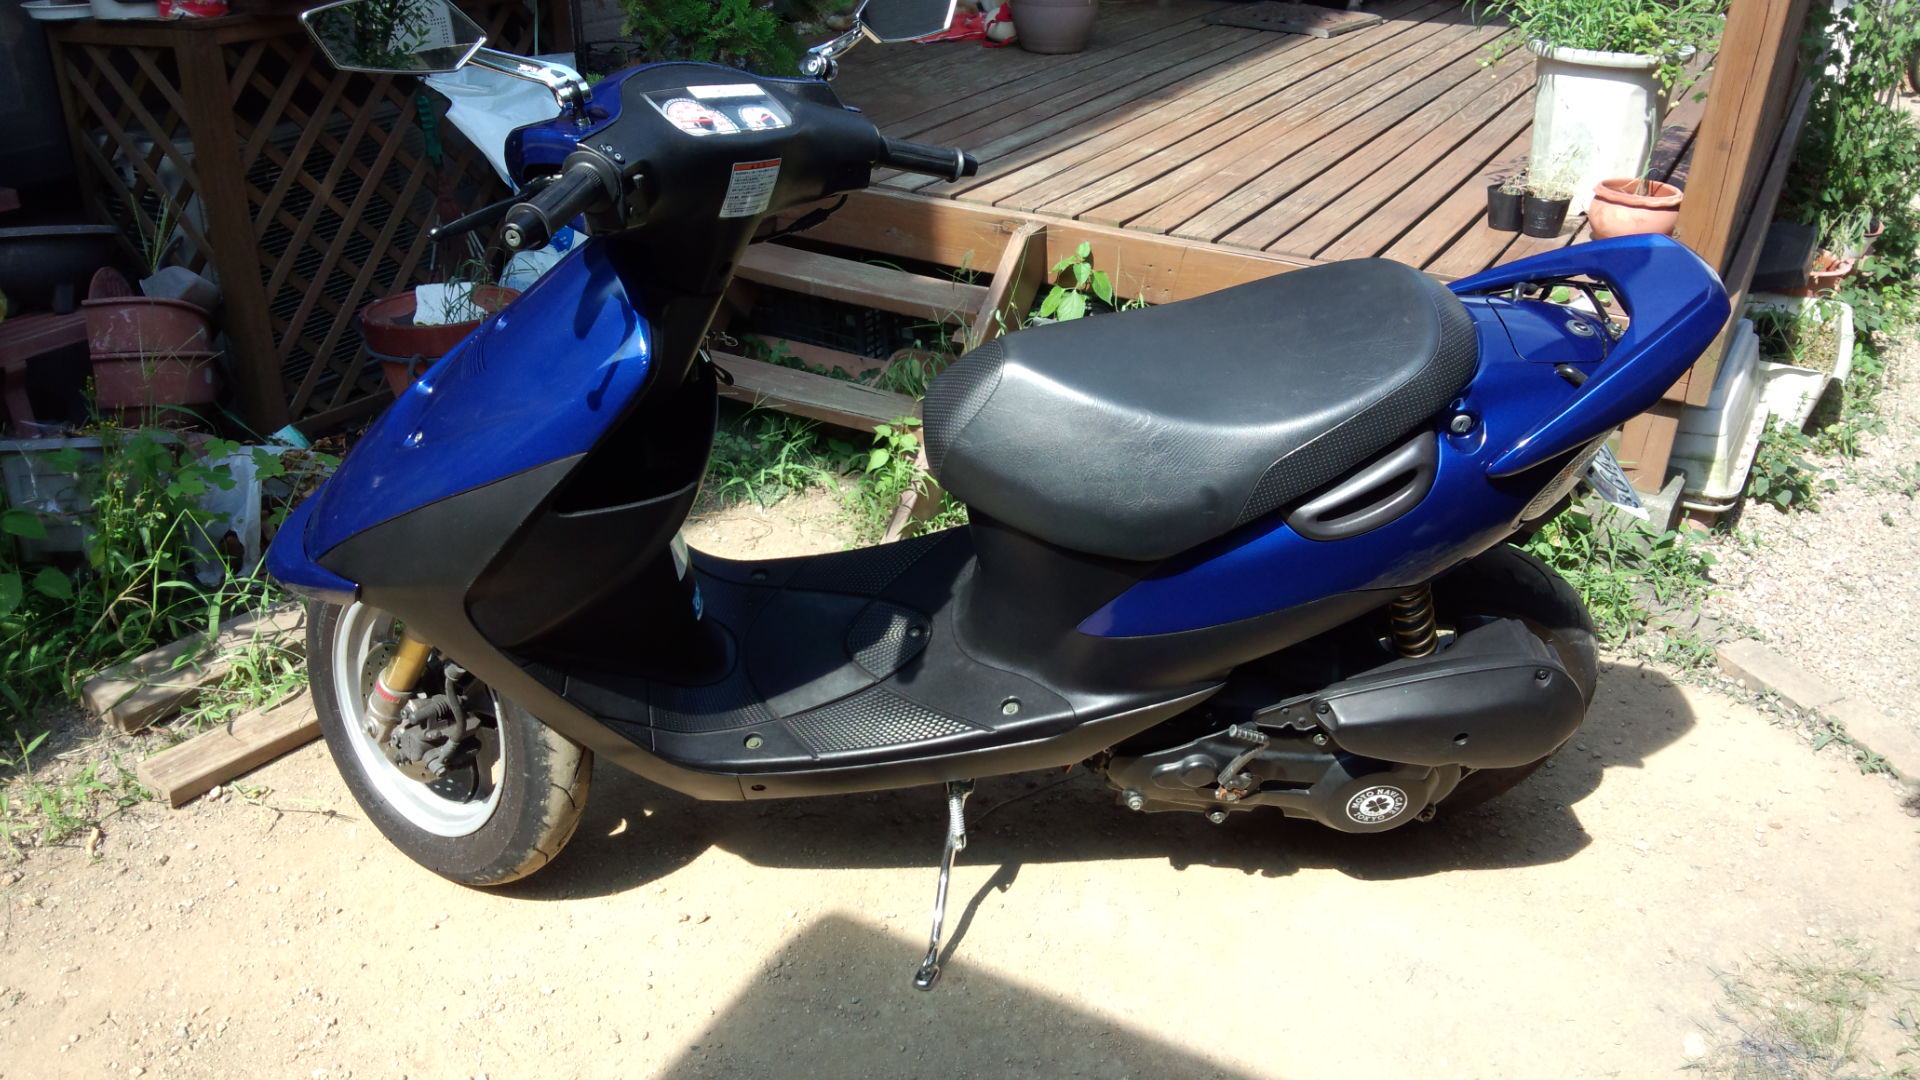
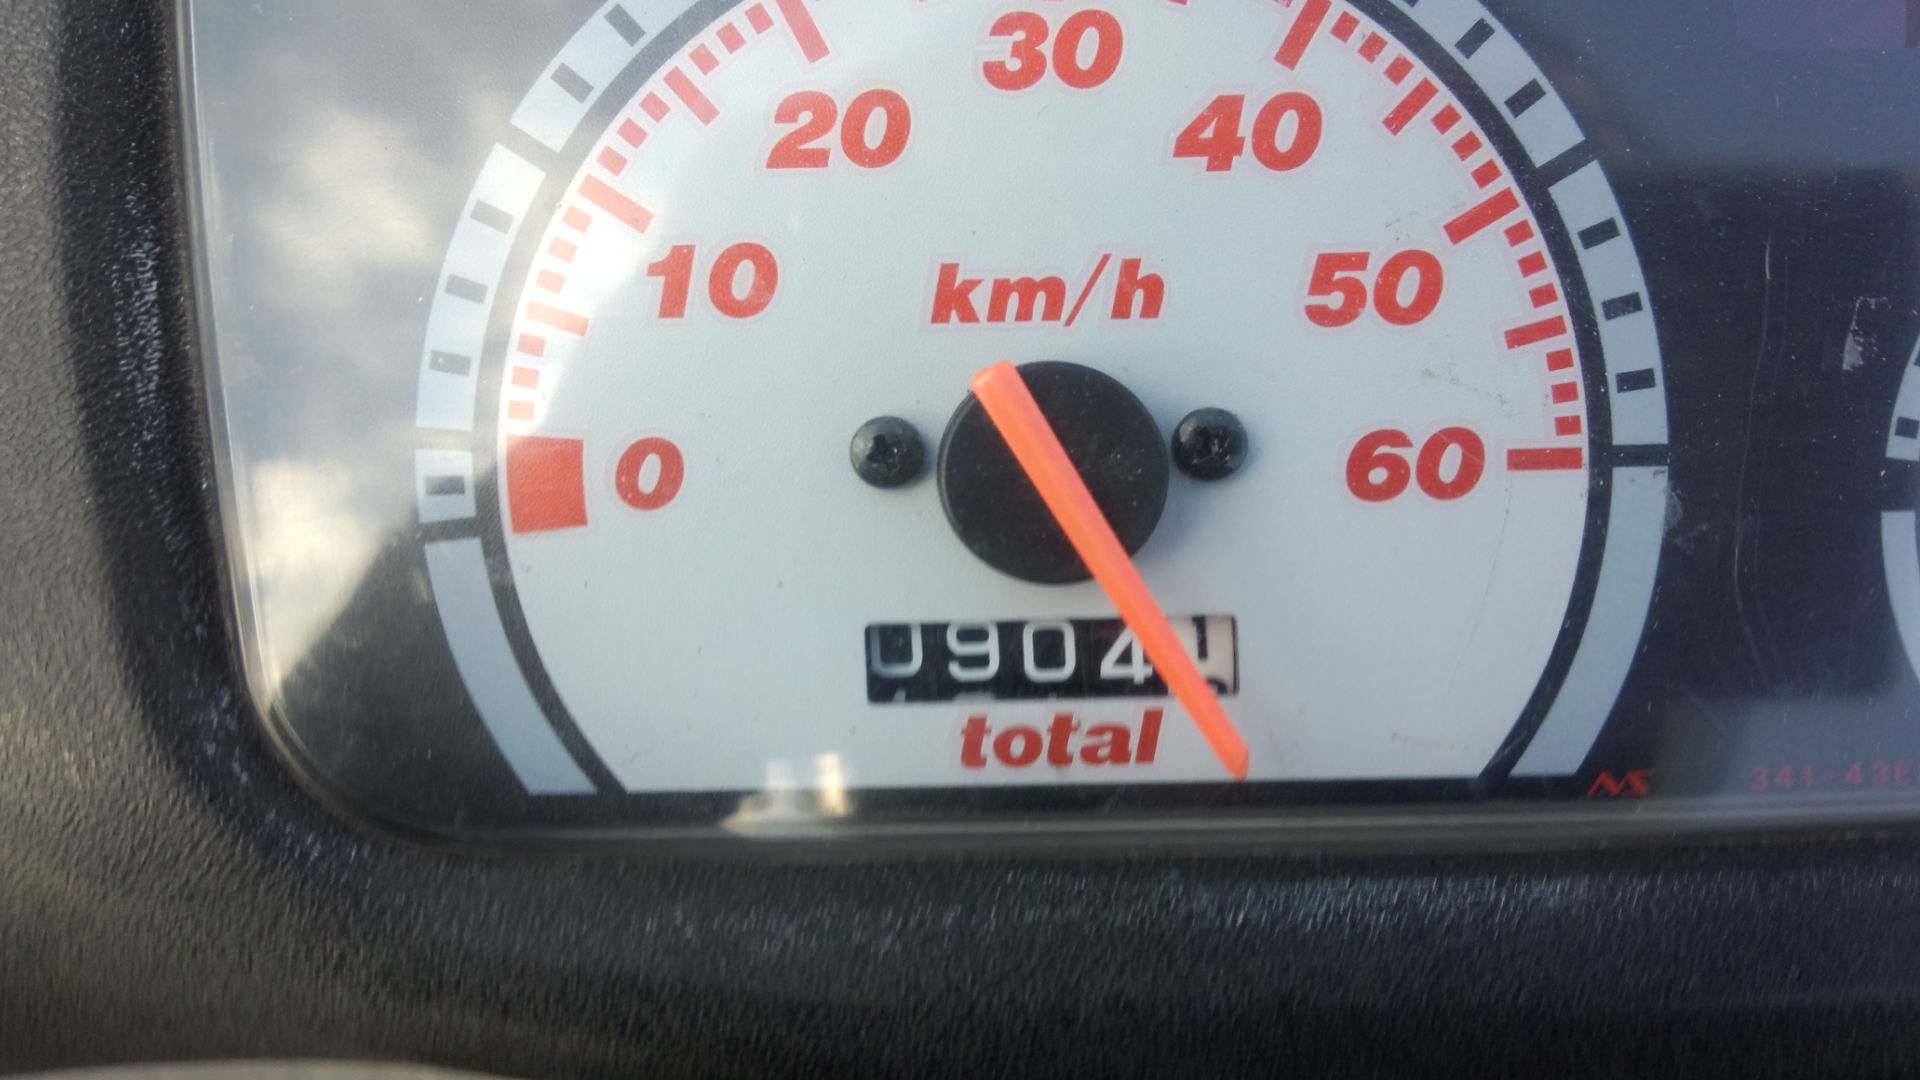
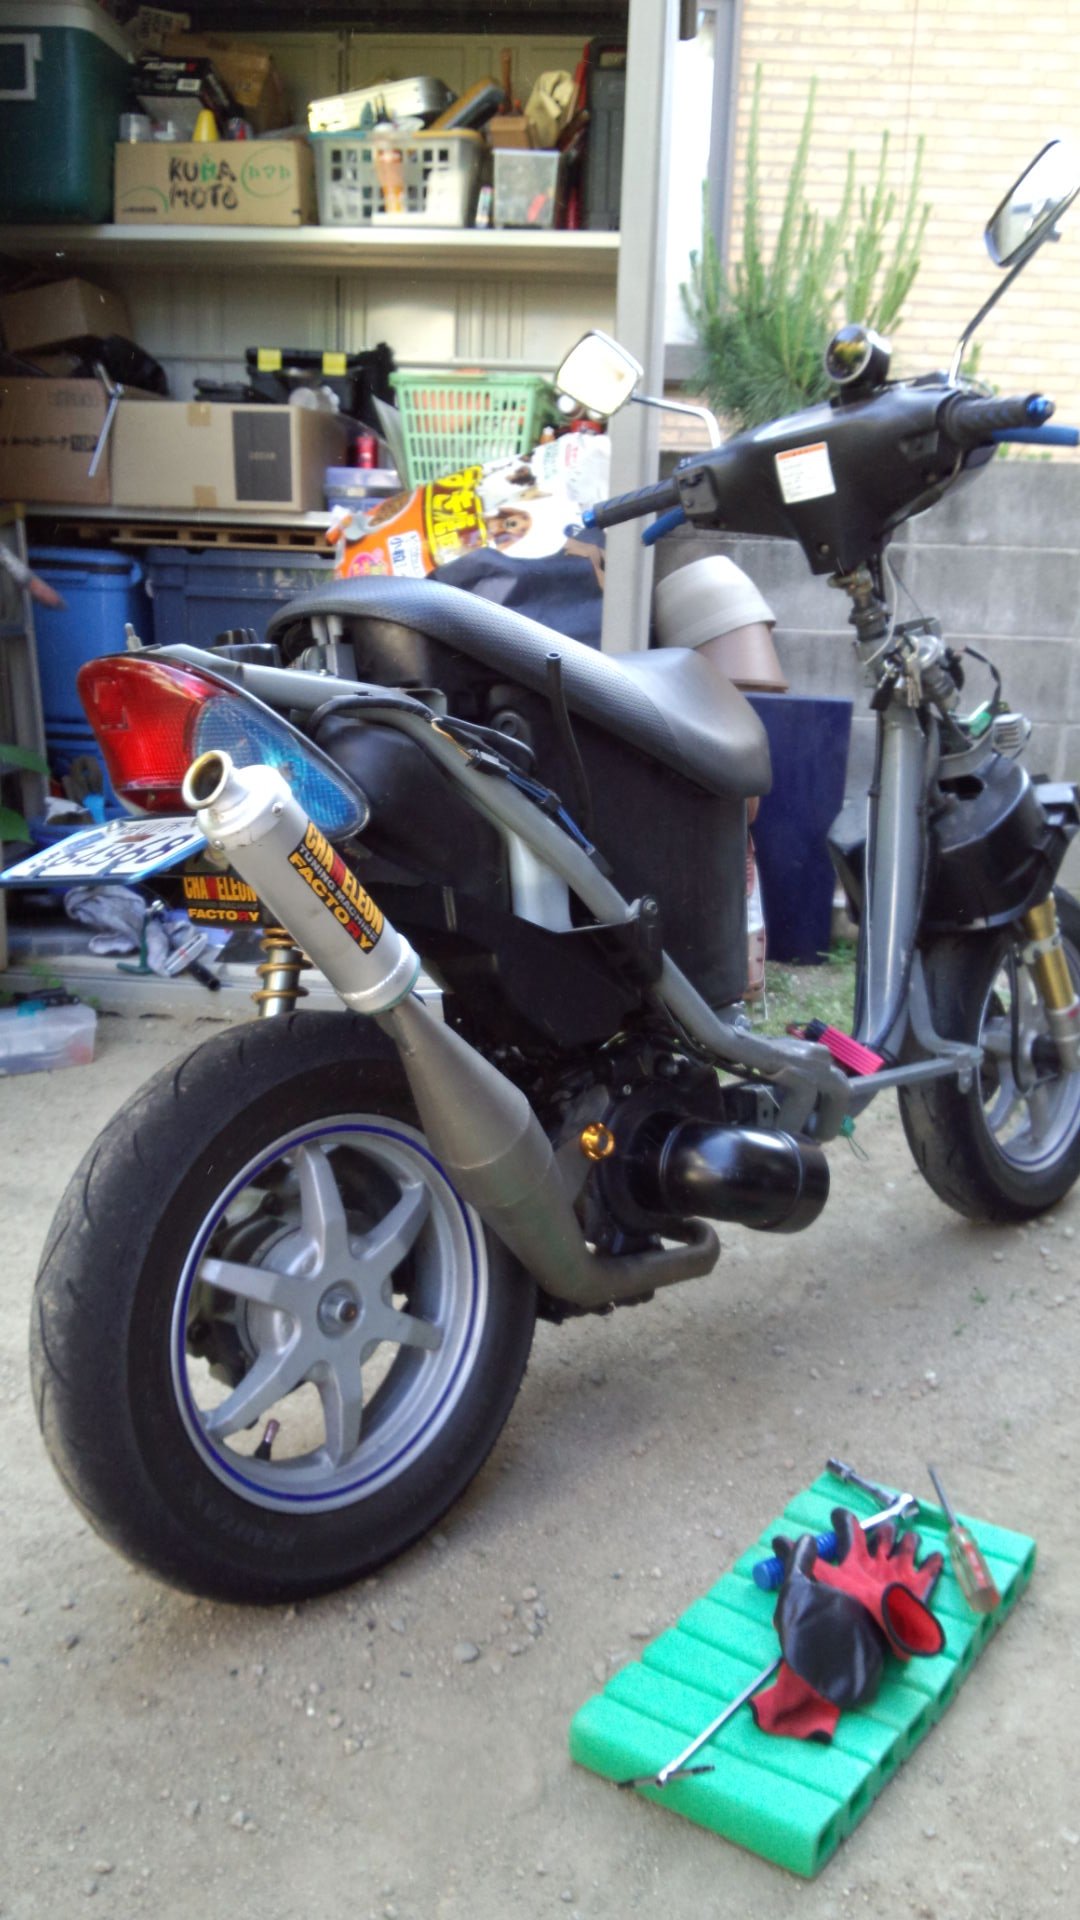
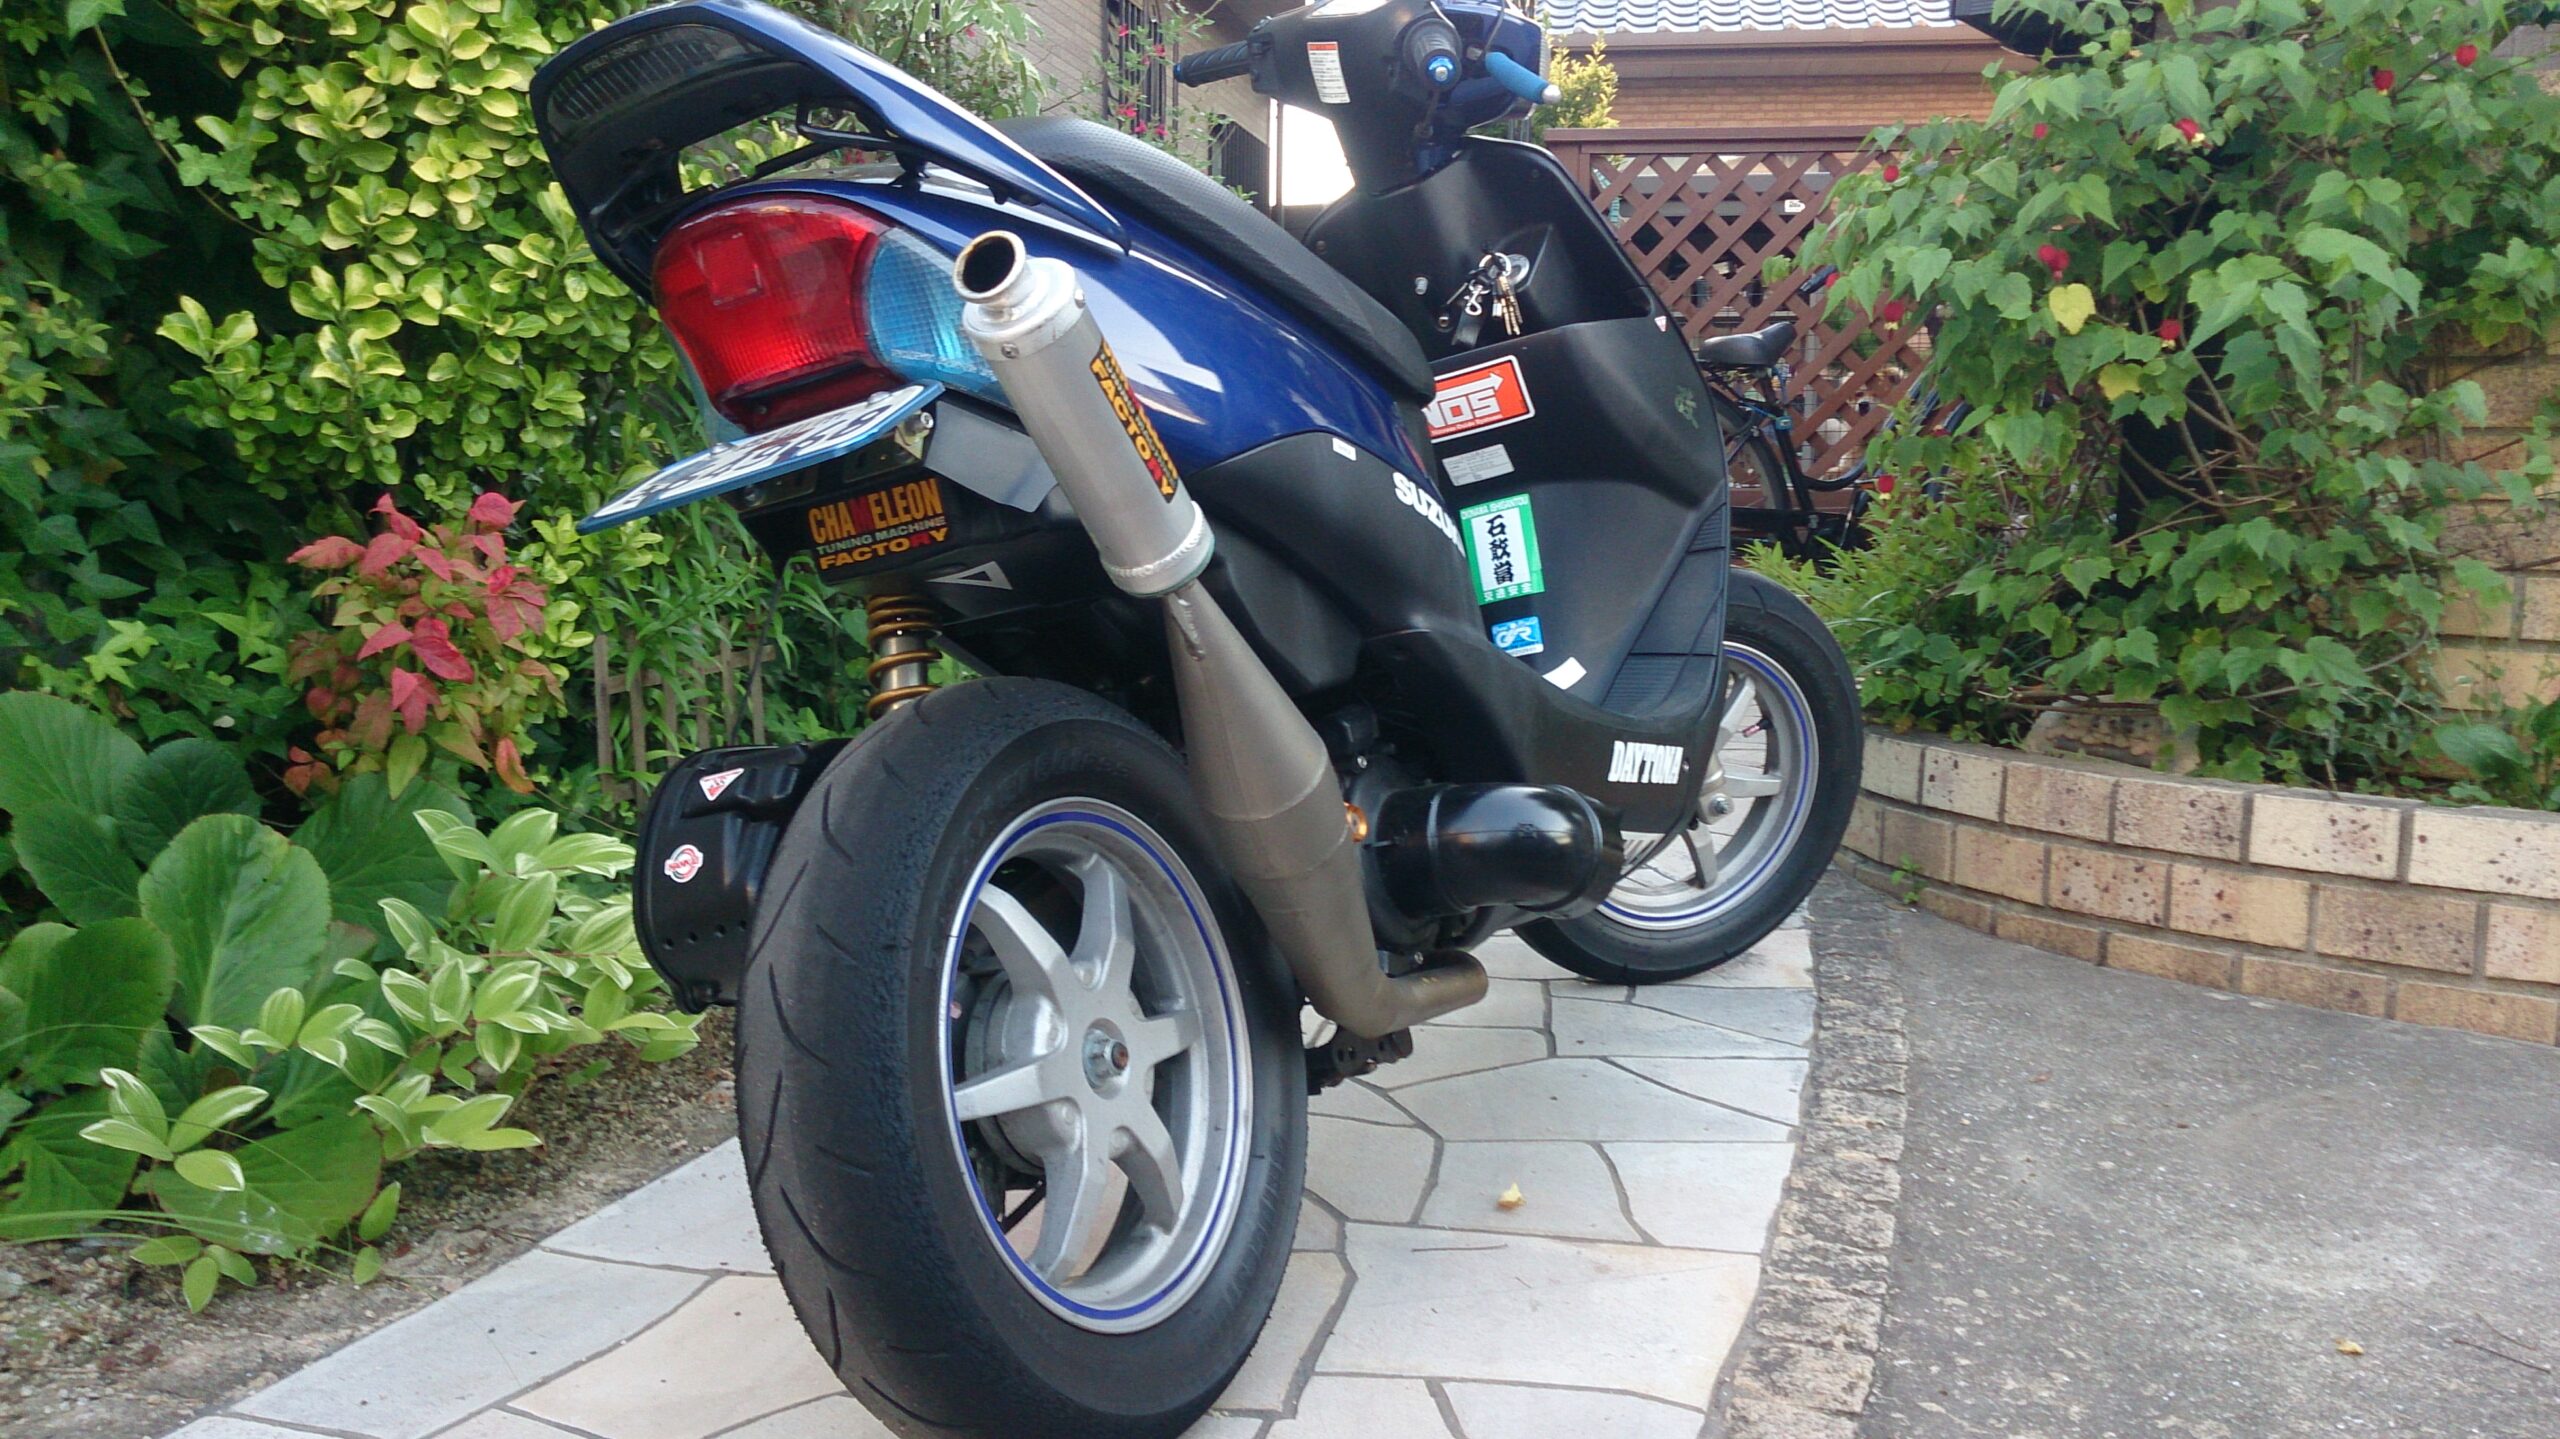
完成
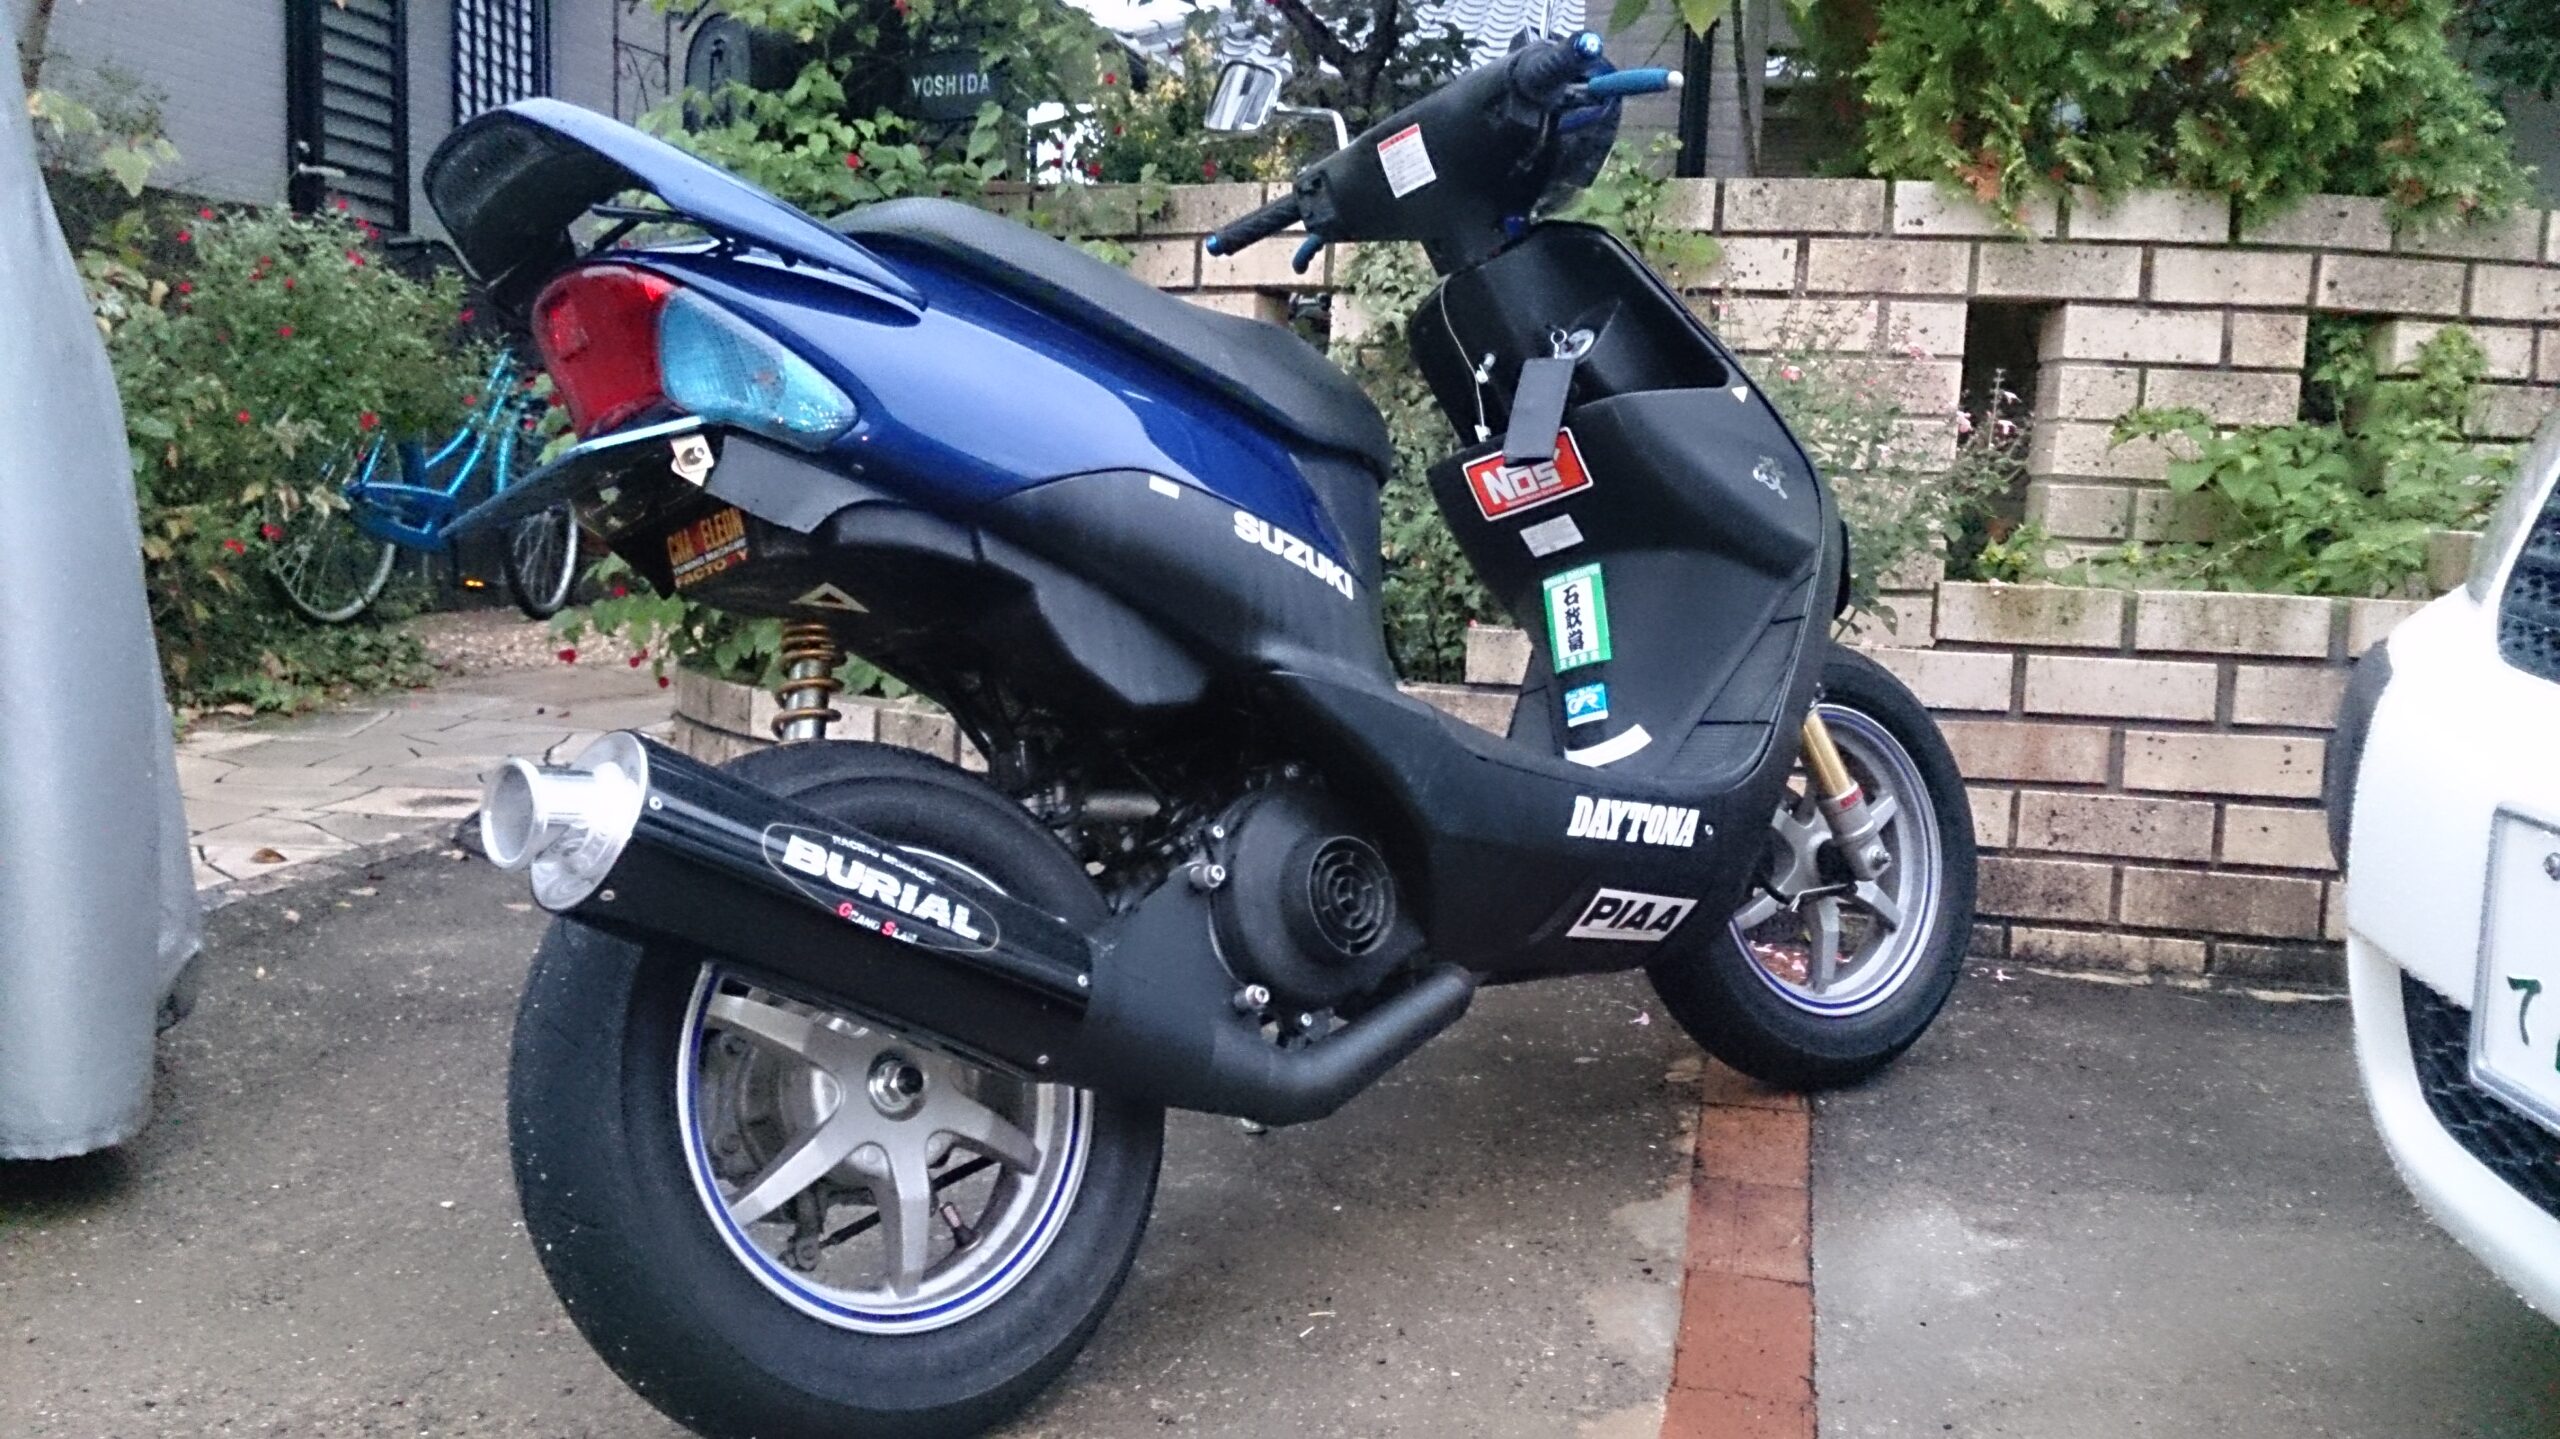
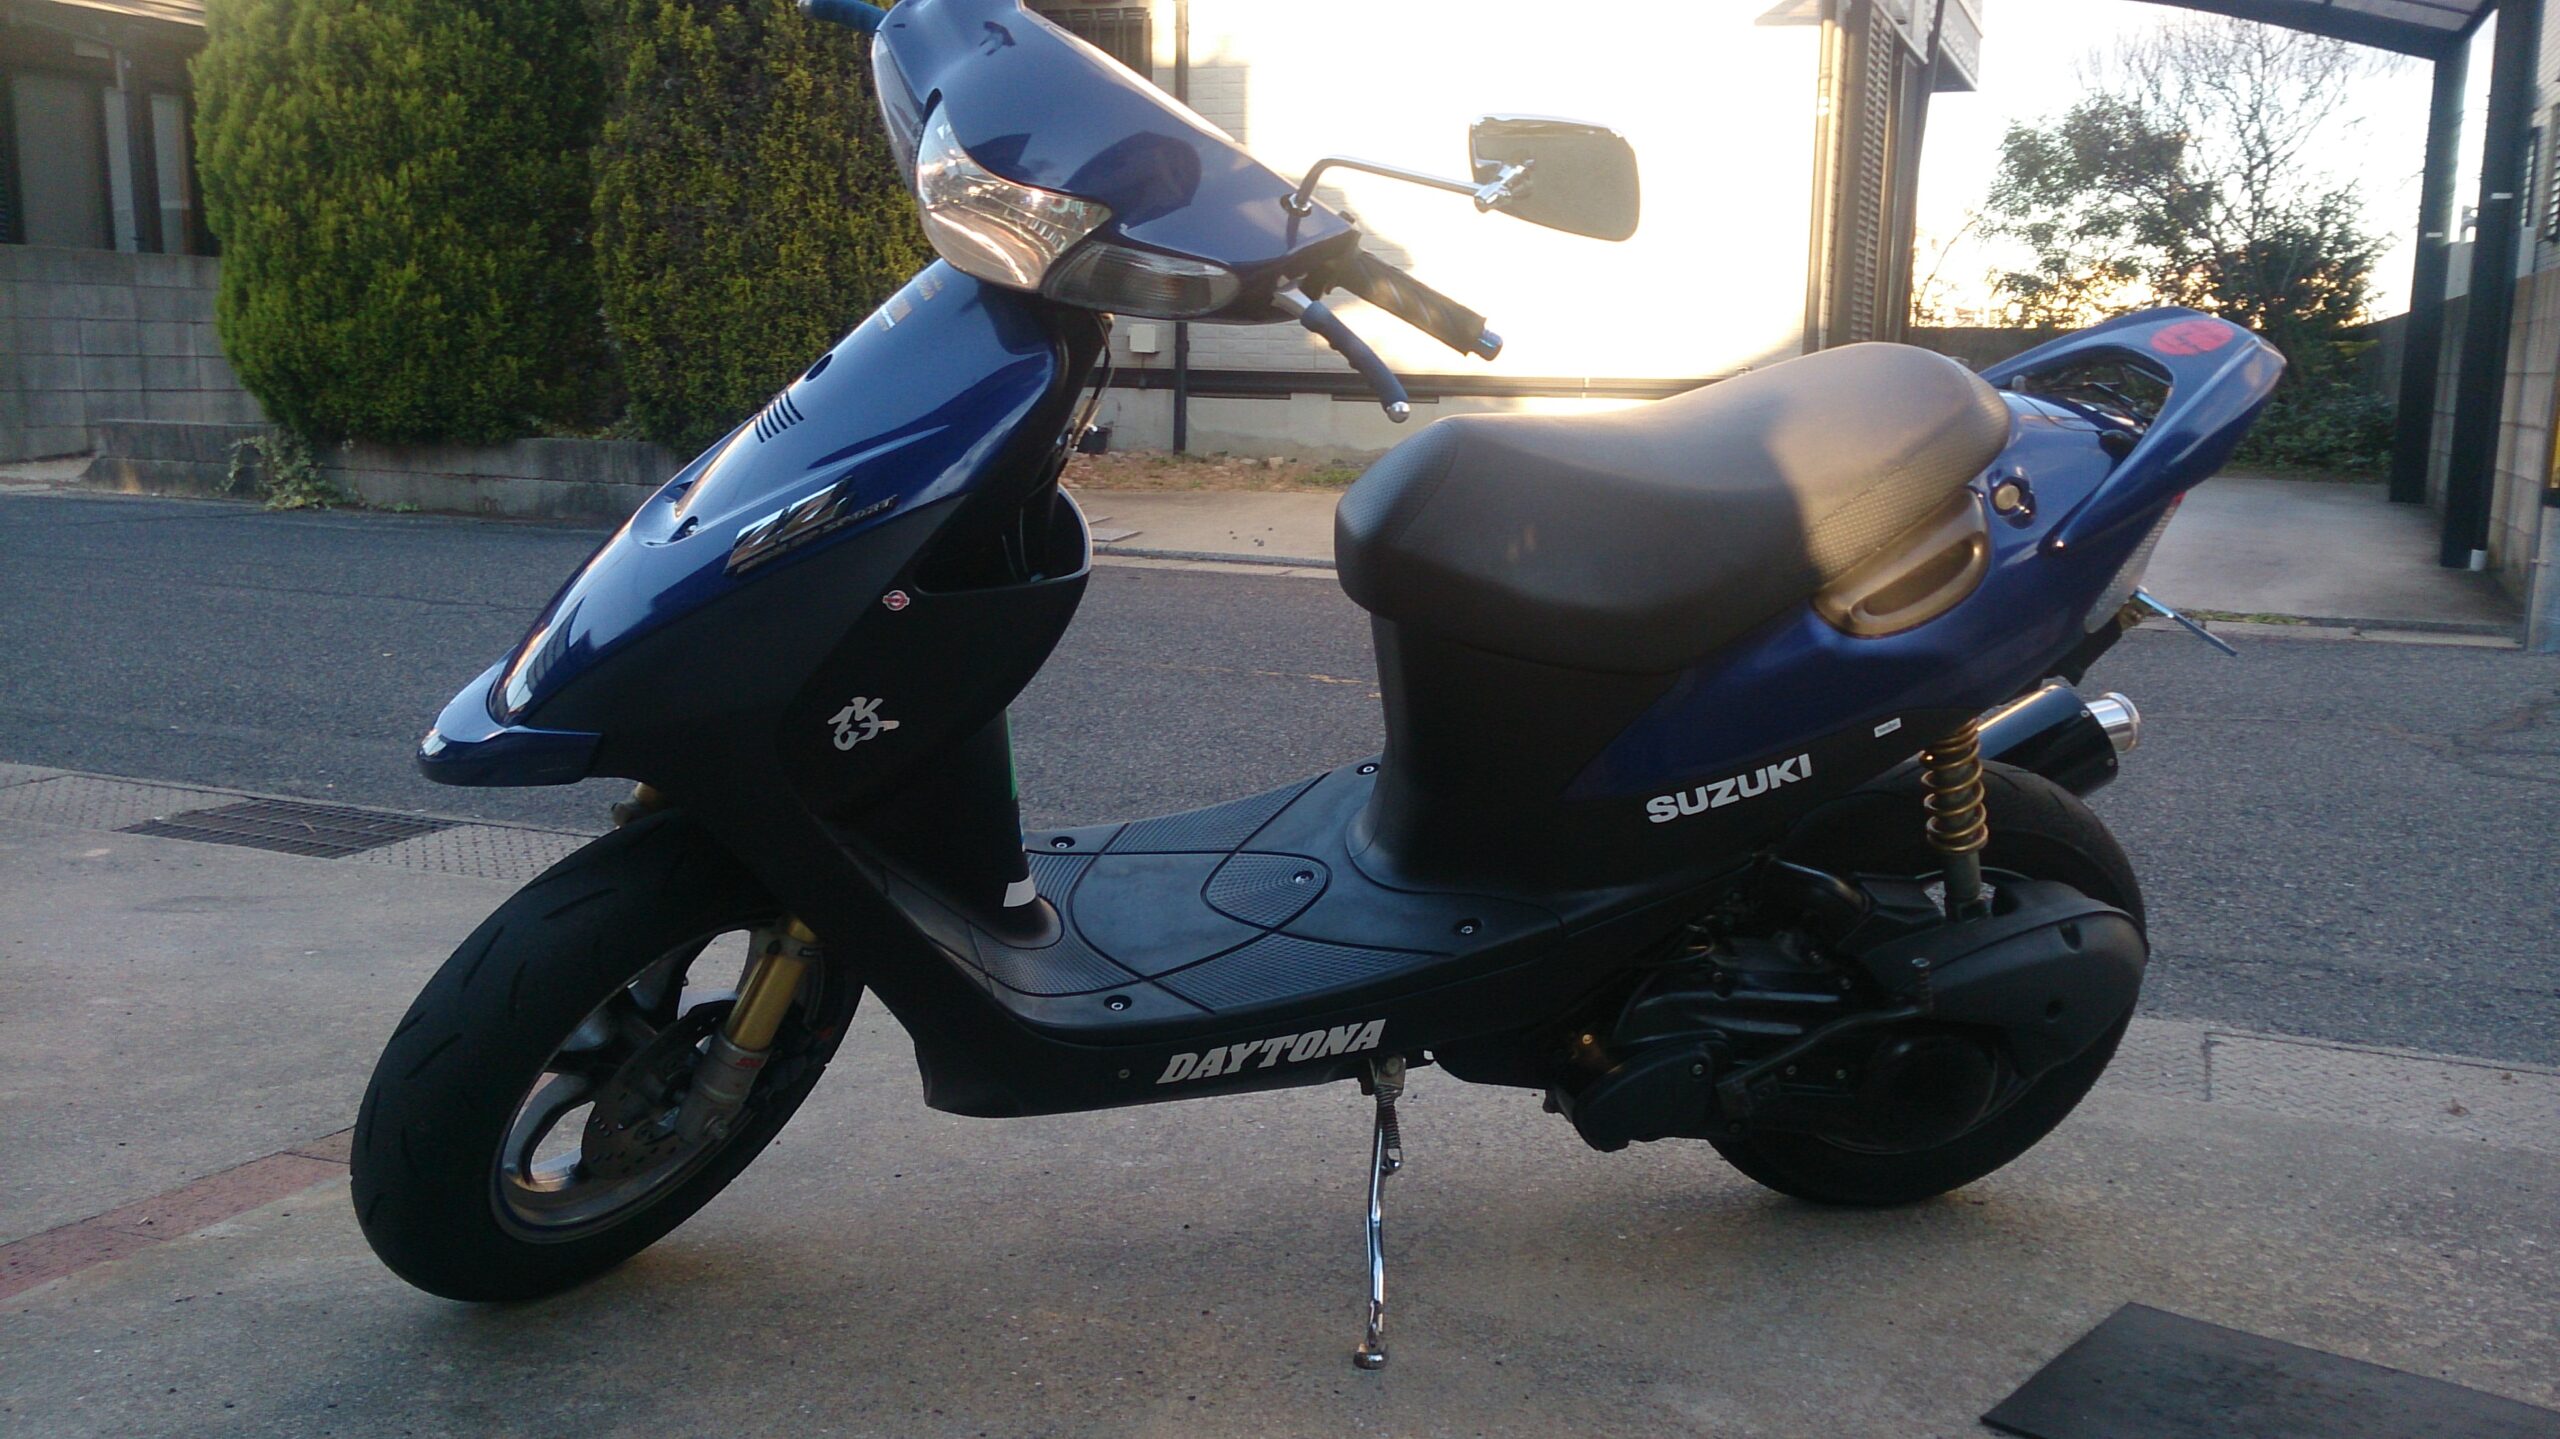
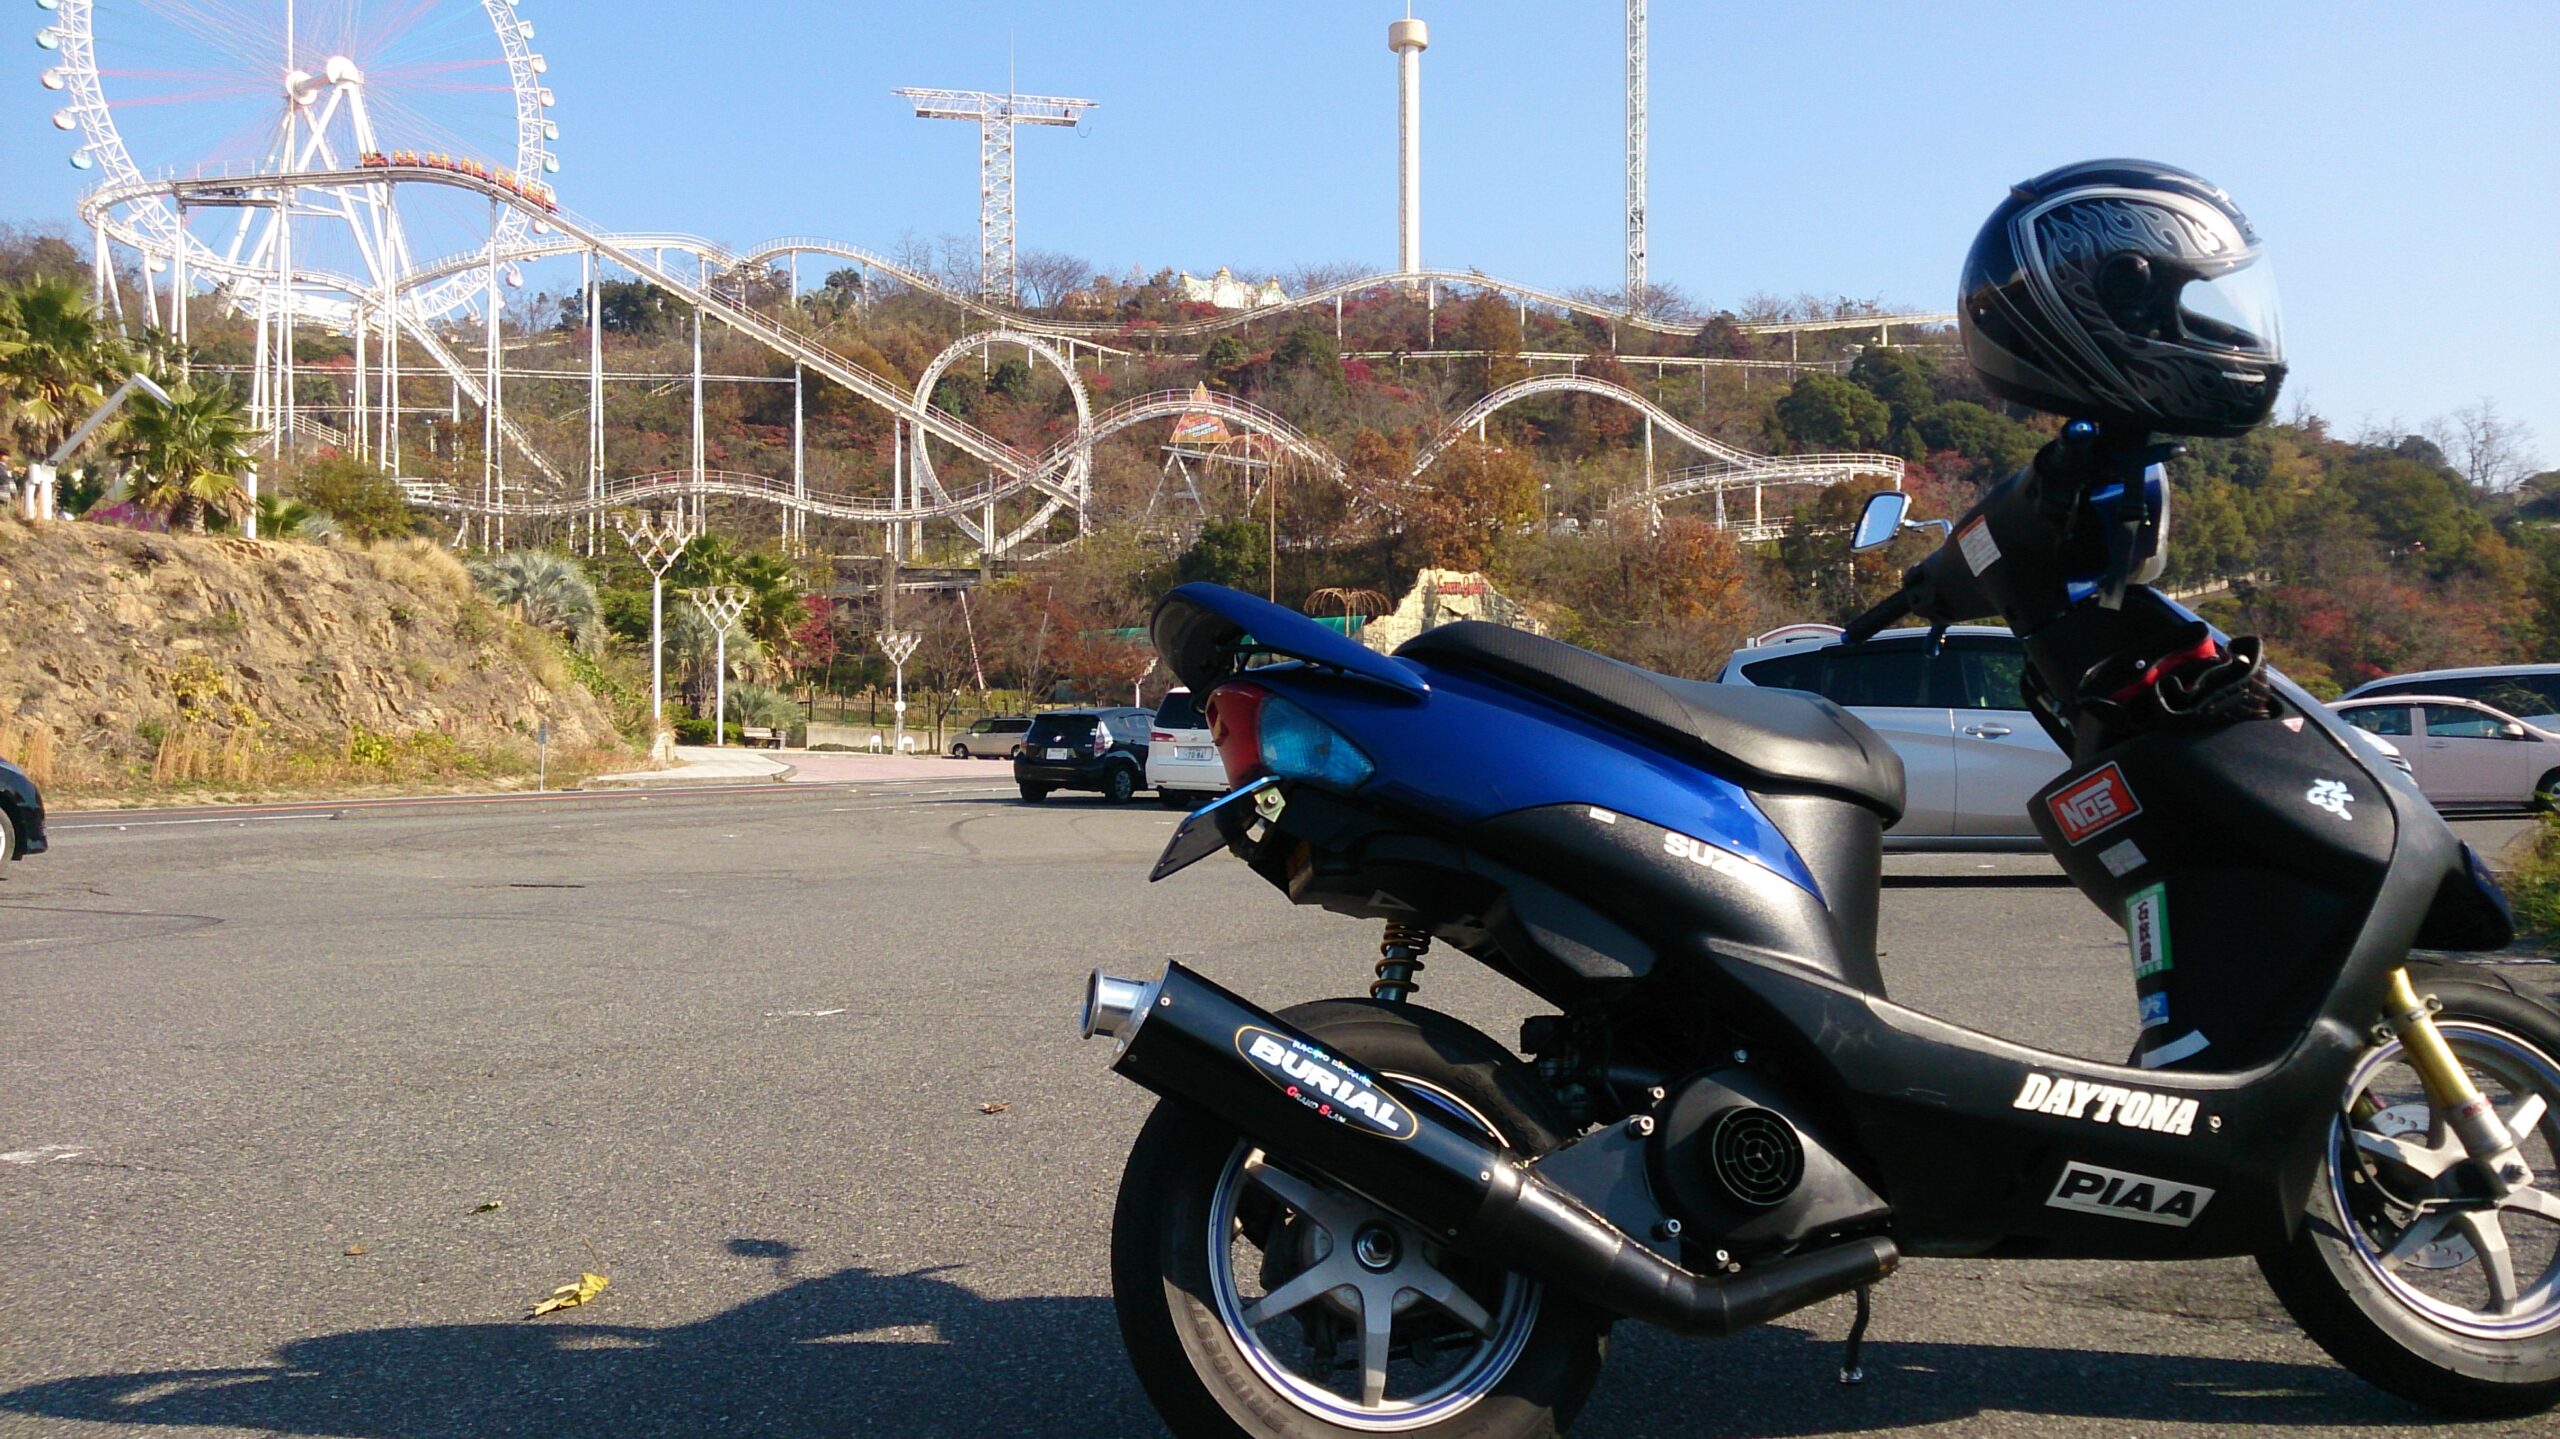
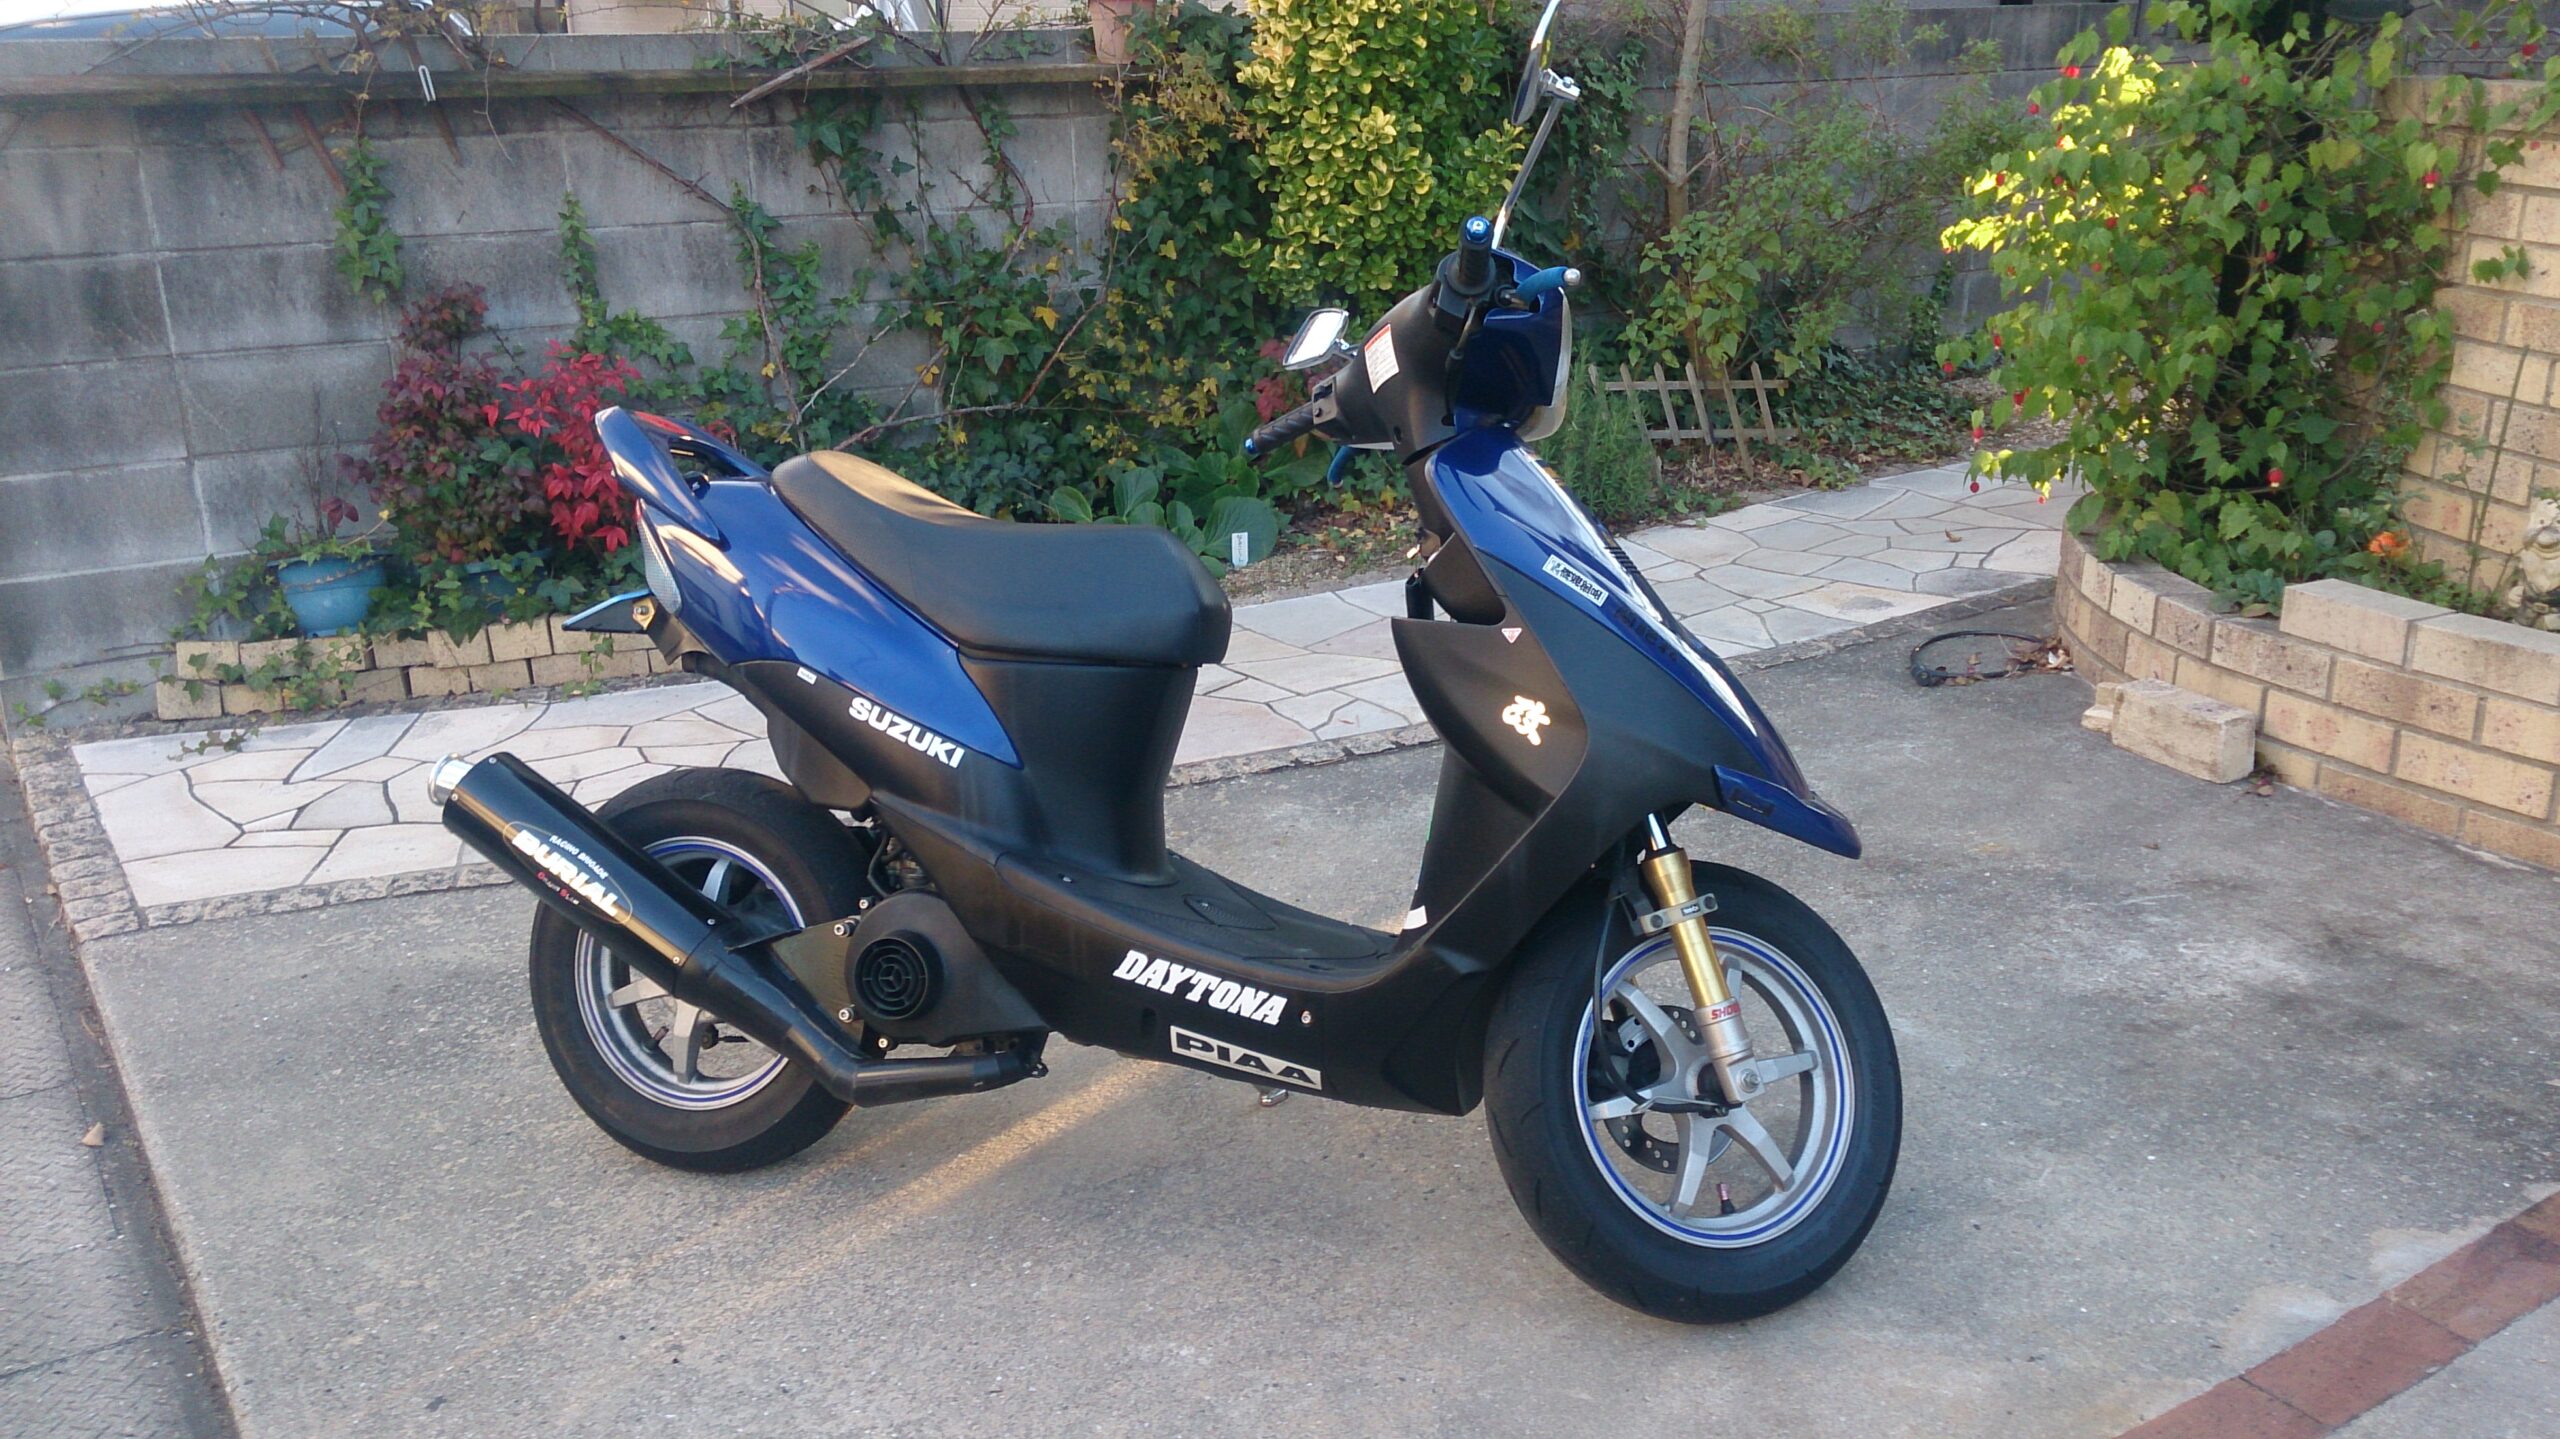
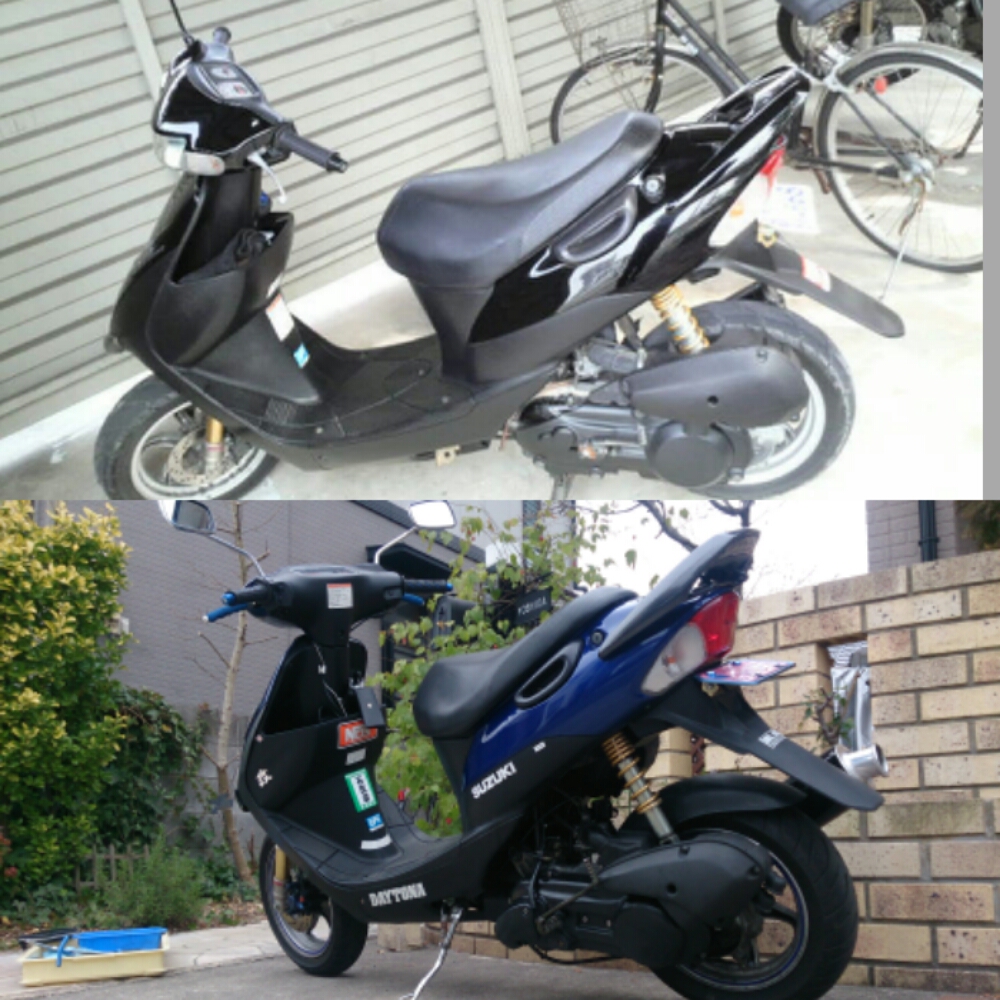
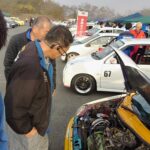
PWK28φキャブをセットしてどこからでも加速するモンスタースクーターに進化しました。
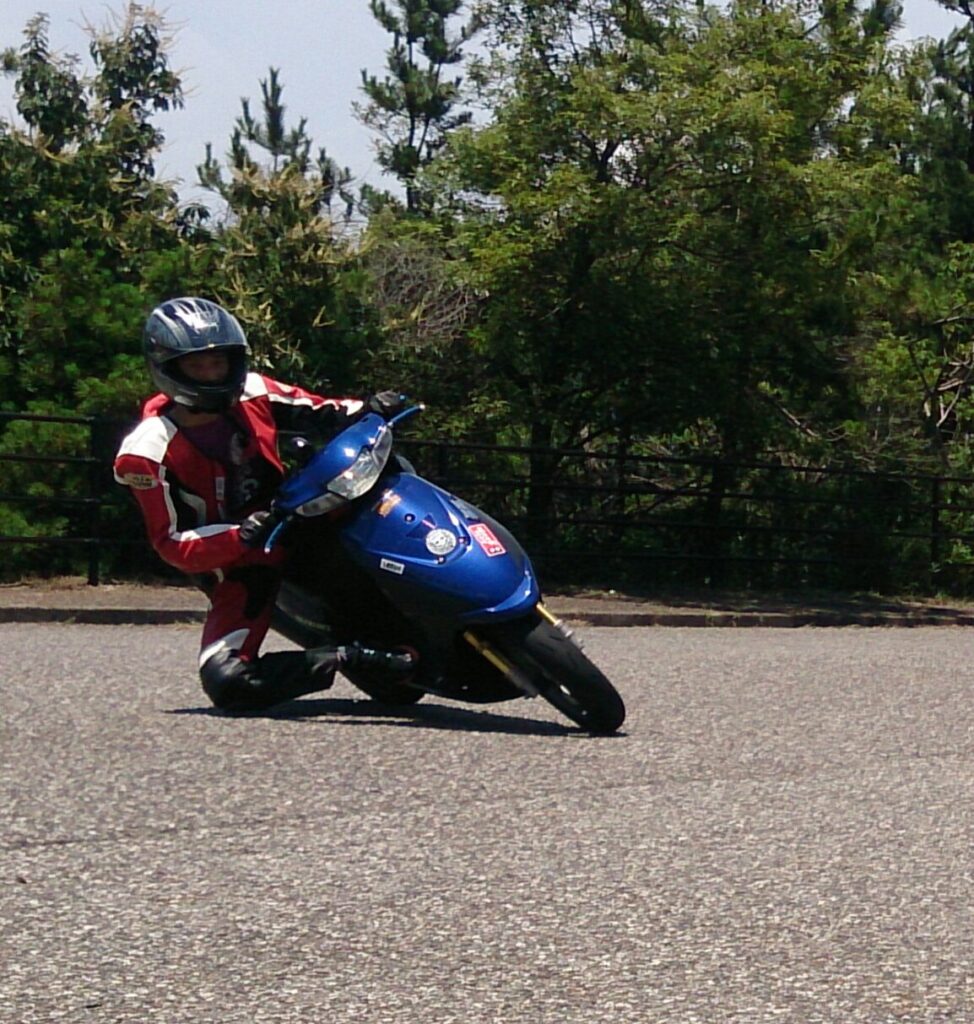
400ccのビッグスクーターも加速でぶっちぎれます。
僕の基礎を作ってくれた1台でした。